On Wednesday I had a quick 2-3 hour game at Andrews house, testing out his reworking of a ruleset he devised and we used to use about 8-10 years ago. It is quite a simple system and has some similarities with Warlord Games Hail Caeser/Black Powder rules. It took a few turns to get the hang of things again but the beauty of the rules was always their simplicity, so they were quite easy to pick up again. Some areas were left unresolved and we had to make a decision there and then what should happen - at this stage, the "rules" only exist in Andrews head - he has not written them down!
Anyway it was a good excuse to get some of my Valkyrie Warmaidens out of their boxes and take a few pictures - unfortunately once again not the best quality all of them and I deleted the particularly bad ones, of which there were about ten or twelve. My figures are a combination of Eureka and Shadowforge - the cavalry the former and most of the infantry the latter, with the odd Games Workshop Valkyrie making a cameo appearance. The Princess and her shield bearers are a fantasy brand that I cannot identify now - I had quick look on Google but could not match them with anything....Keltos or something like that I think.......??


Above and below, front and rear view of my commander and her "supporters" - she certainly had a birds eye view of the action from up there


Two views of a command element from one of my medium infantry units - the girl with the white raven shield is a Foundry product


The leader of the Eureka heavy cavalry - female cataphractii

One of Andrews beautifully painted and based light cavalry units

Andrews archers

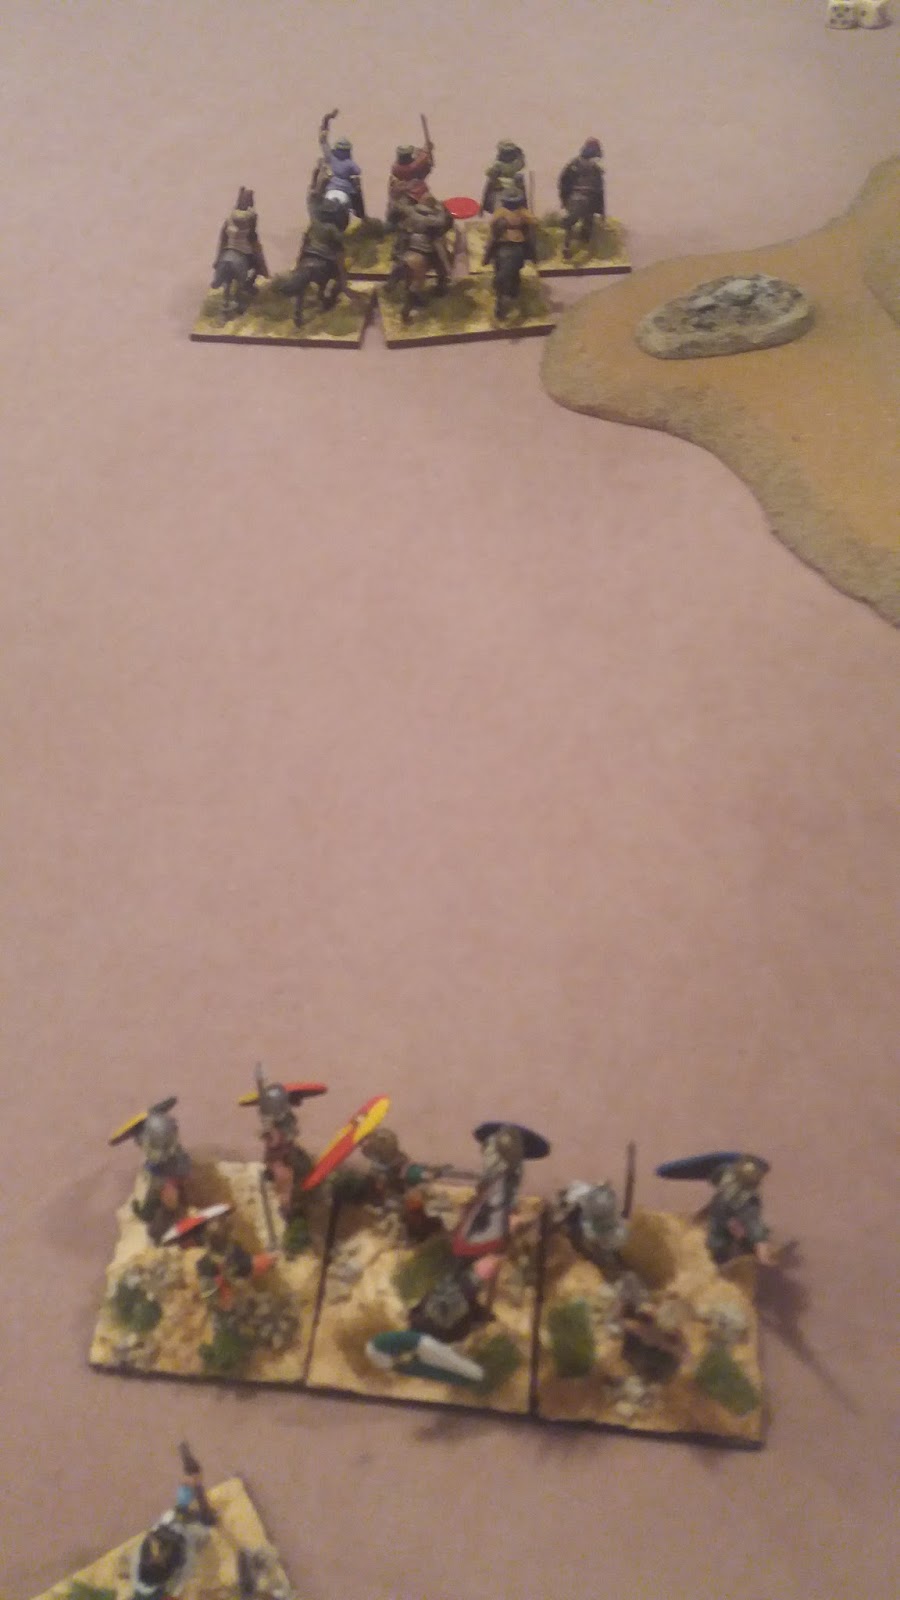
Andrews medium cavalry

The first clash develops - Andrews medium cavalry advanced on his right wing, supported by the archers to the left of the picture

The initial moves showing Andrews advances in black and my counter moves in red

Here Andrews two units of light cavalry advance

One unit confronts my light infantry and begin several rounds of ineffective bow fire

My heavy cavalry were disordered by the archers so had no option to attempt a counter charge when Andrews mediums charged them; however, after one round of combat, they had evened the balance (one red marker each) and after another round of combat, they were victorious, and the defeated mediums fled the field - minus one army token from Andrews force....

The light archers continue to fire their arrows to no effect - meanwhile, my useless medium infantry constantly failed to pass their test to move!

The second unit of light cavalry charge home against one of my medium infantry units

On the other flank, my second heavy cavalry unit engaged the archers on their flank, once again they were disrupted (red marker) by defensive fire as they went in. This meant one less dice but as Heavy v Light, they hit on a 4 5 or 6 whereas the archers needed a 6 to hit.
The medium infantry on my right are victorious and drive off the light cav - good girls!

Back on the other flank and my mounted ladies have defeated the archers after two rounds of combat - the archers did well to survive the initial charge

After about six moves, I finally managed to talk my beautiful but obstinate medium infantry into doing what I wanted them to do, and they formed a nice tidy line - meanwhile, their half naked light infantry colleagues have driven off the light cavalry archers.

With a medium cavalry unit AND these archers mere inches from the table edge and carrying three disadvantage points each, only a 4 or less on 2 D6 could save them - and Andrew from losing another two points - miraculously, Andrew rolled a double 2 twice in a row and saved both units!

The light cavalry charged in to have another go at my light infantry who had their leader attached - a slightly risky tactic. This was a worrying period as the melee continued for 2 or 3 rounds with my light infantry coming close to breaking, which would have taken the Princess away with them. I finally managed to manouvre the medium infantry to a position where one of them could join the fray as a support and this eventually swung the combat in my ladies favour....At this stage I think Andrew had suffered 6 routes and was down to half his army morale.

The view from Andrews side of the table near the end of the game - this is my left flank where his three medium infantry units are confronted by my two heavy cavalry. Being bow armed, they have inflicted three disruption points on one of the units. The light cavalry/light infantry melee can be seen in the background.

The final conflict of the game - Andrews light cavalry battling with my light and medium infantry

A close up of one of the scantily clad Shadowforge light infantry units

Map showing the various melees that occurred - I was fortunate enough to prevail in all of them

The light cavalry are driven off

A aerial view of my right wing - one forlorn unit of Andrews archers left exposed by the sudden departure of their mounted counterparts!

The scene on the other flank as the game ended

My victorious "general" surveys the scene of her triumph....time to hit the shops and celebrate girls!
No comments:
Post a Comment