Sunday Game - War of the Spanish Succession
Its about three years sine we last played this period, so it was about time we got the boys in lace cuffs out of storage - unfortunately for me, my Dutch and Danish troops were not required for Ricks scenario, so my contribution in terms of figures was minimal - more of that anon!
As mentioned, Rick created a scenario for this period and nominated Chris to command the Allied (British/Dutch/Austrian) army, whilst Barry commanded the French/Spanish/Bavarian opposition. Rick had requested both commanders to make a plan of deployment ahead of time using this map, and also to assign each command a specific task - Rick commanded the Allied cavalry, I commanded the Austrians and Chris the British, whilst on the other side, Paul had all the cavalry, Mark his Bavarians and Barry the French and Spanish.
Chris made a simple plan that is shown below. The Brits would advance on our right flank and engage anyone they met, then turn inwards to the centre. My Austrians would traverse the field diagonally to assault the main heights in the centre of the enemy position, and Rick would bring our cavalry on to our left wing on game turn three and advance on the same central point in the enemy line as I was heading for. (note the name Rick gave to the farm slightly to the right of the top centre of the plan)

Chris had expected the enemy to make full use of the excellent defensive position on their left (opposite his British force) but as it happened, this area was empty! However as we had written orders to follow, his huge force of slow moving unwieldy British lines spent the vast majority of the game on a pleasant stroll through the Dutch countryside, occasionally stopping to remark upon the beauty of the view, or to picnic on the verdant pastures. Meanwhile, the Austrian and Dutch infantry in the centre had to do most of the work! Ricks cavalry assisted although they had limited success - their main achievement was to actually get two units right up to the position required by Chris's plan, and wipe out Barry's battery of four guns that had wrought carnage on my infantry all day long - yay for the Cav! The Brits eventually arrived in the late afternoon, by which point I had two battalions of eight left, both the Allied and Enemy cavalry had all quit the field, and the French were down to three battalions of their original force. Only the Bavarians on the right - as far as it was possible to be from the British - still represented a cohesive fighting force.
Now for the pictures......
The initial British deployment on the Allied left
The Bavarian and Spanish on the right, with the French in the centre on the other side of Merdorf
The French grand battery in the centre that was the target of both my Dutch/Austrian force and all Ricks cavalry
The initial deployment of my force in our centre - a bit of a traffic jam around Offus
I had noticed that the farm where Ricks cavalry were to deploy was called Merkles Farm - so I brought along Meghan, the farmers daughter, to cheer us on. She is even dressed in patriotic Dutch colours!
The British juggernaut commences its leisurely parambulation of the Dutch countryside.....
Meanwhile, in the centre, the French look down from the heights of Merdorf Rise
And the nasty gunners line up on my poor little Austrians
Meanwhile, the country ramble continues for the redocoats
The first French infantry brigade marcheed off the hill to confront the advancing Austrians
And on the other flank, a tidal wave of Bavarian blue advances unoppossed
But in the nick of time, Rick appears with the cavalry to secure my left flank...for now.
The Allied cavalry trot past Merkles farm, bidding Good Morning to the lovely Meghan
The Austrian battery - not quite as grand as the French one - fires in support of their advancing infantry
The Allied cavalry edges forward to engage with the Bavarian infantry
In the centre, the Austrian and French infantry clash, and in a matter of minutes, three battalions of French turn and flee. The Austrian battalion on the right here with the yellow and black flag pursued and destroyed two of the retreating French. But in the top right, the French and Spanish cavalry move forward.....
The same view from the French side of the table - things were looking good for my force at this stage
The Austrians combine their firepower against another French battalion which also soon quit the field
All bar the top centre infantry unit here are Austrians - three out of four French units in the first brigade have been destroyed
The left wing of my advance - Dutch guards advance in line against the second French brigade
The French cavalry advance and caricole against one of my battalions - where are the British?!
Oh, there they are - well some of them at least. the other Brigade is still picnicking!
Meanwhile, the Bavarians are dealing to Ricks cavalry with sustained musketry
Some cavalry moved up to support my guards - but then charged ahead and became involved in a melee with the French infantry that they eventually lost
The Bavarians having knocked back half the Allied cavalry, manouvre to tidy their lines. BUT, two units of Ricks cavalry have found a gap between the Bavarians and French and are now between Merdorf and the heights where the grand battery sits.
In blissful ignorance, the French gunners continue to pour fire into our lines
By this stage I had lost two battalions of Austrians to the French cavalry, but I finally had some support from the British on my right
The Allied cavalry retire in disarray before the weight of Bavarian fire
But their colleagues have made it to Merdorf Rise, and have already slaughtered two of the gun crews - HURRAH!
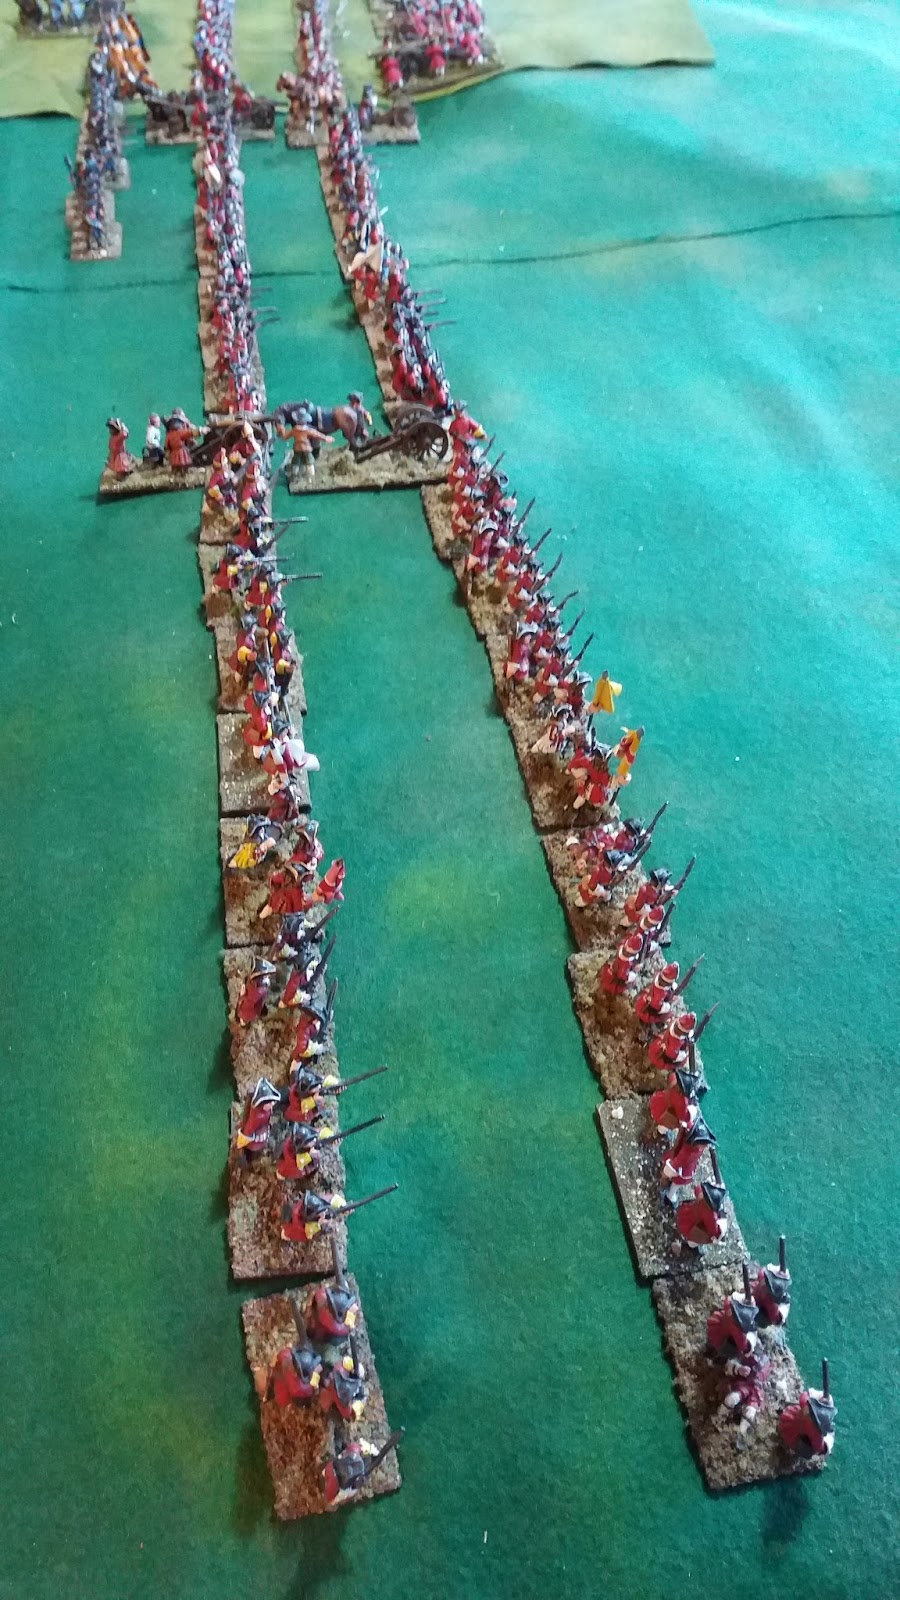
The endless red line of British troops on our right
The final position as the British finally got within range of the action...they lost not ONE SINGLE casualty in the whole affair, whilst I lost six of my eight battalions and Rick lost ALL his cavalry - Perfidious Albion indeed!