Here, as advertised previously, is an AAR on today's game at Barrys place. Barry, John and I played the allied British/French/Turkish army, while Nick, Paul and Chris took the Russians, with Mark as umpire. The Allies had smaller brigades and slightly less infantry, small gun batteries but more of them and significantly more cavalry, albeit in small units. The Russians had larger gun batteries and slightly more infantry but had the disadvantage of always being a dense target, whether in line or column.
Marks briefing indicated that the Russian cavalry must start behind a fordable river in one corner of the table (let's call it top left while Paul and Chris could deploy anywhere up to a line of blue markers that dissected the table from the bottom left third of the battlefield to the top right third. Once the Russians had deployed, we allies could make our initial dispositions no closer to the dividing line than 600mm AND no more than 300mm in from the table edge.
It did take us quite a time to formulate a plan - at one point Paul came in and said we would be breaking for lunch soon! But by around 11am, the game was underway. We planned to refuse our left (British) flank against Nicks distant command, that would take 6-8 moves to cover the distance from his starting position, and in the meantime, throw the British cavalry into an opening assault on both flanks, while the French and Turkish infantry deployed to assault Chris and try to defeat him in detail before Paul or Nick could come up to support him. This plan dictated the way the game played out - Chris held on against superior numbers for most of the 6 hours we played, Paul and I faced off in the middle and as Nick advanced on my left flank, I gradually pulled back, keeping as much distance as possible between my 6 battalions and his force of 8 infantry, 4 cavalry and 2 large gun batteries. We certainly broke a few eggs but by the end of the game, around 4pm, we had managed to make an omellete!
Here are the pics:
Allied right flank, Turks led by the British Heavy Cavalry Brigade
The Large Russian artillery batteries on their extreme left flank, the initial target for the British Heavies
Russian columns move up
Nicks command (above) started on the far side of the stream and A LONG WAY from the enemy!
Marks lovely home-built waterwheel (below)
The British left flank, Light Cavalry Brigade (above) and the 1st Infantry Division (Foot Guards and Highlanders) below
The Guards deploy to refuse the left flank while the Ligh Cavalry gallop forward to engage Paul's Russians, Nick still being in the far distance!
The Highlanders and the Light Division advance in columns
Russian infantry in the centre - Paul's to the left and Chris' to the right
British Dragoons charge home against a Russian battery!
Meanwhile, a long way away, Nicks infantry continue their long march (these are figures painted and based by Nick, quite distinctive from Marks and mine)
More Heavy cavalry charges go in on Chris' position.
View (above) from the Russian side of Chris' position, with Paul's troops coming up in support to the right.
Above and below, Paul's force advancing.
And the third Russian force, under Nick.
The Light Brigade close on Paul's infantry, under fire from supporting artillery.
The Russians succeeded in forming square and drove the cavalry back.
The Highland Brigade, with the Rifles in support to their right and one of the Light Division brigades supporting to their rear.
Guards Brigade on the left flank watch the Light Brigade cavalrymen fall back from their unsuccessful assault on the Russian infantry.
The Royal Artillery supporting the Highland Brigade.
Massed Russians await on the hill.....
..... as columns of French infantry head in their direction.
With the battalions of Turkish infantry to their right.
The British Heavy Cavalry still in action supporting the Turkish advance.
Chris' Russians brace for the coming onslaught.
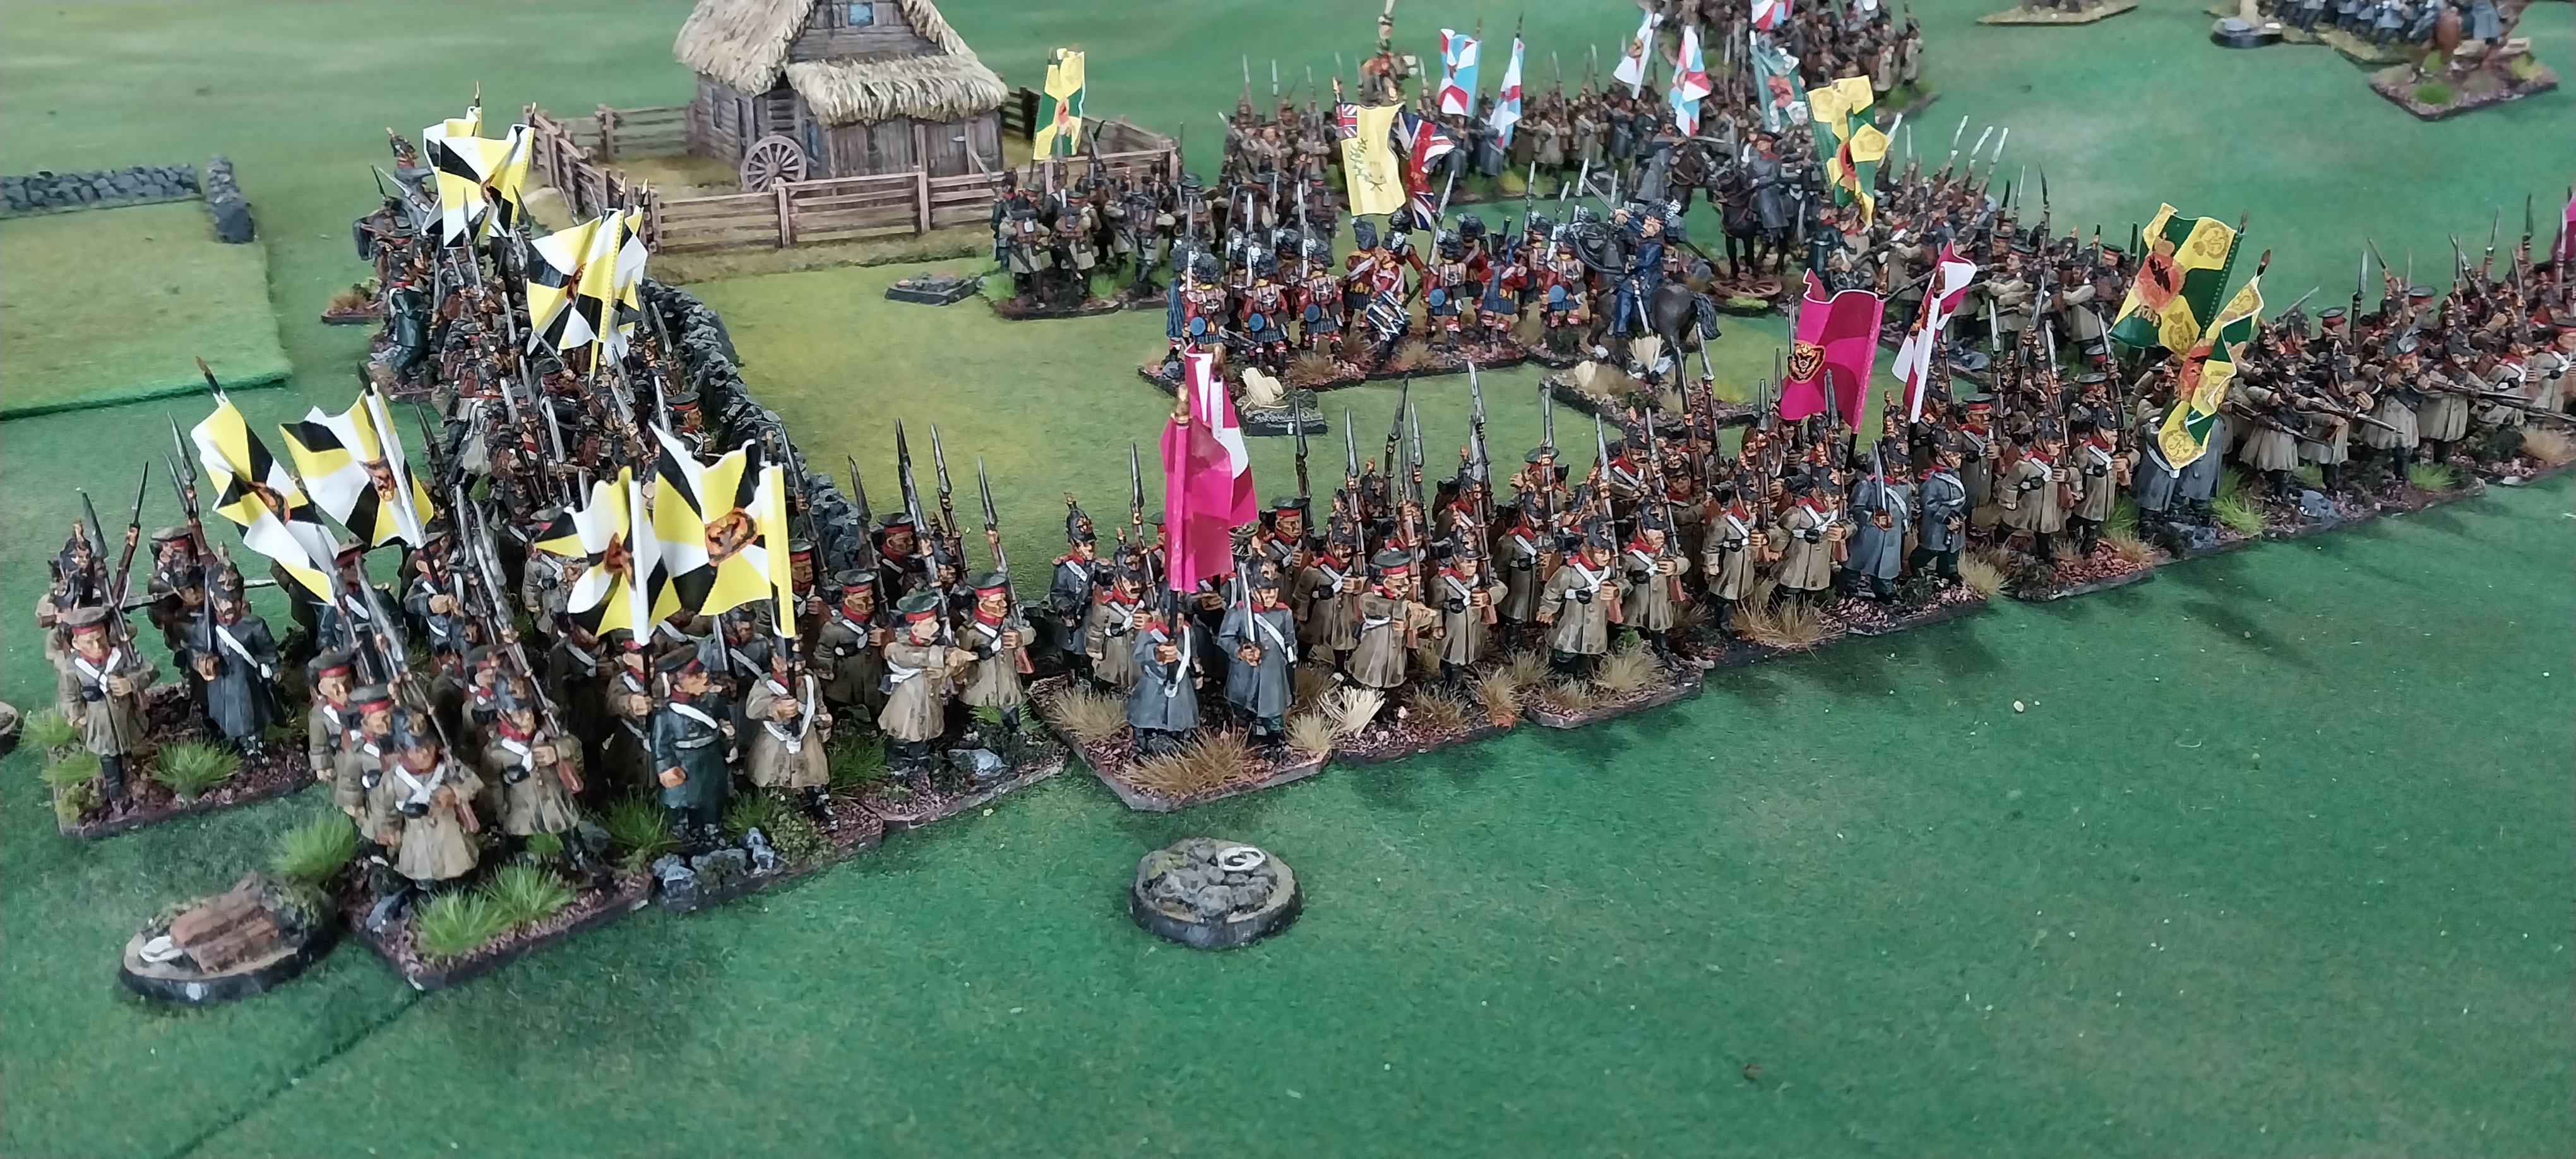
The Allied right/Russian left flank and the centre, where all the action took place. Lots of French and Turkish columns converging on the enemy.
Meanwhile, Nicks reinforcements are coming ever closer the British left flank.
Above and below - the first French troops get into melee, as the British and Russians to their left trade volleys
On the Allied right, the Turks are getting stuck in too!
A titanic battle in the centre of the table.
The Russian cavalry is almost within striking distance of the British left flank.
The Highland Brigade charges in!
Turks and French continue the massed assault on the Russian left.
The Rifle Brigade (above in distinctive green uniform) breaks two (or possibly three?!) Russian battalions!
The Allied left, held by the Guards Brigade, and backed by the second brigade of the Light Division, with large numbers of Russians closing in. The Guards suffered terribly from Nicks artillery and eventually, two out of three battalions were forced to quit the field!
The RA battery managed to beat back the attacking Russian infantry!
The French and Turks keep up the pressure.
A Thin Red Line of British infantry.
The one remaining battalion of the Highland Brigade smashes its way deep into the Russian position, with Sir Colin Campbell to the fore!
The Allied left as the game reaches its climax - most of the Guards are gone, but the hole has been filled by the Light Division and massed batteries of RA.
The Rifles are at it again (above and below) - with the support of a French column, they drove back another Russian unit.
Massed British guns help steady the Allied left flank position as the French and Turks finally overwhelm the staunch Russians commanded by Chris.
The left flank stands firm.
Russians at bay, having tried to assault the British position in the centre at great cost, they pulled back.
Final view of the victorious Allied troops.
This was a very hard-fought action, with the Allied army coming out on top, but at considerable cost. I was lucky that Nick wasn't able to get his four regiments of cavalry and 8 fresh battalions of infantry into a position to attack me - he did enough damage with his guns, accounting for two of the Guards battalions through simple attrition. Paul came close to breaking me too, bouncing back and destroying two of the three Highland Brigade units - my MVP's were definitely the Rifles, who took out several Russian units and even when hit by massed musketry, seemed to lead a charmed life and rolled LOTS of successful saving throws.
It was a strange game, where both sides felt they were at a disadvantage, but I think in the end, the Russian big batteries and slightly more infantry were less of an advantage than we thought they were, and the extra cavalry certainly helped the Turks get in on the right flank, although they made no impact at all on the other flank. The game certainly swung to and fro and at several points I thought I was done for, but then all of a sudden, both Paul and particularly Chris, had most of their force only a poor activation roll away from quitting the field en masse - so, a fair result calling this an Allied victory I think!