ACW Game Friday
This was a good week, as I managed to get two games in! On Friday, John, Chris and I joined Julian at his place for an ACW game using Julian's figures and the Kalistra rules on a hex based table. Chris and I were the Union and John and Julian the Rebs. One Union force had about six units of cavalry and four infantry with on battery of guns so Chris took them, and I had six or seven infantry, two of which were elite Zoauves, plus a battery.
I faced John with two cavalry, two batteries of guns and about four or five units of infantry, whilst Julian confronted Chris with a force of six or seven infantry, including elite Texans in the centre, one battery and a loan cavalry unit.
The scenario was based on a real battle but I cant recall what it was - I thought Greensboro but I Googled that name and could not find an ACW battle called that or anything similar....
Some of the photos are again a bit crap but I have retained almost all of them as they follow the narrative of the game - so apologies for some of the poor quality shots - they are only taken on a Samsung J5 phone!
Below is a map showing roughly the deployment at the start of the gam. Green rectangles are hills and the blue lines are a river/stream.
Here is a view looking from the left hand side of the map towards the right hand side - didn't get the whole table but it gives an idea of the layout...my troops are in the bottom right, with Chris's in the top right and Julian's in the top left - John's are out of sight to the left of my position
The game commenced with both sides advancing to contact. The Rebs on their left wing (Julian) held back a bit but Chris (Union Right) powered forward with his large cavalry force. I occupied the woods on our left wing with my elite Zouaves and advanced with my regular infantry into the dead ground in front of the hills running along the centre of the table. John on the Confederate right opposite me cautiously advanced but hesitated to occupy the high ground for fear of the withering fire this would invite from my massed infantry and the supporting artillery battery.
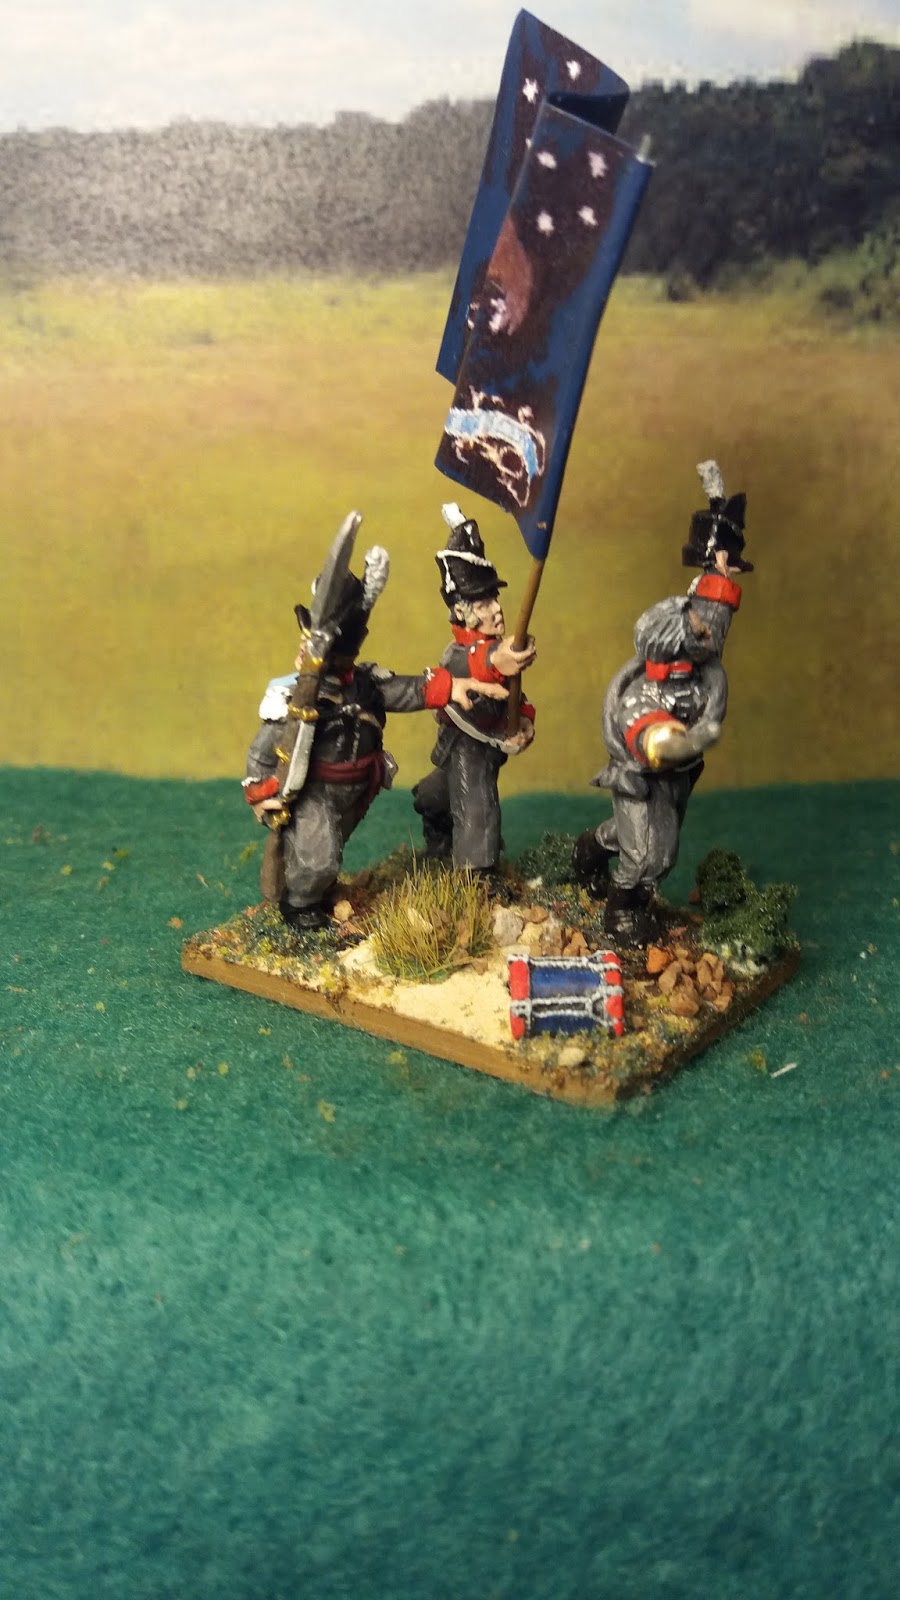
My Zouaves on the Union left
My opposition - Confederate cavalry and guns on their right wing - note the figures had only recently been completed so the basing has not yet been done
My union battery positioned on the commanding heights in my rear
Chris's Union Cavalry brigade on our right wing
Chris's opposition - Julian's single unit of cavalry with a solid line of Southern infantry
The map below shows the initial movements by both sides
Union infantry advancing
The leading elements of the Union cavalry brigade advance and use their superior carbines to fire on the opposing Confederate troops, driving one unit off the table before being forced to retire by return fire from the Reb infantry
The left wing of the Reb army before the firing disrupted it somewhat
Another view of the leading Union cavalry
On the other flank, John's Rebels advance through the intervening woods
In the centre, Hoods Texans occupy the woods
The map below gives an idea of the position of the two forces after about three or four moves of the game
The Union cavalry on our right wing gallops forward
On our left wing, my Zouaves occupy the woods with the second unit in support
Above and below - the Union cavalry melee with the Confederate left flank
The Union cavalry has driven off another Reb unit but have become disrupted in the process (red marker)
On my flank, John had advanced with both his cavalry units to attack the Zouaves. He had the advantage of carbines but my guys had the protection of the woods AND they were elite. After a couple of rounds, one unit was wiped out and the other fled to the rear.
My regular infantry occupies the dead ground where the Rebs cant direct fire on them without advancing into the adjacent hex.
Above and below, Chris's cavalry makes a break through on the Reb left flank.
Chris's union infantry advance towards the Texans in the centre
John's Rebs opposite my position finally advanced onto the high ground
One of Johns Confederate batteries
The position of my Zouaves after they have driven off Johns cavalry and before they advanced to attack one of John's batteries and an adjacent infantry unit.
The Union commander of the left wing
The map below shows the initial combats and the approximate position of the two forces at the three quarters stage of the game
My union infantry advance on the Reb guns that have previously been rendered "disrupted" by combined artillery and small arms fire, meaning their defensive closing fire was reduced to a single dice!
Here, my union infantry have driven off two disrupted units of Johns Confederate infantry
The Confederate line that confronted Chris on our right wing - two of the three units shown are dusrupted
My union battery fires in support of the advance
Chris's union battery
The map below shows the position as the game came to a close - Melees all along the Union left wing were won by my infantry as they drove off two batteries and three units of Confederate infantry. In the centre, Hoods Texans still occupied the woods but on the other flank Chris's cavalry were turning Julian's flank and we decided the game was effectively over
The victorious union cavalry advancing in clear space around the flank and rear of Julian's line
The Commanders - above Robert E Lee
JEB Stuart
Longstreet I think
The others I don't know - including all the union leaders below - I just took pictures of them all because Julian wanted to see what they looked like - the answer was, Pretty Good!
Three of us enjoyed the game - John was little bit stressed out about his misunderstanding of one of the rules re artillery firing into woods, but never mind, all is fair in love and war!


