Solo Trial Game - modern version of Iron Cross
So obviously, by the title, I was quite taken with the rule set we tried out last night! As my family are all away for a long weekend and I am "home alone" Sat, Sun and Mon this week, I have an opportunity to commandeer the dining room table and stay inside playing with toy soldiers on a beautiful, warm, sunny New Zealand summers day - sacrilege!
I spent an hour or so looking over the QRS sheets for Iron Cross that my mate provided me with yesterday and created some stats for modern British and US forces as well as incorporating some " off board support" elements, such as artillery, attack helicopters and fast air.
I then dug out box loads of 15mm terrain and figures, dice, stuff I could use to mark command points and morale hits etc and by around 10am, I was ready to give it a go.
I spent the next 2-3 hours playing a solo game between a Taliban force and a British forces comprised as follows
Taliban British
2 Mortars 1 Warrior Infantry Fighting Vehicle
2 HMG 2 WMIK Landrovers
8 infantry stands 8 Stands of infantry
Total 12 command points Total 10 command points
All the figures used are Old Glory Command Decision 15mm with a couple of exceptions I wont mention here as it may spoil the surprise!
As I went, I recorded a blow by blow summary of the action.
My entire collection of 15mm OG Modern Brits
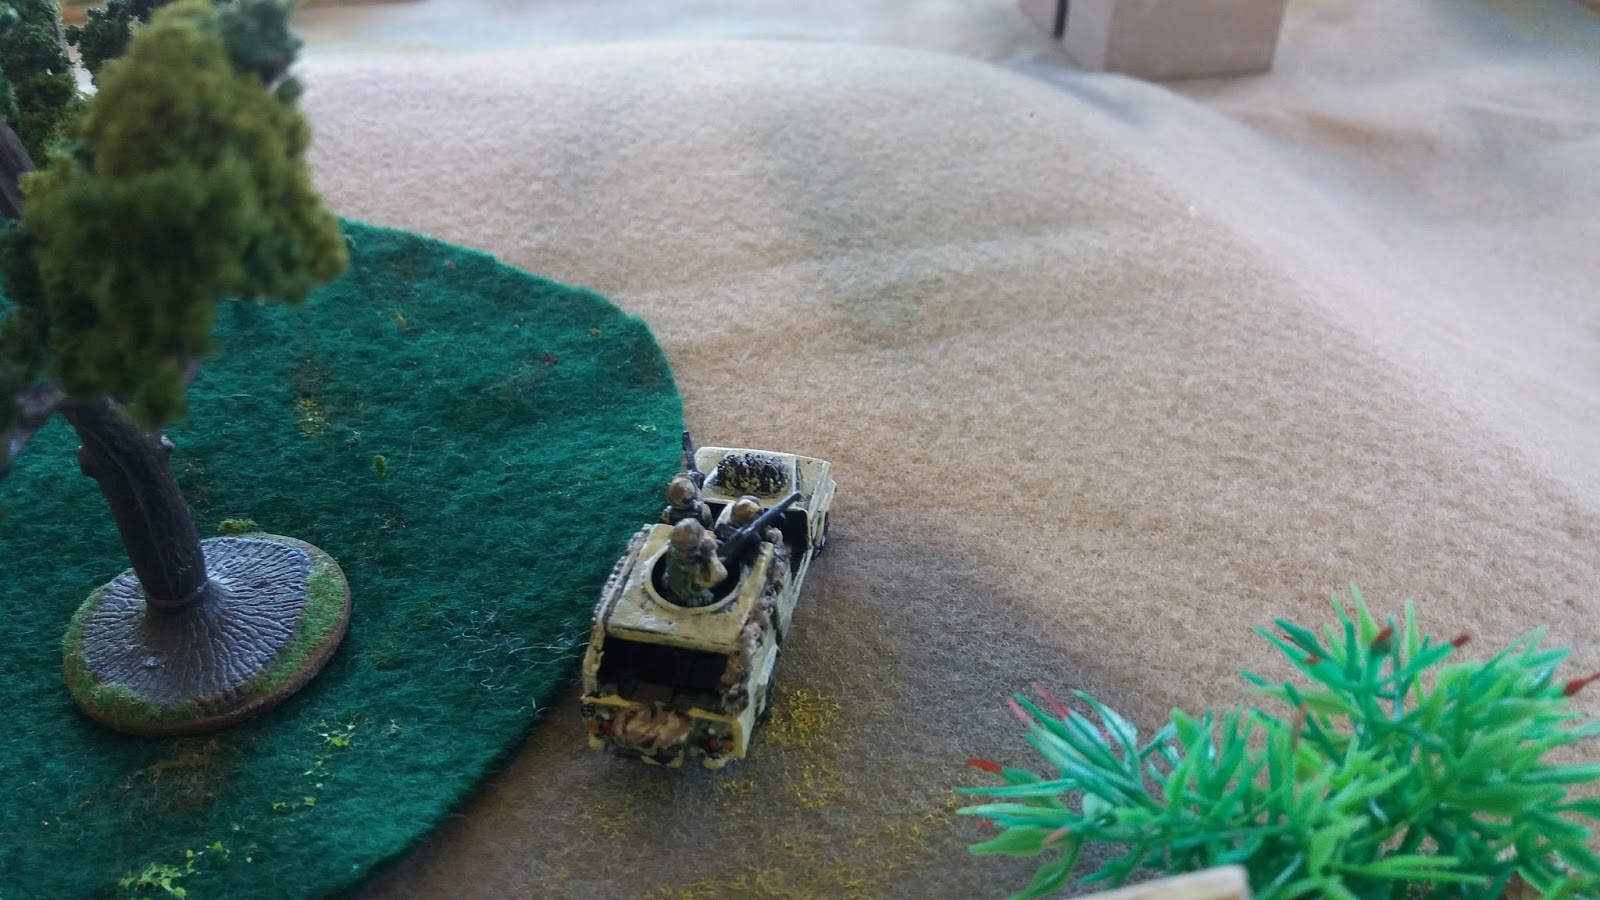
British vehicles - Warrior IFV with and without up armour kits, Saxon APC's and four WMIK Landrovers
My Taliban - possibly need some more of these guys and maybe some technicals etc
The game table I set up - two compounds with surrounding buildings, fields, woods and a hill at each end
The British force - I didn't take a similar team photo of Terry Taliban...
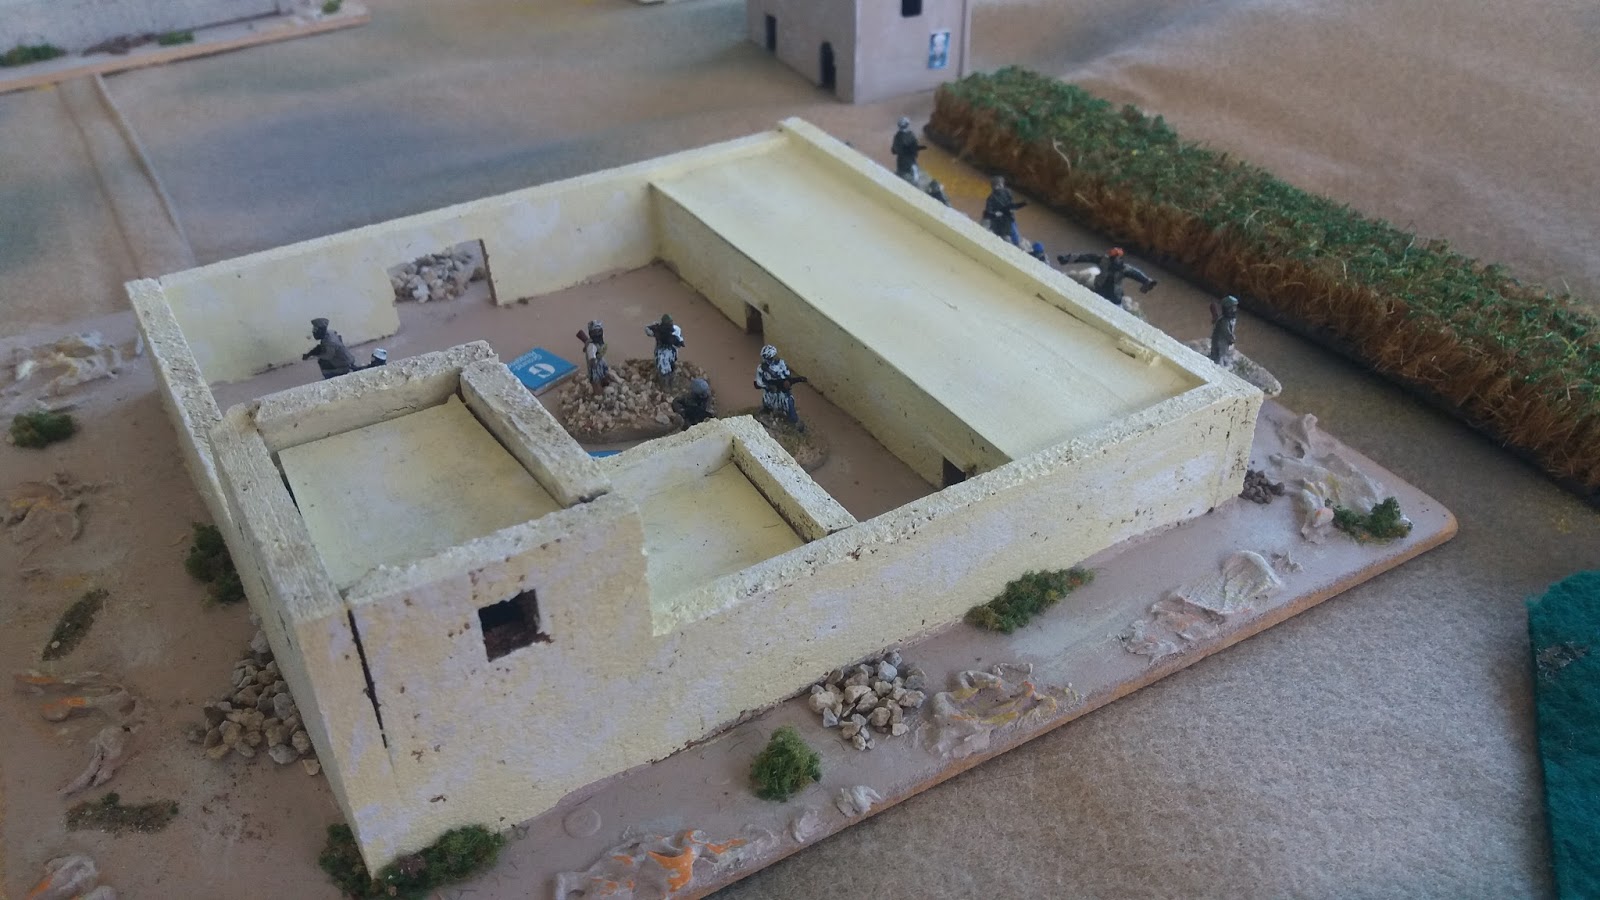
First Taliban unit in compound one
Second Taliban unit in compound two
The two Taliban mortars on the heights overlooking the village... to get going, I rolled two D6 - a red one for the Brits and black for the Talibs. The result was 4 - 1 in the Talibs favour and they started the action
The Talib activated one of their mortars and targeted a WMIK Landrover, scoring a couple of hits. They repeated this and the WMIK passed a pull back test to get out of the target area.
The second Talib mortar gave a repeat performance on WMIK number two!
There was change of initiative and the Brits advanced. The Warrior IFV decided to move and fire at the Talib mortar at the far end of the table - they rolled 9 and 5 meaning a hit then got a second hit on the D6 roll. They tried this again but this time did not achieve any hits.
The WMIK's then moved forward but were interrupted by the Talib mortar, which scored more hits on one of the vehicles and destroyed it - the one stand of infantry passengers dismounted sharply! The Warrior engaged the mortar team again and scored one more hit
The last couple of command tokens on the Talib side in move one were used repositioning an HMG and supporting AK armed troops to a building within 12" of the dismounted WMIK passengers. The HMG engaged with 2 x D10 needing 5+ but scored two 2's, so missed!
The view from the British entry point as one of the two WMIKs burns!
Move Two - Talib rolled 6 to Brits 3, so they had first initiative again. They decided to attempt to relocate the mortar teams to a position not under Brit observation - the IFV interrupted the move and scored an additional two hits, wiping out one mortar. The second mortar succeeded in moving out of sight. The Talib HMG in the building engaged the dismounted Brits from the destroyed WMIK and scored another two hits on them The HMG tried to do the same again - a Brit attempted interruption failed - but all the Talib shots went wide!
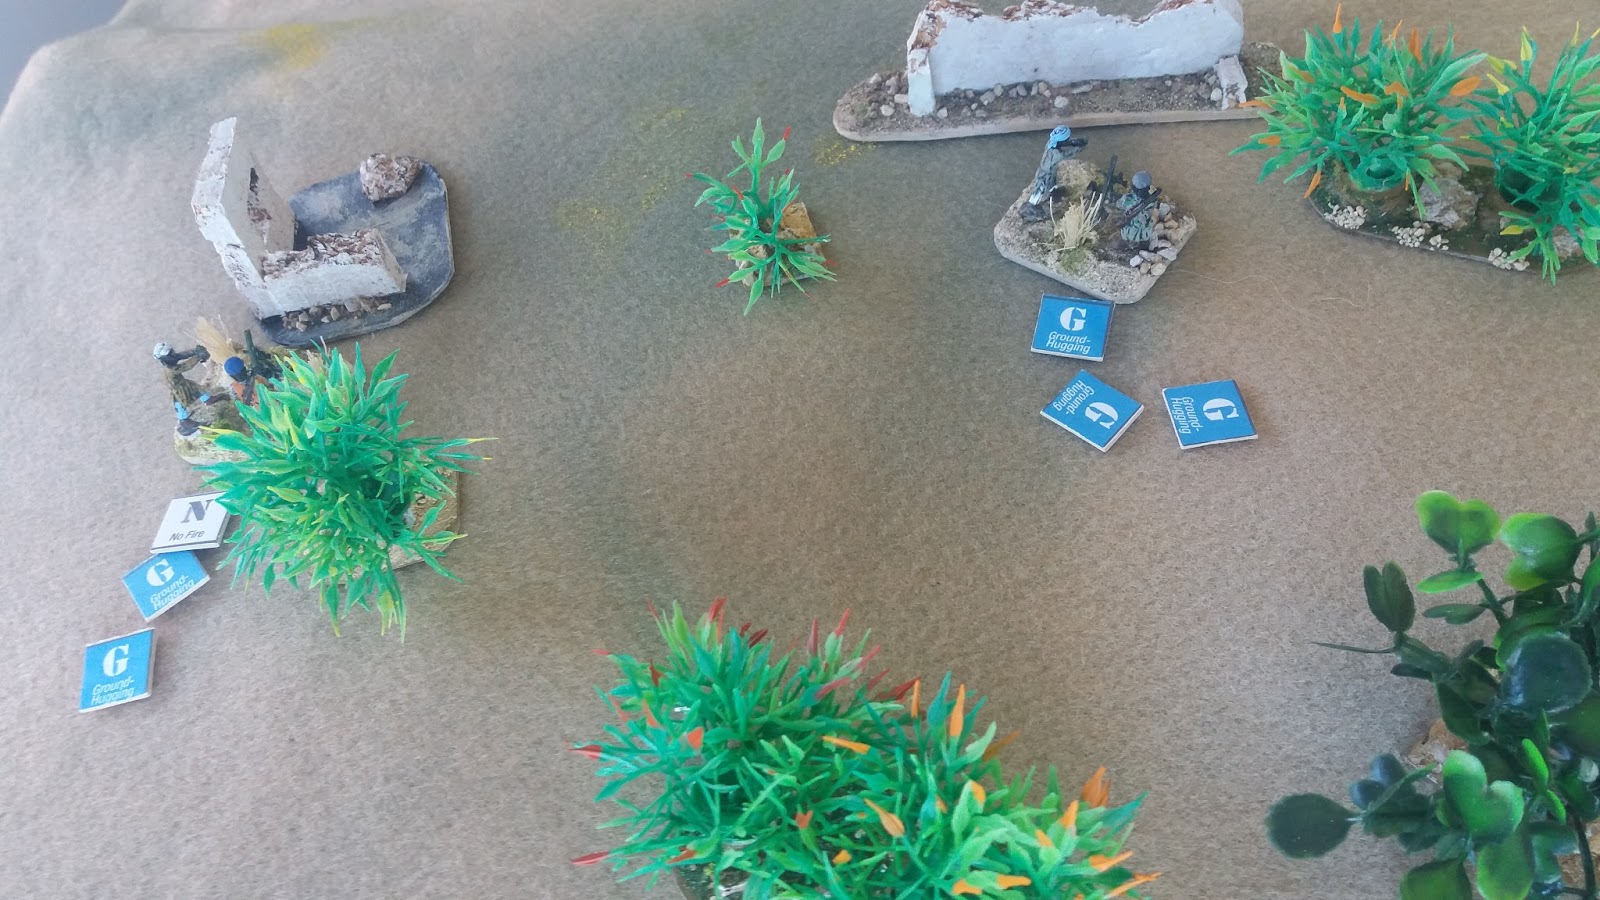
The Talib unit in compound two decided to relocate - their HMG gunner went solo up the hill overlooking the two Brit WMIKs whilst the rest of them headed towards compound one.
The HMG on the hill engaged the Brits below him and scored a hit. The gunner tried again - a Brit attempt to pull back failed - but the HMG missed entirely
Dismounted Brits troops in cover and under fire from HMG on heights above. The initiative changed and the WMIK 50 cal fired at the Talib HMG above but didn't hit him
The infantry passengers of the Warrior dismounted and took cover in an adjacent walled garden. The Talib attempted to interrupt but failed. The Warrior edged forward to get a better view of the Talib in compound one and engaged them - but missed. Initiative passed back to the Talib.
The Talib continued their redeployment with the group from compound two now in position behind compound one. Having completed this manouvre, they passed initiative back to the Brits. A SAW team lined up their sights on the Talib on the tower of compound one but their targets performed a successful fall back so the hail of bullets hit nothing but air.

That was the end of turn two and in the initiative roll, the Brits won for the first time with a 3 to the Talib 1. The WMIK engaged the Talib HMG with its 50 cal again and scored two hits. The crew attempted to repeat this success but the Talib HMG beat a hasty retreat into the woods! The 50mm mortar from the Warrior dismounts had two shots at the other Talib HMG on the top of a nearby building - first attempt missed but on the second they got two hits. The dismounted infantry from the WMIK tried the same target, the Talib failed to pull back....and the infantrymen missed. The relocated Talib mortar attempted a couple of shots at the dismounted Warrior team - they scored a couple of hits.
The Talib sheltering behind the compound popped their heads up to use an RPG on the Warrior. The IFV attempted to interrupt but failed and the Talib rolled a 3 - added to their armour hit value of 6, the resulting score of 9 was well short of the Warriors 12 armour.
The Talib attempted a second shot but the Warrior successfully interrupted and scored two hits on the RPG crew. This was the end of turn three.
The Brits won the initiative roll 5 - 3. They decided to use 4 of their 9 available command tokens and call in "Ugly 99" an Army Air Corps Apache attack helicopter. The Apache targeted the Talib group adjacent to compound one, including the RPG team. The pilot scored a maximum 3 hits and one unit of Talib was wiped out.
Ugly 99 on station looking for more targets to engage
The WMIK 50 cal took another shot at the Talib HMG in the building and wiped them out - the Brits were suddenly beginning to get the upper hand
Ugly 99 looking down on the Talib forces in compound one. The remainder of the Talib force outside the compound withdrew to cover. The last Talib mortar made three attempts in a row to drop rounds on the same Brit unit as on the previous occasions - all three attempts failed! Initiative went back to the Brits
The WMIK engaged and destroyed the remaining HMG in the woods on the hill, then repositioned onto the high ground to act as a Fire Support Group. The initiative went back to the Talib who put spotters back up in the tower of compound one and called in mortar fire again. The Brits interrupted, the Warrior firing HMG at the spotters, who in turn fell back to cover again. That was the end of turn four. In the initiative roll, I got two 1's, then two 2's, then two 1's again! On the fourth attempt, the Brits won 4 - 2.
Well it worked a treat last time, so the Brit JTAC called Ugly 99 in on the Talib who had survived the previous strike, now hiding in cover to the rear of compound one. That was another 4 of a possible 9 command points, but worth every penny!
Ugly 99 lines up a hellfire missile - rolled 3 hits on the D10 and an additional hit with a D6
The smoke and flame indicate where Terry Taliban had been hiding prior to the last action
I decided to call it a day at this point - the Taliban had been given a hiding in the end although they did inflict some casualties early on in the game and if their second mortar crew had been a bit better trained, they could have killed off half of the infantry dismounts from the Warrior IFV. The last few pics are just for fun! Above, an RAF Tornado makes a " hearts and minds" pass "pour encourage" the Talib to disengage
The remaining Talib from compound one make a strategic withdrawal
The remaining Brits enter the village - note the morale hits they are carrying - two units were one more hit away from being wiped out
The last photo of the victorious Brits
The battle toll was as follows :
Brits lost one WMIK and had two infantry units with 4 shock each
Talib lost HMG, one mortar and one infantry unit.
The rules worked well for the modern period - I may adjust the helicopter - it may not have been costly enough in command points and possibly hitting on a 4+ on D10 was too generous too - although I rolled 8 9 and 10 when I was using the Apache anyway, so they would still have been hits.....!