Saturday, 14 July 2018
Yesterday evening after work, Chris, John and I made our regular journey to Julian's place, where we spent an enjoyable three hours fighting an action from the Peninsula Campaign in the American Civil War, using the Kallistra hex based rule set and Julian's collection of Old Glory figures.
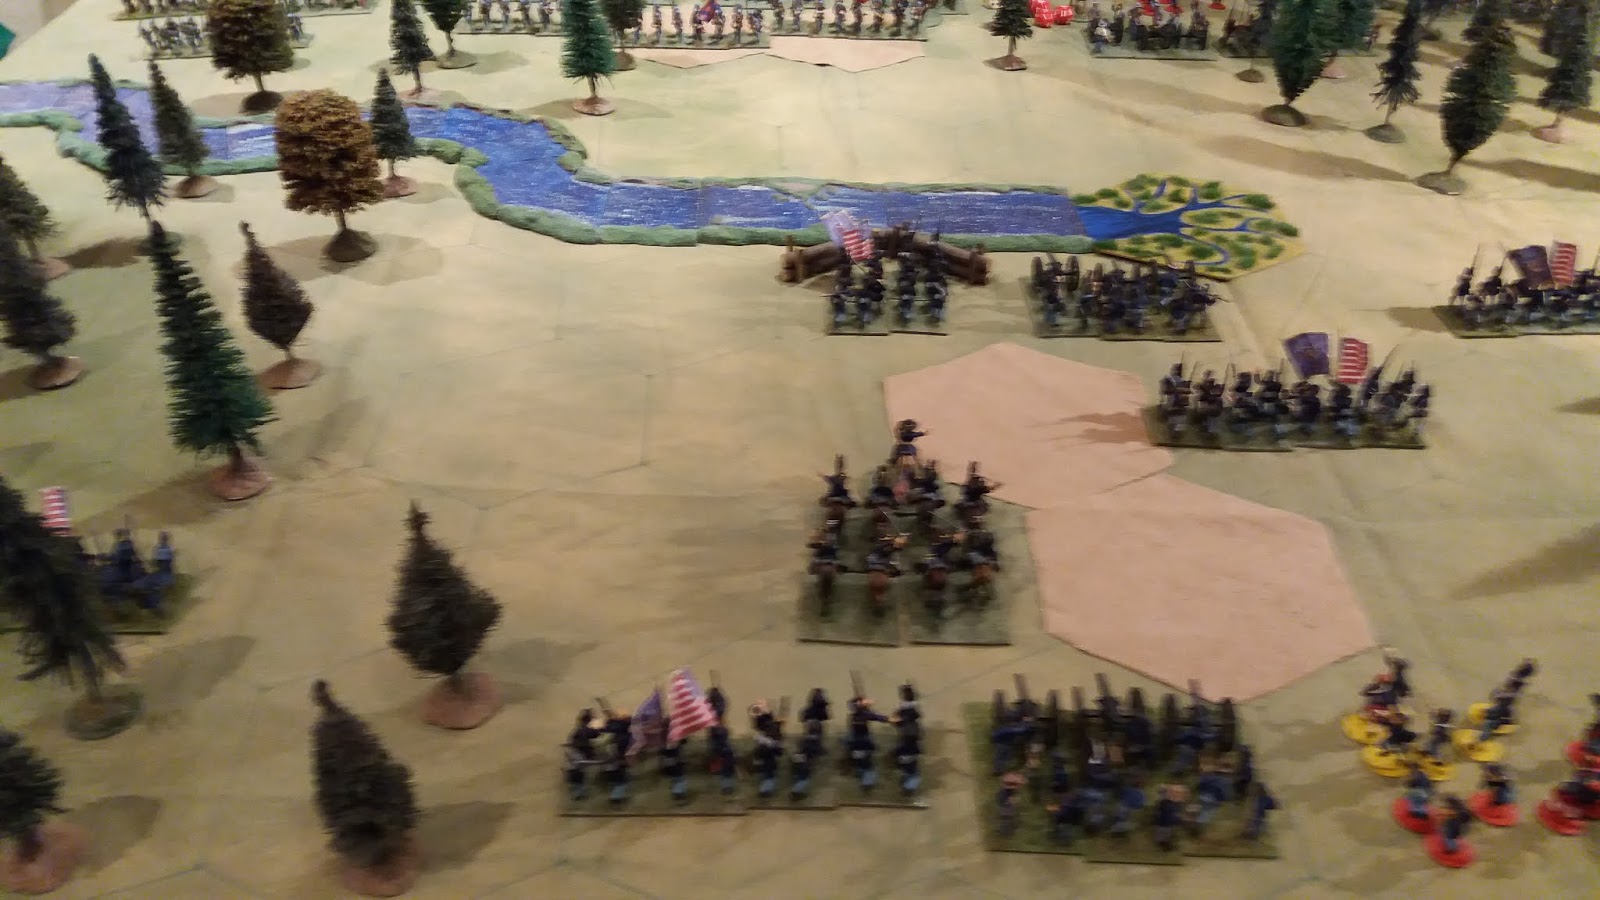
The game was based on a real battle but I failed to record the name of the action. The Union were defending a river that extended about halfway across the table, with two fords. One was covered by Union earthworks, the other was undefended. The aim of the Rebs was to turn the Union flank. The battlefield was liberally scattered with trees, making it better for defence than attack. Julian and I played the Union with Chris and "Johnny" Reb doing the attacking.
The game progressed roughly as per below - I commanded the Union right and was able to hold off Johns attack on that flank and by the end of the game had more or less destroyed his command; however, John and Chris's combined cavalry managed to break through the centre between Julian and me, turn Julian's right flank and dispose of half his force. Meanwhile, Chris sacrificed one or two units of infantry to force a crossing of Ford 1 and he outgunned Julian's defending force 3:2 in the fire fight. By the time we finished up, John's force had more or less ceased to exist but I was isolated out on the right flank as Chris finished off the last remaining units of Julian's decimated command - a Rebel victory, dagnabbit!
Below - the initial dispositions - these are an approximation!
Below - First moves - I pulled back two exposed units of elite Zouaves on my extreme left into the woods
The Confederate advance continues
After a couple of turns exchanging ineffectual fire at each other, John gave a Rebel Yell and launched a Pickett style charge. Meanwhile, Chris was wearing down Julian's forces on the other flank. I lost my gun early in the piece and Julian lost one of his two, so we were outnumbered in artillery now as well as cavalry!
Half Johns force was wiped out in the charge and the remainder left shaken. The Reb cavalry, however, had cleared out the centre of the field. Chris pushed across Ford 1 and Julian's force was spent - so the Rebs had achieved their aim and my guys decided to decamp whilst the going was good!
Images below - some a bit fuzzy due to the lighting challenges!
The first two are particularly bad but I left them in aa they give a general overview of the initial deployment....
Below - the right wing under my command
Below - the left wing under Julian's command
Below - the centre of the Confederate line begins the advance
Below - the field works occupied by my troops on the right flank
Below -Johns Rebs advance through the dense woods
Below -the extreme left of the Rebel line, one of the two cavalry units have dismounted
Below - the first attempt to force Ford 1 on Julian's Union left flank
Below - One of Julian's commanders directs the defence…..
Below - the Zouaves redeploying into the cover of the woods
Below - Julian's men arrive to defend the Ford 1
Below - the Rebs advance out of the woods to my front....
Below - same position from a slightly different angle
Below -the defenders were pushed out of their mini redoubt by the Confederate advance
Below - the second confederate cavalry charge - the first one drove off the unit covering Ford 2 but then succumbed to cannister from our one remaining battery of guns
Below - a second wave of Confederate infantry cross Ford 1
Below - the high watermark of John's assault
Below - the Union recover possession of the defensive position and drive the Rebs back
Below - the decimated remnants of the Confederate left flank
Below - the Reb cavalry about to prevail after a mamouth struggle
Below - Confederate artillery in position on the river bank
Below - more and more Confederate infantry pour over Ford 1
Below - final view of the table - my command (out of shot in bottom right) was more or less intact but the rest of the field was swept clean of Union resistance - the Confederates had succeeded in turning the flank!
Thursday, 5 July 2018
Tonight Julian and reprised last weeks encounter with another two games of his Samurai fantasy skirmish board game "Okko"
This week, I made sure I had my glasses with me so I could read all the special character traits on the various cards - and what a difference it made - that and some great dice rolling!
We played two games in 90 minutes then retired to eat dinner and watched a good film on Netflix with Tina Fey as a journalist in Afghanistan - and I still left for home not much later than 9pm - an excellent way to spend a Thursday evening!
The two games were linked scenarios - The Cursed Temple parts 1 and 2. This time, I chose to be the "goodies" while Julian was the dark forces.
Here are some pics and a brief run down on the action....
Setzuka Female warrior
Noburo
Okko the hero
The Black Samurai
My essential equipment!
My warband in position for the start of game one
The opposition - Master Kanata and Oni Bushi
Oni Warau and Oni Sumo
First moves by Julian - Master Kanata and Oni Bushi in a combined attack on Noburo
A couple of moves later - Noburo and Setzuka have both been pushed back by the assault
Noburo attacks Master Kanata whilst the Samurai and Okko turn to face the Oni Warau
Oni Sumu attacks Noburo from the rear forcing him to retreat shaken - but still alive! Meanwhile Setzuka has dispatched the Oni Bushi and is attacking Master Kanata
Okko and the Samurai had two successful attacks on the Oni Warua, pushing him back shaken, then the Samurai turned about to support Setzuka (who had in the meantime combined with Noburo to finish off Master Kanata) in her assault on Oni Sumo. This was successful and so the game ended with my force intact and three of Julian's four characters dead!
Game Two - my group in their starting position
Noburo advanced alone towards the temple to confront the two characters guarding the Cursed Alter, whilst the other three figures turned on their pursuers. Because three of Julian's figures ended the first game "dead", they started this game shaken. Okko and the Samurai combine in an attack on the Oni Sumo.
Next round, Oni Sumo is gone and the three friends advance on the lone figure of Master Kanata
Master Kanata managed to pull back and fend off one assault by Setzuka but then Okko joined the fray and overcame this resistance
Meanwhile, Noburo was taking on two enemies on his own at the other end of the board. He was driven back by Oni Warau ……...
…...but then used his special "leap" power to bypass this formidable opponent and reach the Cursed Alter - all he had to do was roll 1-3 on a D6 to destroy it - he rolled a 4!
The fight continued with Oni Warau making a rear attack on Noburo - who turned and defeated his attacker.
Now only the Oni Bushi was left in Julian's force whilst I had all 4 of my team still in play. I had obviously prevailed again but just to prove it, Noburo rolled a 2 and destroyed the Cursed Alter!
Subscribe to:
Posts (Atom)