Today, for the first time in a long time, it was my duty to arrange the scenario we would play. Several group members had requested a NW Frontier style game, using my own home brew rules (which are just a mish mash of bits and pieces I liked from other sets...but aren't they all, mostly?!). The main core of the rules came from Canadian Wargames Group Habitants and Highlanders and has a nice way of differentiating commanders ability.
Each commander has a command ability rating and a pack of 15 cards. A grade 6 (worst) commander must roll under 6 on 2 D6 to activate. If he fails, he gets one action, if he passes, he turns over an action card from his pack, which can be 1 action, 2 actions, 3 actions or 2 actions and reshuffle pack. Ther is a grade 7 8 and 9 commander too. The make-up of the packs varies by ability - so the grade 6 commander has more 1 action and less 3 action and the grade 9 commander the opposite. So, on average, a better commander has more chance of activating and more chance of being able to do more with his troops.
Apart from this brief mention of the command-and-control aspect of the rules, I won't give a blow-by-blow account of how the rules work. As they are not available for anyone else to use, explaining how they work seems pretty redundant! The figures for the game were mostly mine, augmented by some colonial Brits from Barrys Sudan collection and by Andrews generic Indian Sub-Continent/Middle Eastern collection.
The idea behind the game was a British force holding a hilltop village besieged by attacking Pathan tribesmen and two relief columns marching to their assistance. Of course, the wily Pathans were not going to just sit back and allow the siege to be lifted and they had hidden blocking forces in place, ready to ambush the advancing British columns!
Deep in the Pathan hill country of the Hindu Khush, a large force of tribesmen has invested a hilltop village, used by the British as their local garrison.
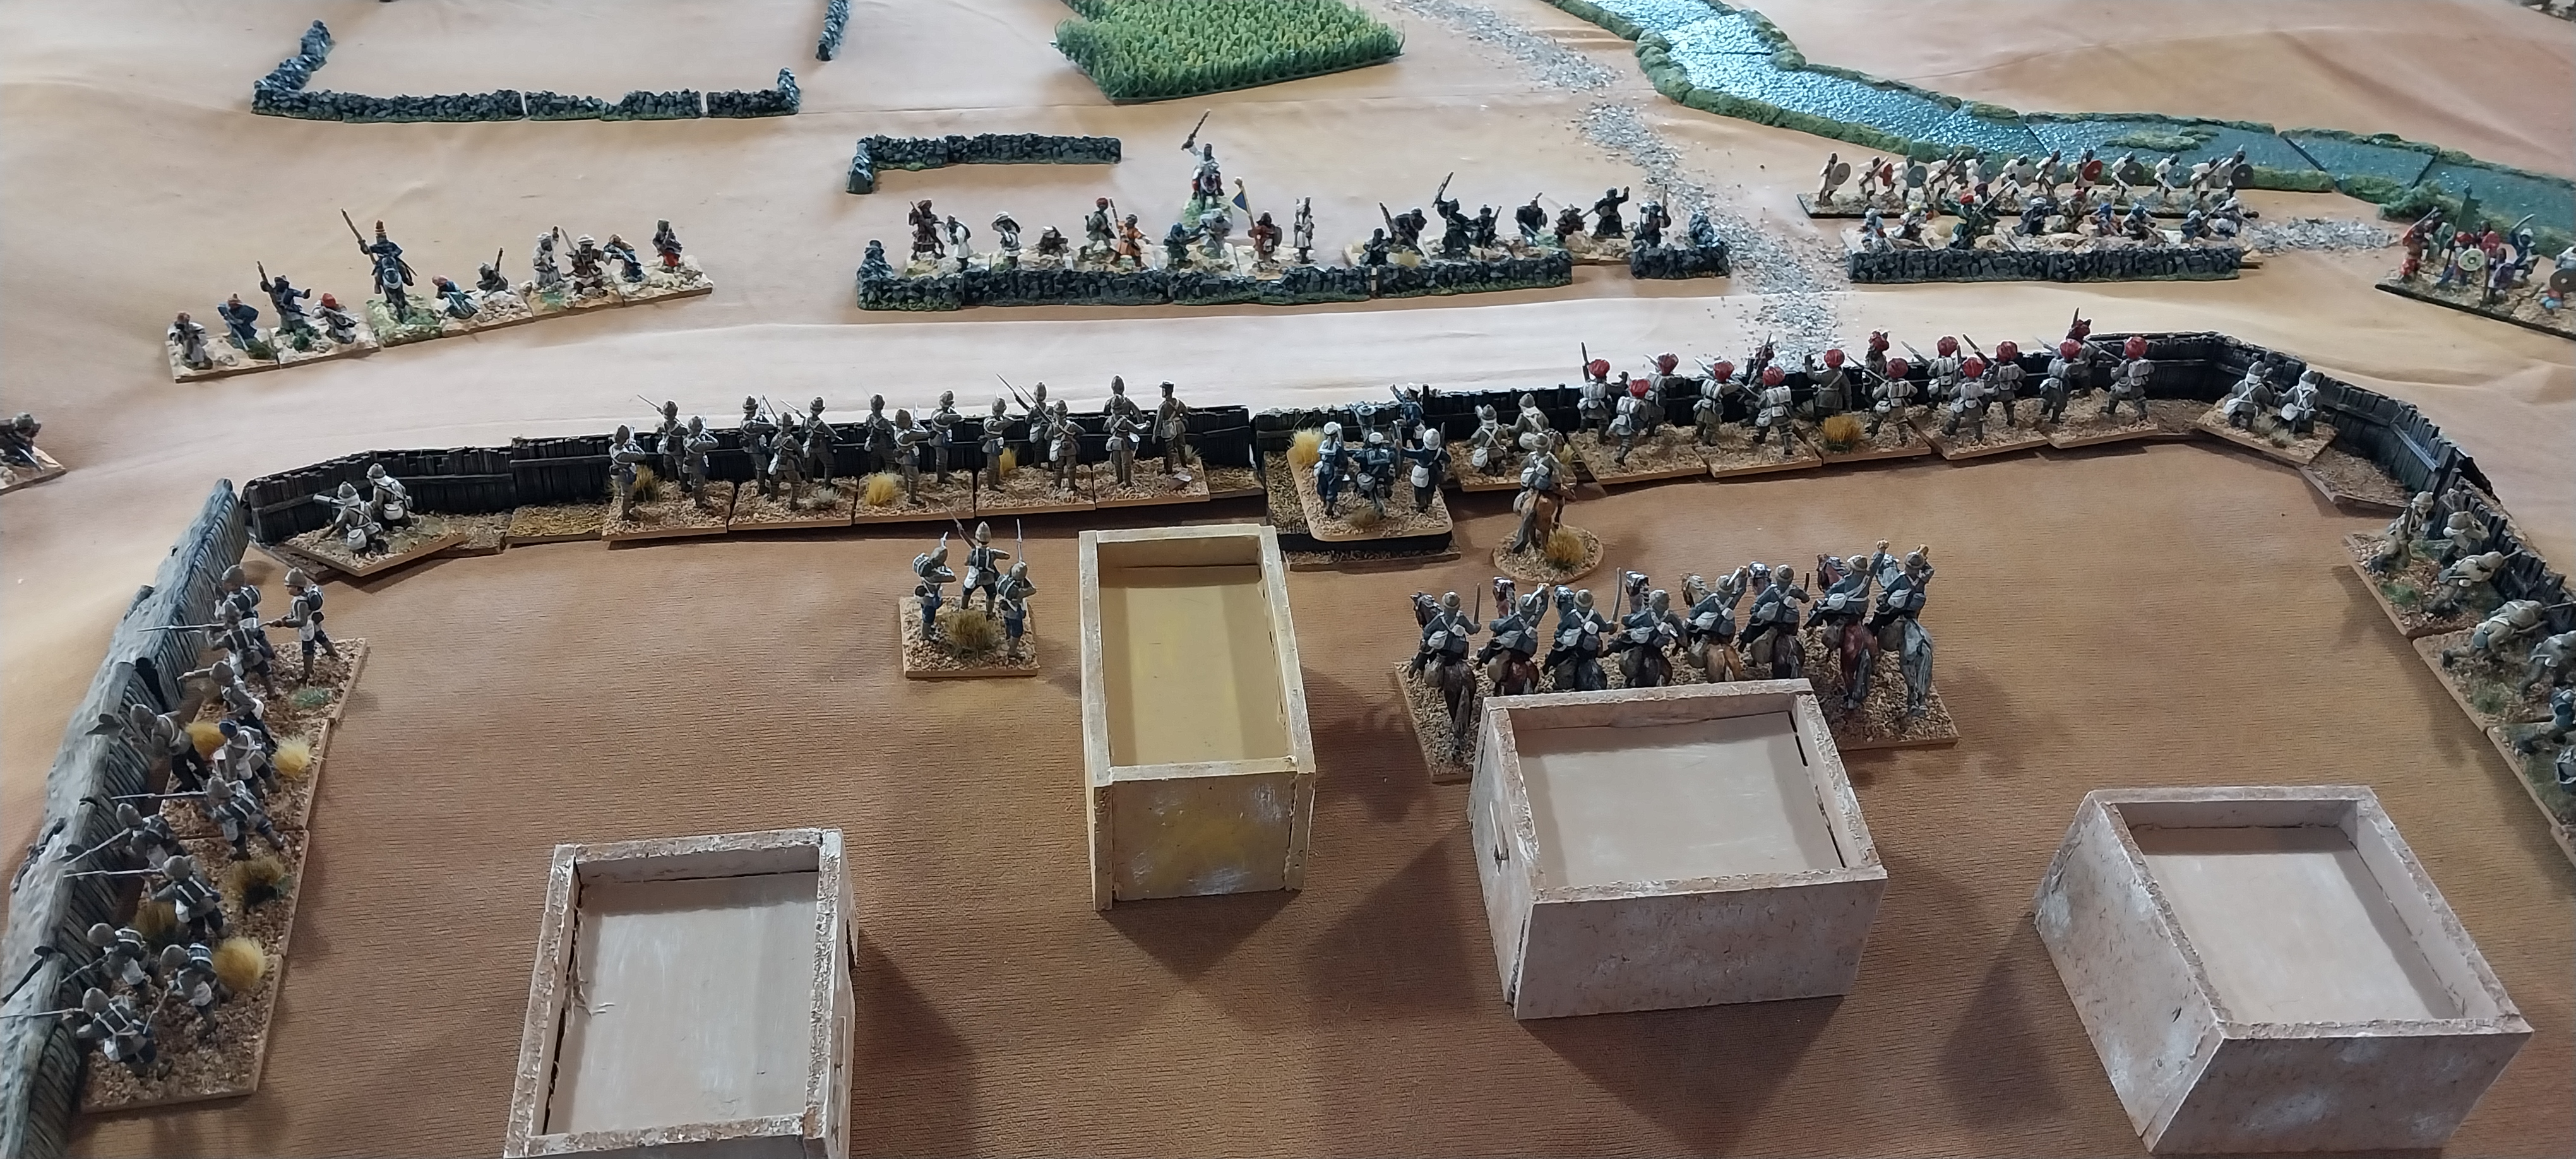
The smaller British force is arrayed in defence behind a stout redoubt
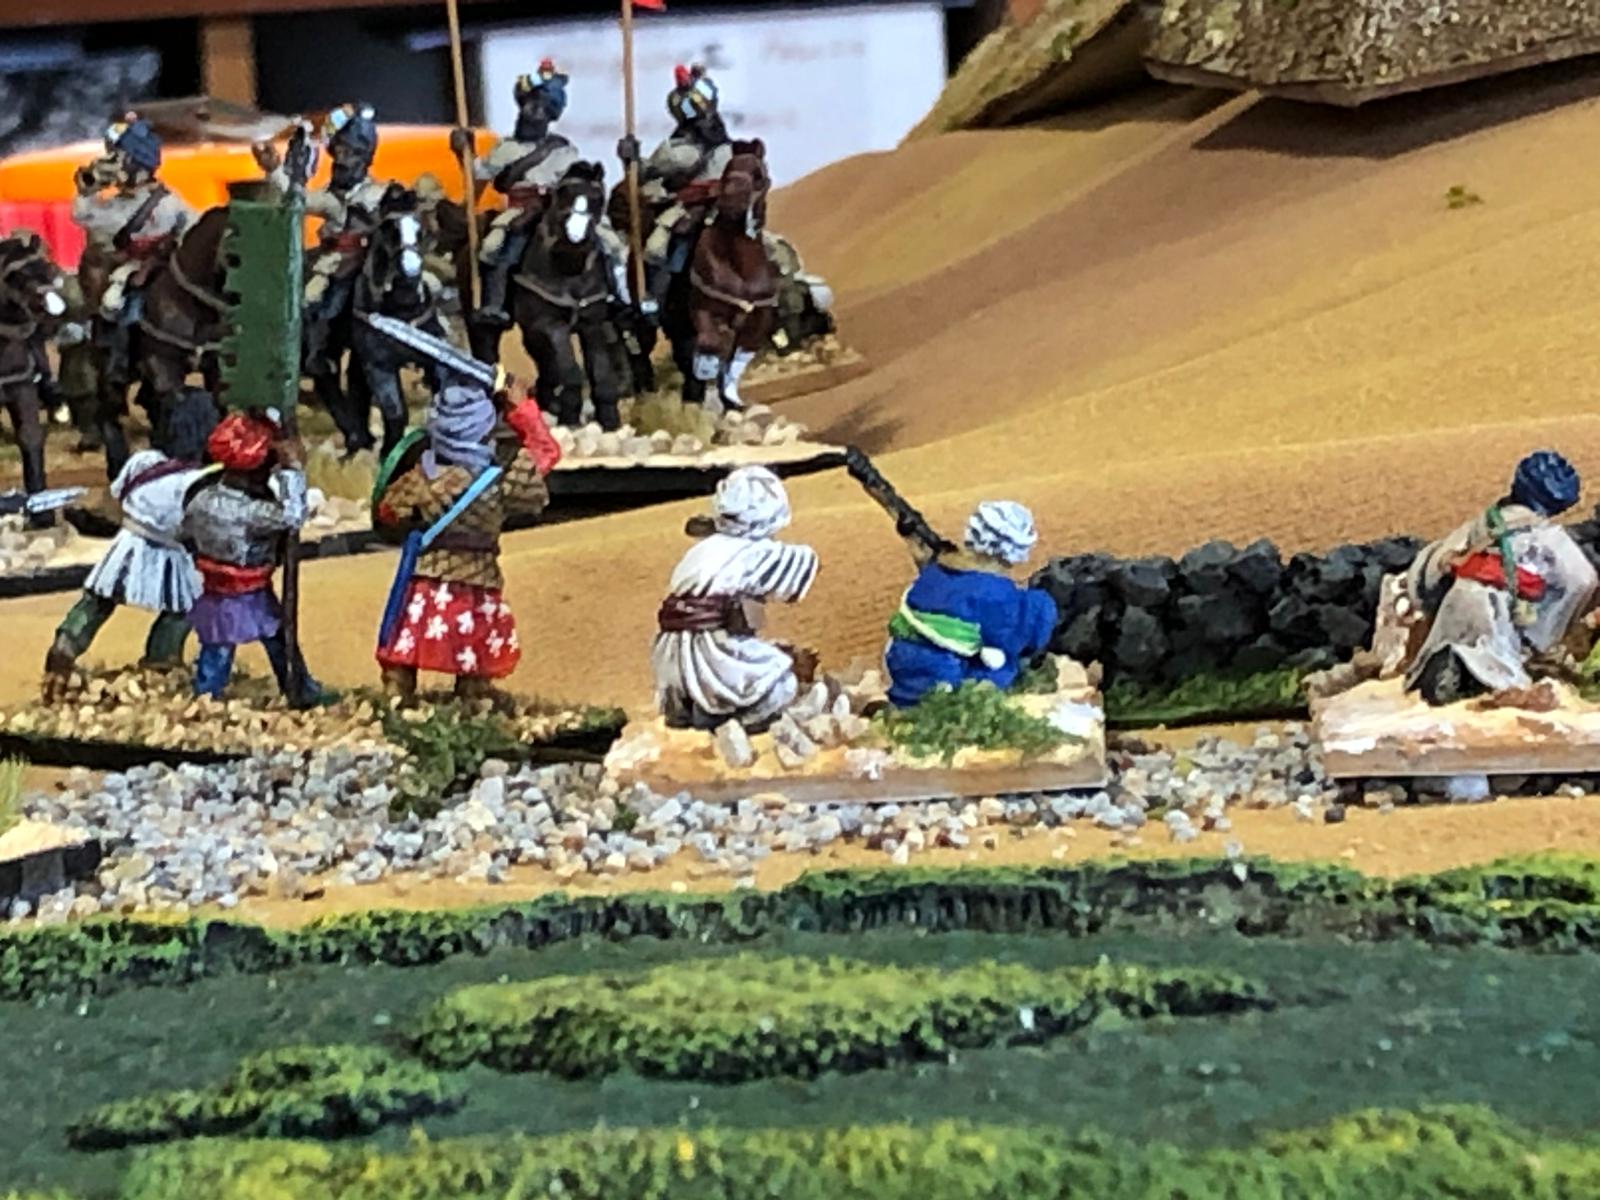
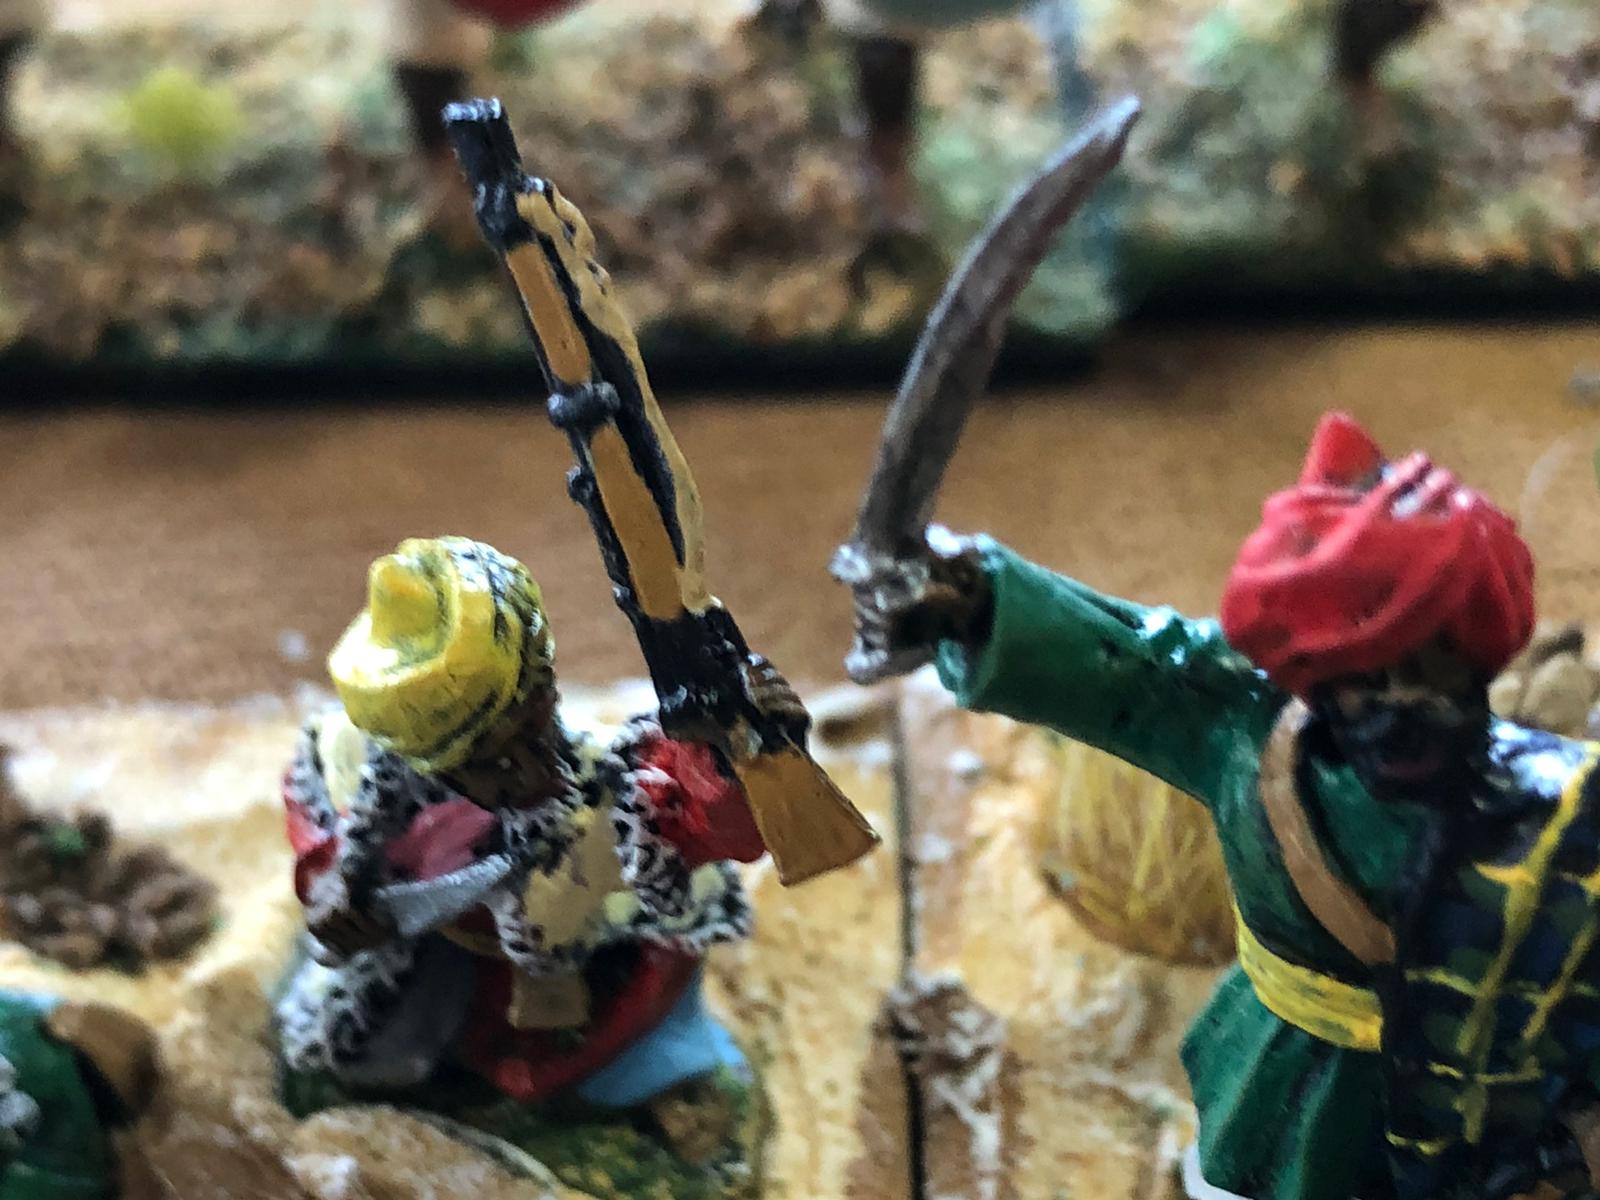
Sword and spear armed tribesmen mass for an attack.
As their rifle armed colleagues pepper the defenders with 303 bullets
The staunch Tommies match the attackers round for round. Casualties are relatively light, as both sides are at maximum range and, for the most part, in cover.
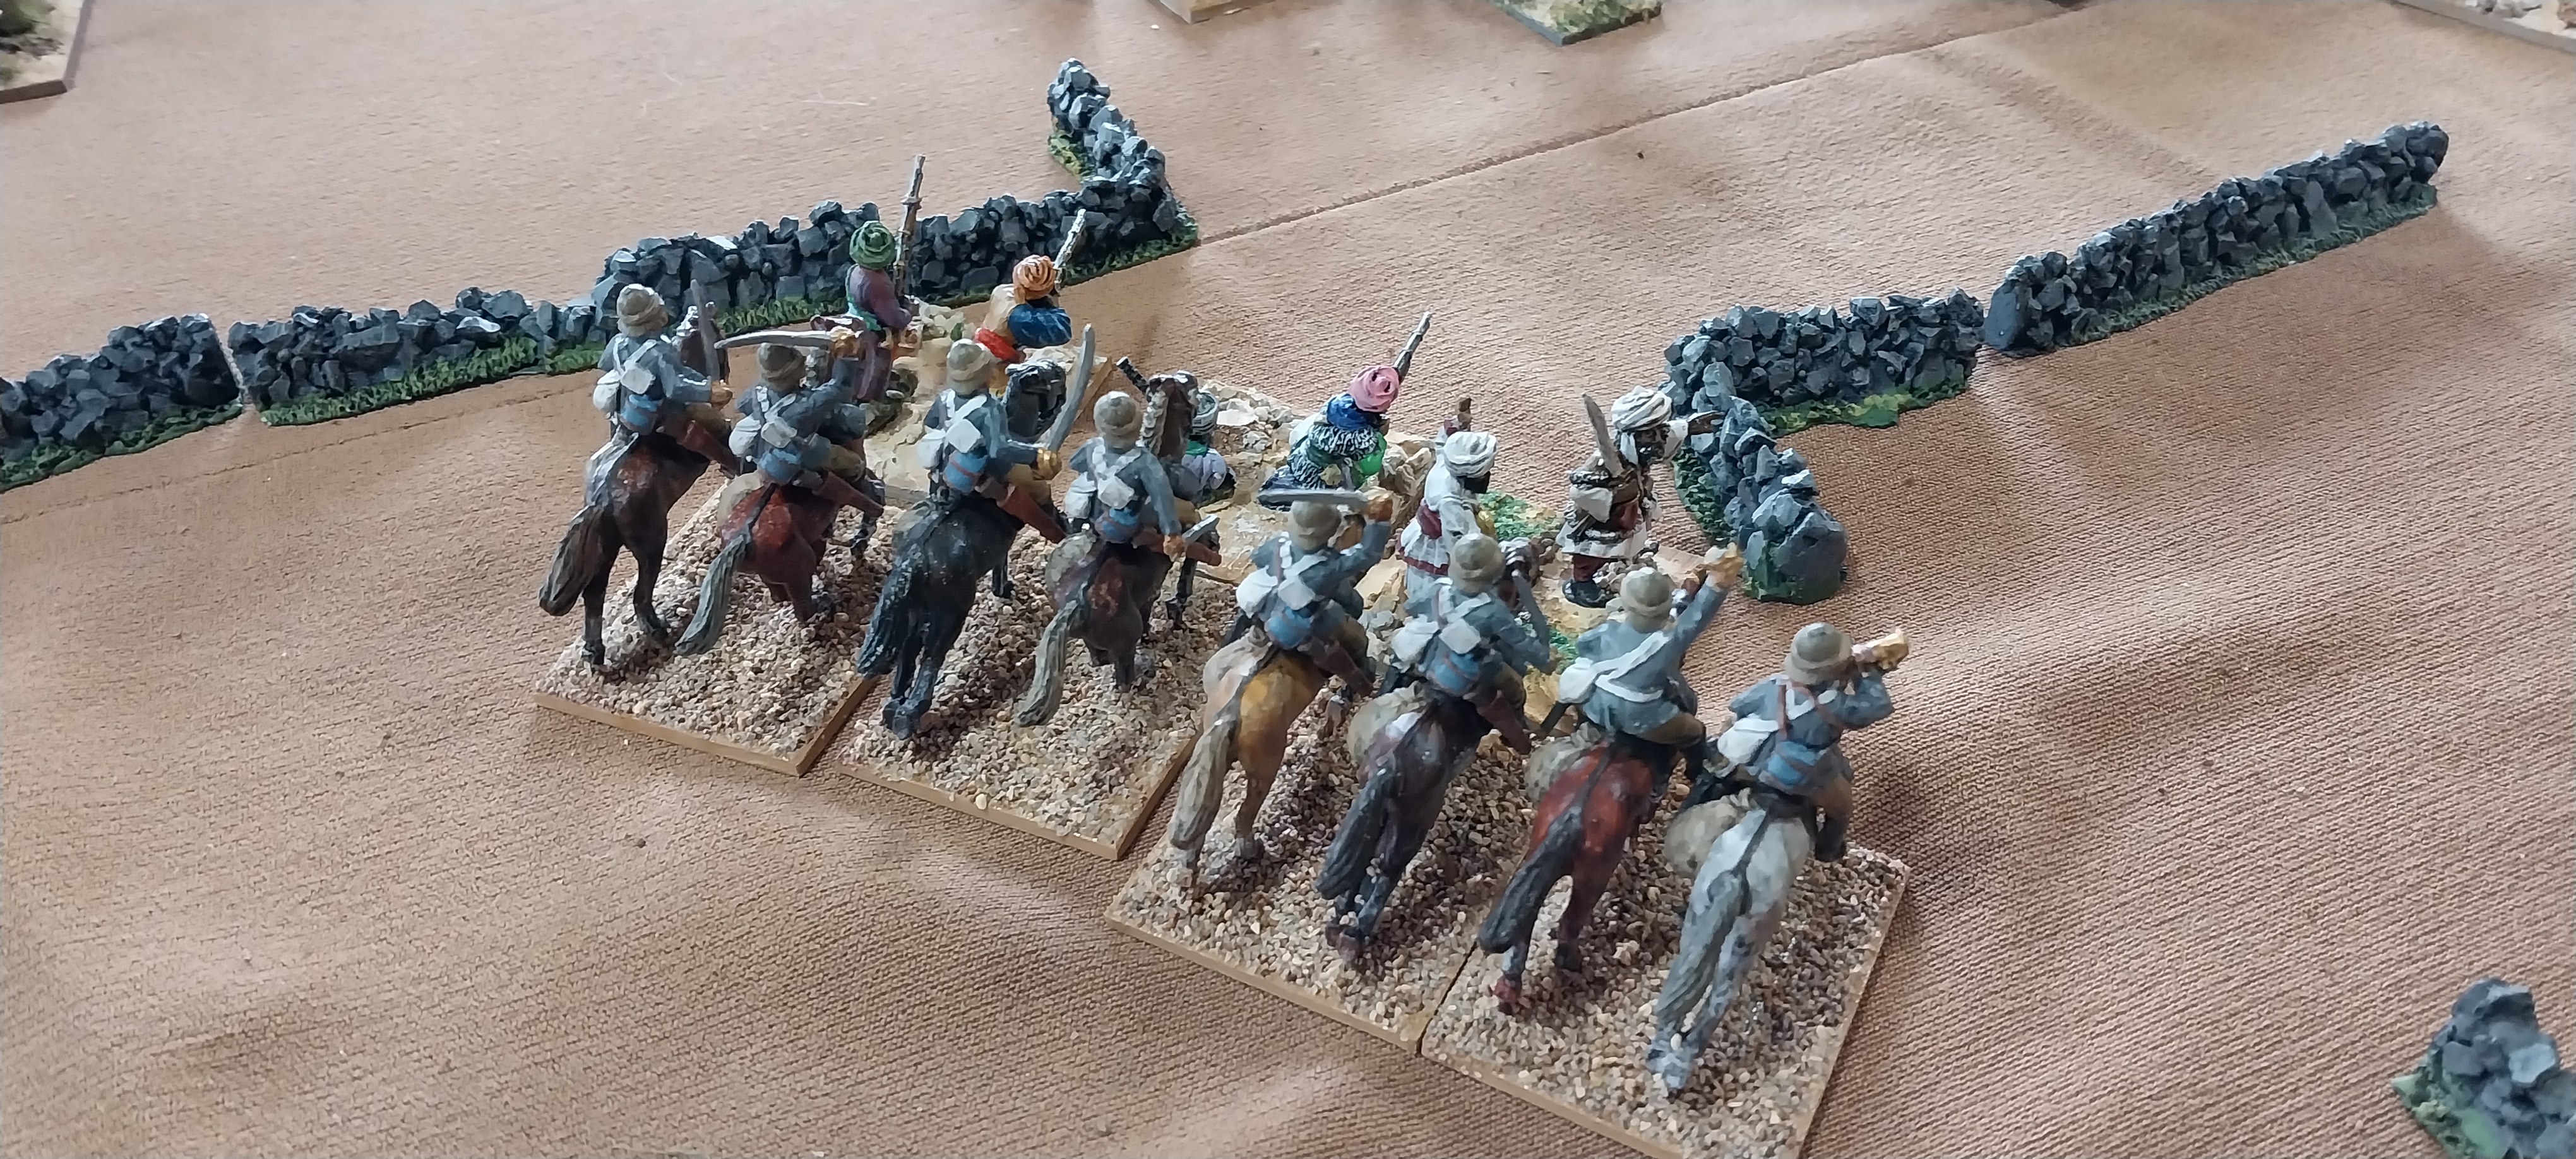
The first British relief column arrives within sight of the beleaguered village. Cavalry patrols scour the heights to the right - and spring a Pathan ambush!
Pathan tribesmen fire at the cavalry scouts
Simultaneously, a large force of Pathans rise from the seemingly empty hillsides to the left of the column - fortunately, a fast-flowing river is between the British left flank and this new threat!
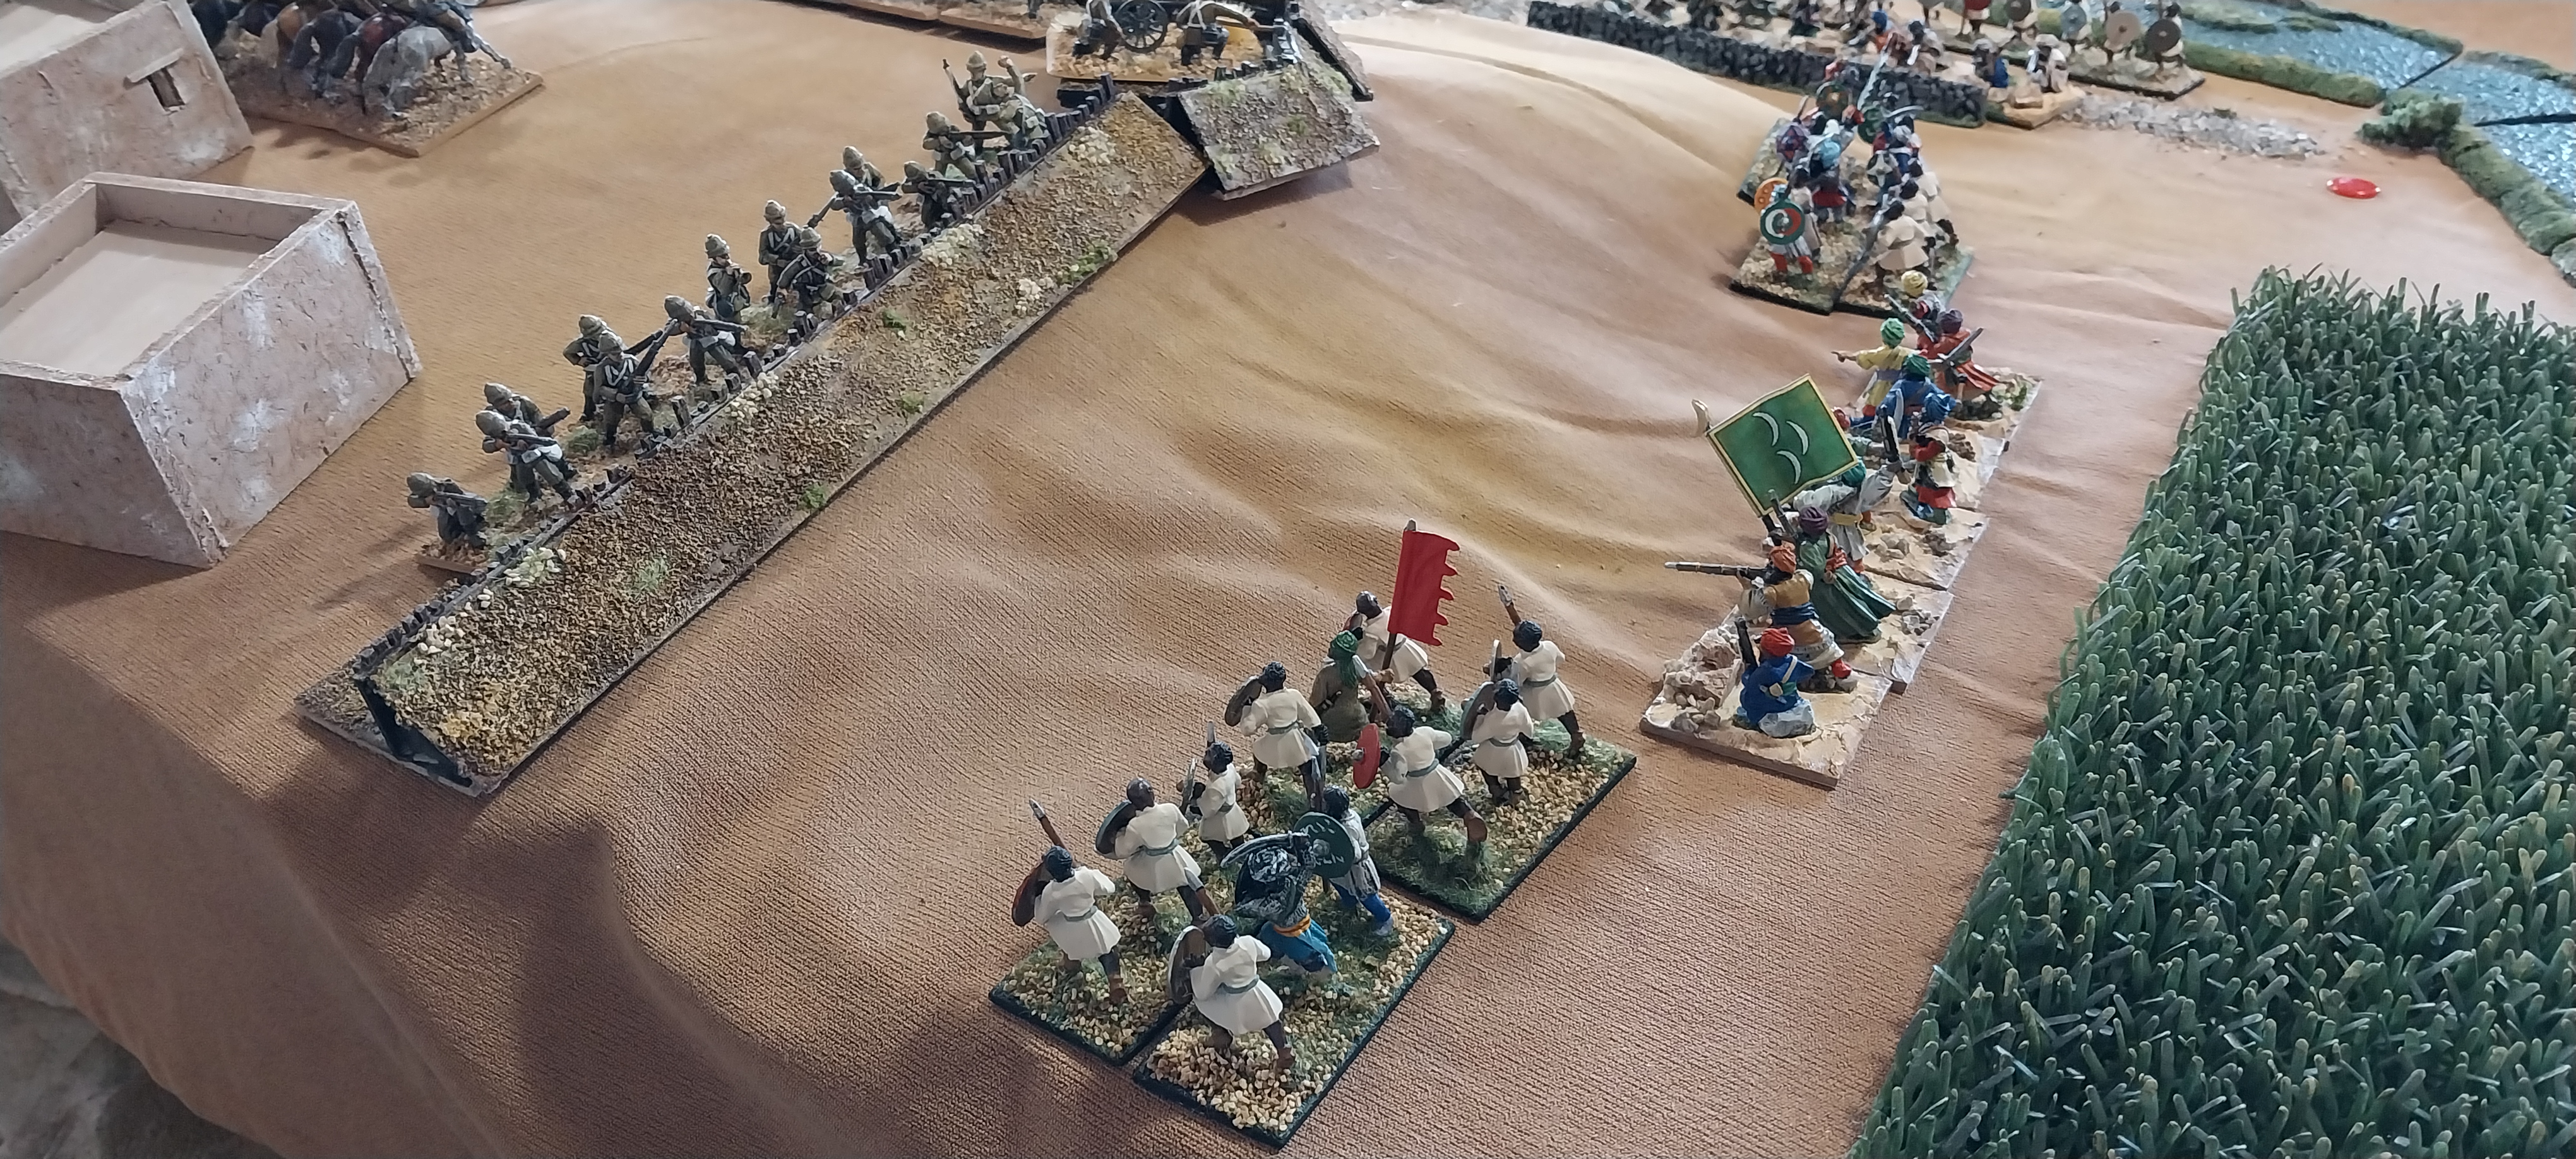
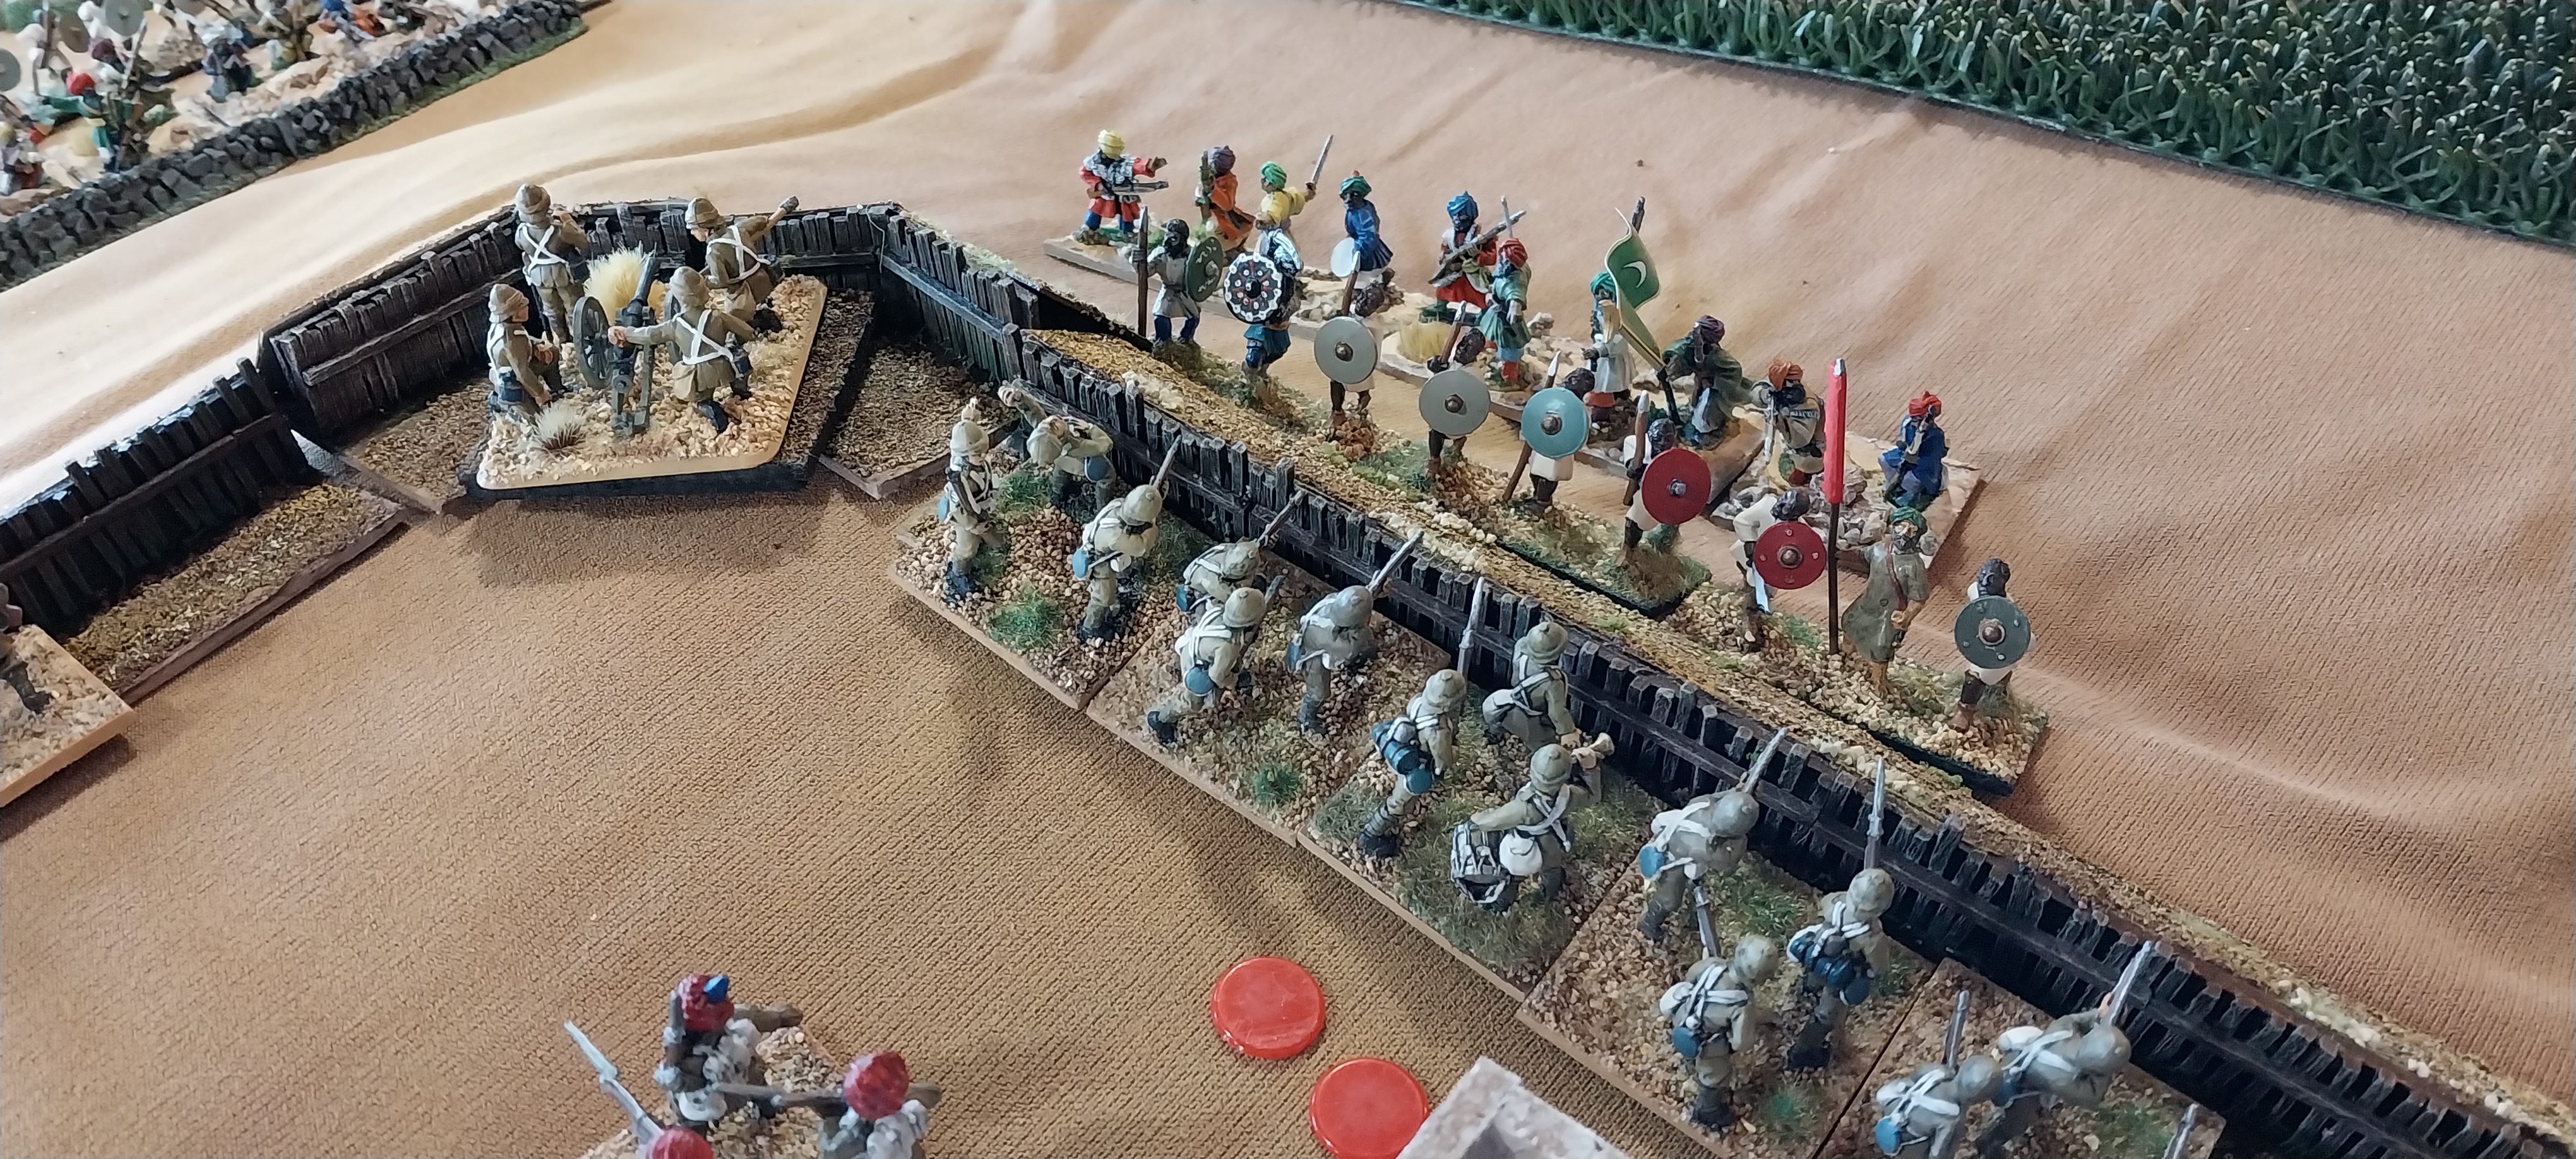
Back at the fort, the Pathans put in a series of near suicidal assaults - no man amongst the British defenders can doubt the courage of their opponents!
A fierce struggle erupts along the defensive rampart as bayonets clash with tulwars and thrusting spears.
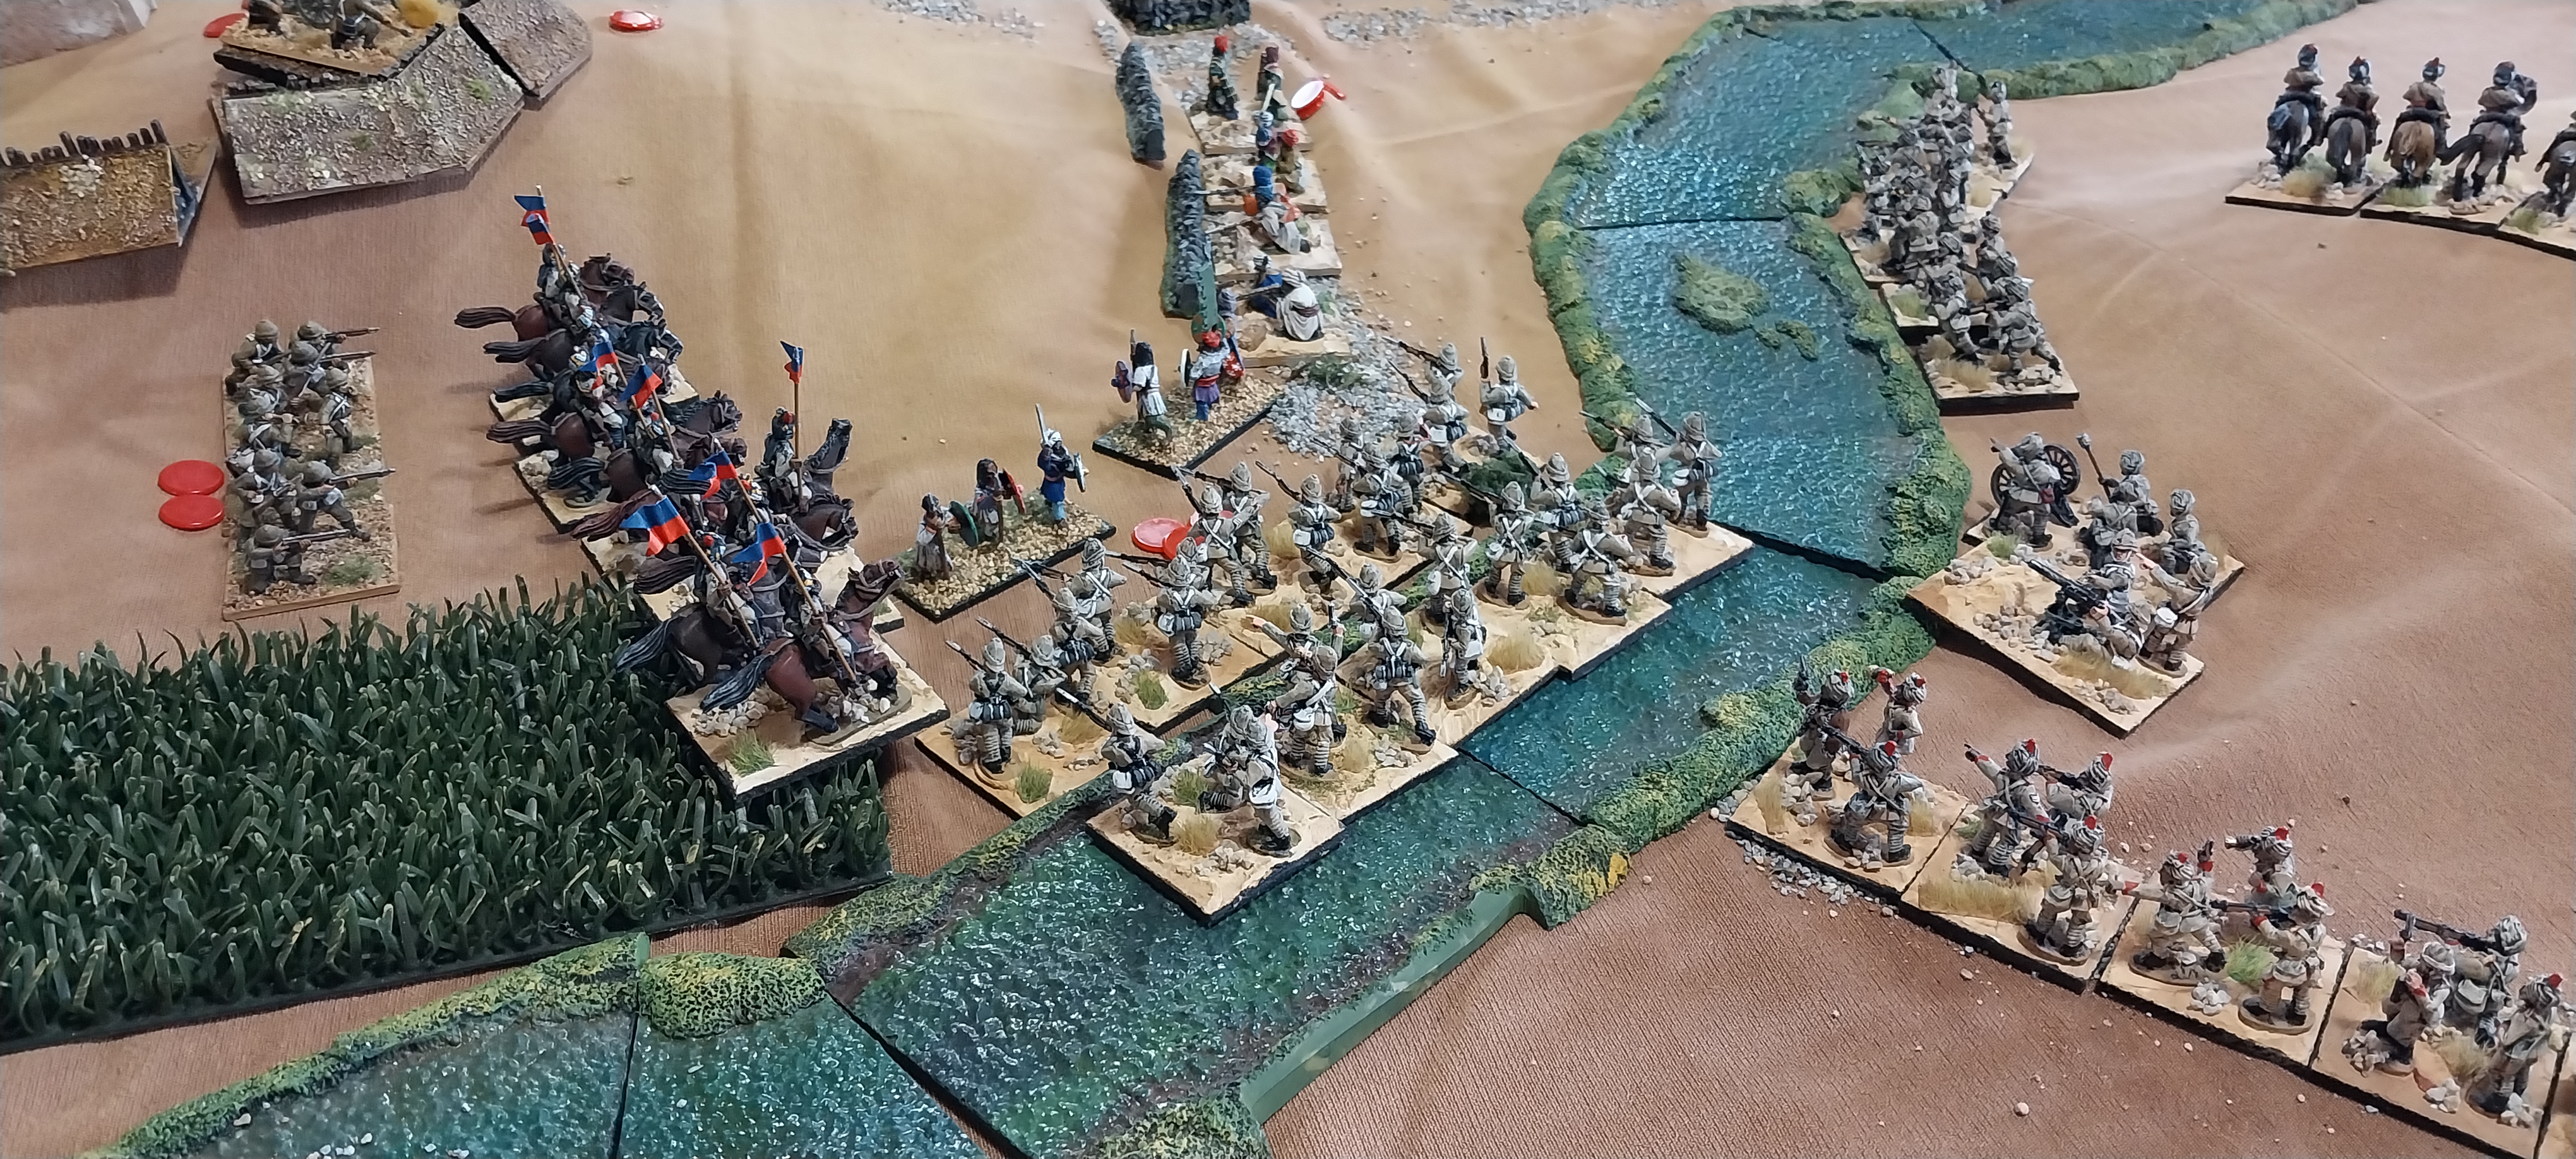
Returning to the first British column, and the infantry (Gurkhas and Highlanders) deploy quickly behind the cavalry screen.
As the second relief column advances cautiously in the adjacent valley to their left. on the far side of the river
Disaster! After two rounds of close combat, the Scots Greys are driven off!
But the dogged infantry of the first column presses on towards the besieged position ahead.
A second wave of Pathans appear from the broken ground ahead of the British lancers - that's quite a sizeable force of enemy cavalry!
Allah u Akbar!
The second force of Pathans, led by a rather incompetent commander, have made slow work of reaching the banks of the river, and despite a desperate search, have failed to find a suitable crossing point, so have to content themselves with long range sniping at a British MG and mountain gun.
Their infantry colleagues having held off the attacking Pathans, the garrison cavalry emerge from their hilltop HQ to take the fight to the enemy!
Relief column number two can see a thin line of Pathans on the high peaks to their right, but the enemy seem to be content to sit and watch them advance towards the village within intervening. The Indian cavalry screen the advance, keeping a wary eye on the distant tribesmen.
The last remnants of the British lancer regiment continue to melee with four times their number of native horsemen.
And the Gurkhas launch an assault on some Pathan infantry.
The garrison cavalry ride down some of their erstwhile besiegers
Column number two continues to move towards the river while the Indian cavalry observes the distant Pathans.
The Bengal Lancers, having discovered a suitable crossing point somewhat upstream, cross and charge some Pathan swordsmen attempting to hold the ford. The tribesmen are caught between the hammer of the lancers and the anvil of the British infantry.
The Highlanders and Gurkhas of the first column, despite having suffered some reverses at the hands of the Pathans, now seem to have the measure of their foes.
Gurkhas charge in, the bright Indian sun flashing on their razor-sharp Kukri knives!
Final view from the village, the besieging force has been driven from the field and much of the surviving garrison has emerged to join the relief columns in "tidying up" the remaining Pathans.
A final act of revenge, the garrison cavalry sweep over the enemy gun crew, sabers flashing silver then red as the they fly through the air.
The commander of the garrison (played by Barry)
The commander of the first column (Rick)
The commander of the second column (Paul)
The Pathans were led by John (the besieging force, Andrew (against Rick) and Chris (on the far side of the river). The British had one exceptional commander (Barry) and the Pathans had one poor commander (Chris) apart from that, the other four were all much of a muchness but the Pathans did have some bad luck with Andrew mostly only ever getting a single activation per turn. The fight around the village for the first three turns was a bloody stalemate - both Barry and John turned over a lot of 3 action cards, so a lot of ammunition was expended, and the British were certainly whittled down, none of their infantry units remained at full strength and three of them were down to 60% by the end of the game.
Now, John has sent me his traditional large number of close ups - I can't be bothered editing them into the game report above so will just leave them as eye candy and perhaps add a brief description to a few of them as a I scroll past!
Old Glory Indian infantry from my collection
Andrews lovely native cavalry
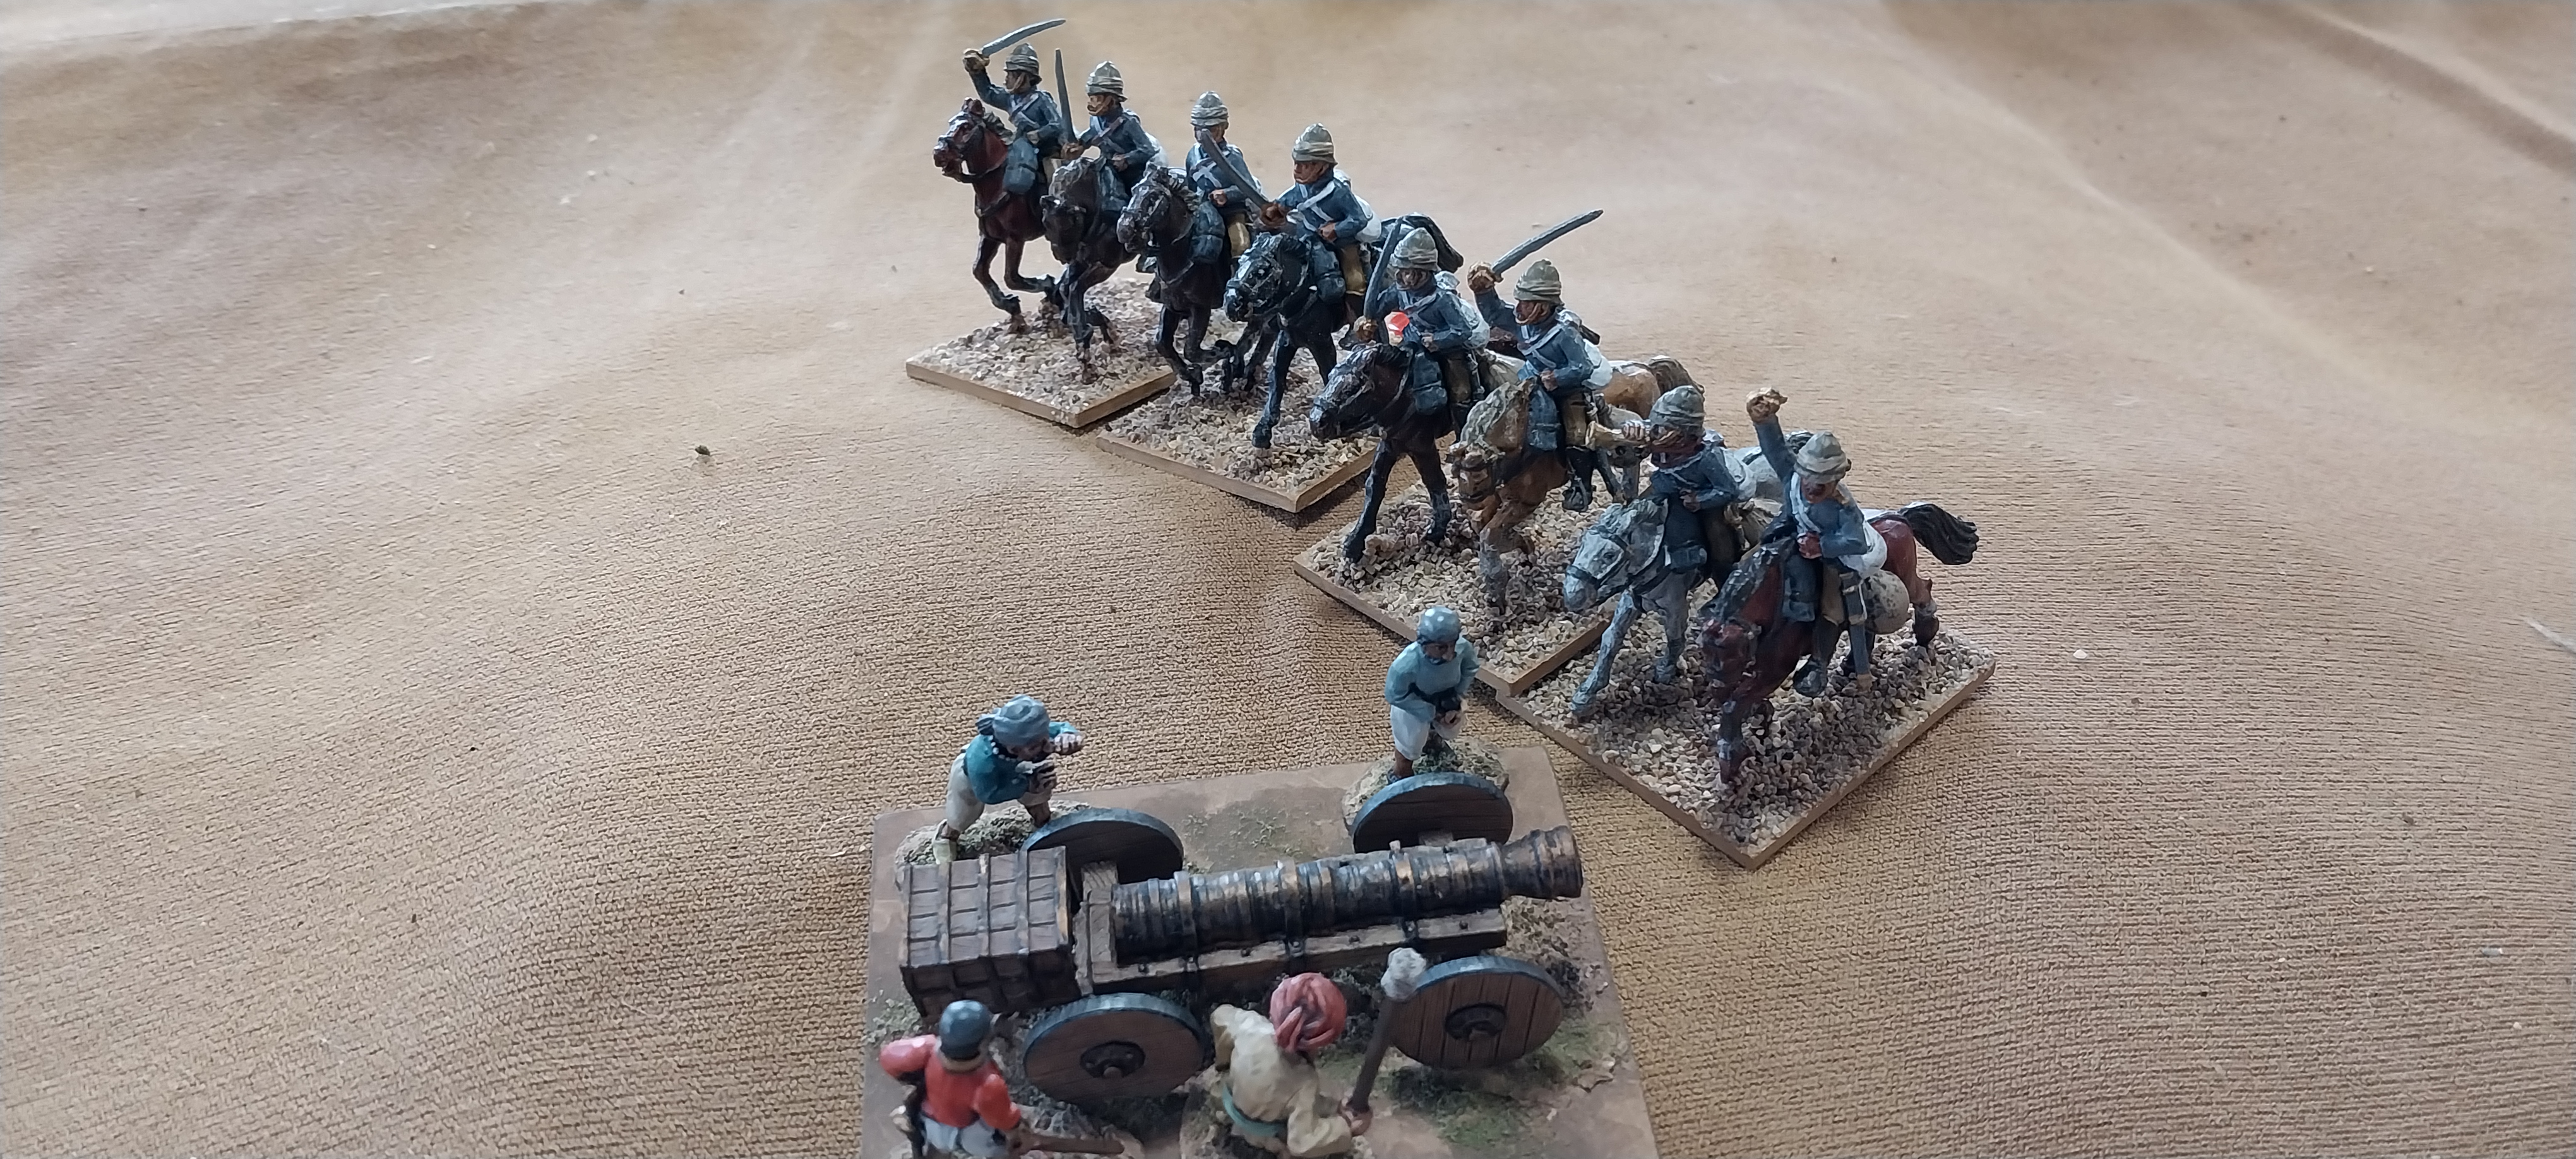
Barrys Perry Miniatures British cavalry
British commanders - my Old Glory figures again
British mountain gun - Perry (I think) from Barrys collection.
Some of my Old Glory Pathans
A Bloody Big (anachronistic) gun - from Andrew's collection
LOTS of images there so if you have looked at them all and got this far - well done on your perseverance!
Its ten years or so since we last used these rules and we were all (me as much as anyone else) a bit rusty on it and got some stuff wrong in the first couple of turns that MIGHT have made a bit of a difference although I think the poor activation rolling and card drawing from Andrew and Chris put the Pathans on the back foot, despite which, Andrew did a lot more damage to Rick than he suffered - Ricks force was pretty close to breaking point by the end of the game, having lost both cavalry units and the MG and also having suffered a couple of combat defeats resulting in routs (although those units recovered and rejoined the fray). I think in the end, everyone enjoyed the game, which is the whole point, after all!