We finally managed to get some of our combined Blitzkrieg forces on the table - poor old Rick has been waiting three or four years to get his lovely French and British collections into action!
We used Andrew's homebrew rules, and I wrote up the scenario, which saw 4 German players attacking three Allied. The forces each player had were similar, but as befits the period, the Germans had an advantage in numbers, and a few "extras" - each German command had off table artillery available, whereas only the British player had this possibility on the Allied side (and as it happens, they had no opportunity to use it) and the Luftwaffe were programmed to appear three times throughout the game (three black face cards in the activation pack) versus only one red for the Allies. The Allies would gain a point for any German vehicle they destroyed, whilst the Germans could only score points for vehicles exiting the Allied edge of the table.
I sent Barry a map of the playing area and he kindly had it all set up ready for our arrival around 930am.
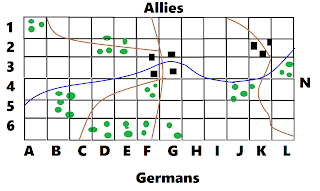
The battlefield
My force - surprise, surprise - I took all recon, multiple motorcycles plus a couple of Sdkfz 221/222 armored cars.
How Barry interpreted my map - he did a pretty good job, we all agreed! Barry on the left and Paul on the right.
How the two forces maneuvered in general terms. Barry was on the table in place from turn one, the Germans were guaranteed the first initiative, thereafter it was the usual random draw from a standard deck of cards, black for German, red for Allied. The two Allied reinforcements could not arrive until the third allied initiative card was drawn. The last 4 turns were also pre-determined, Allied - German - Allied - German.
Andrew's force of Pzkfw 38t and infantry in Sdkfz 251.
The Brits got turn two and boldly advanced across the bridge towards the advancing Hun!
The British HQ - have you ever seen so many stiff upper lips in one place?!
Unfortunately for Barry, the British FOO was hit a number of times early on and forced to retire, and despite about four opportunities to rally one of his hit points off, he was unable to do so, and exited the battlefield around turn ten of the game, meaning the Allies had no ability to call on their already limited artillery support.
So far, the recon guys had not found any enemy!
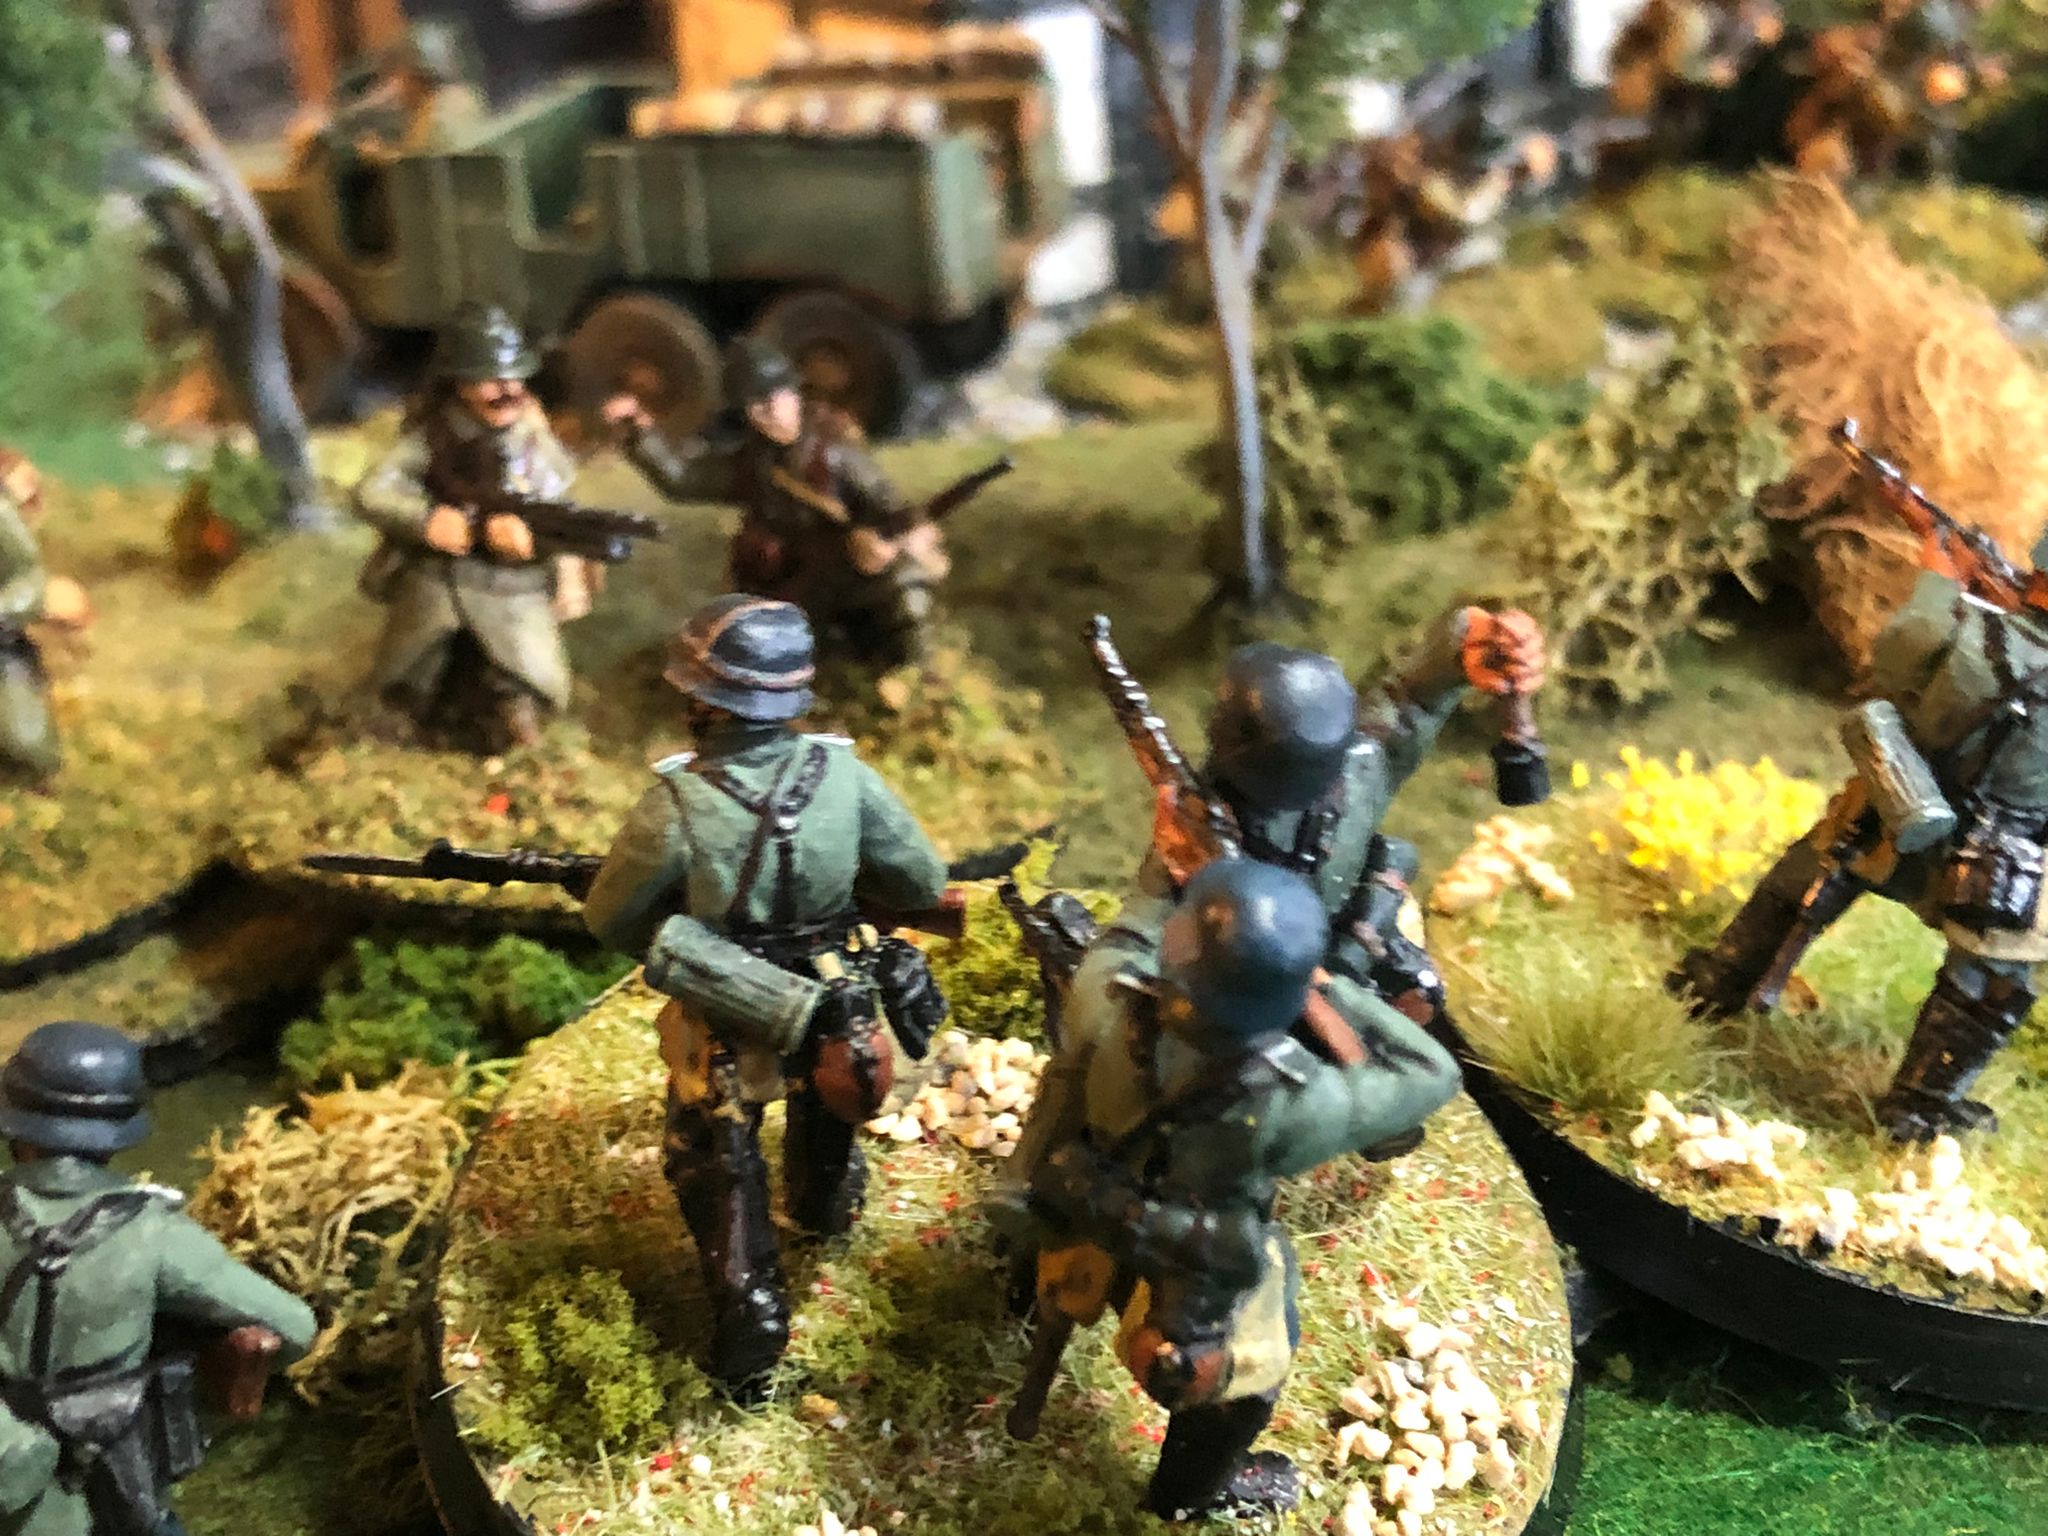
In the centre, Paul dismounts his elite assault engineers/pioneers - they were the only elite unit on the table, because - he has them!
Two Vickers Light tanks are already burning merrily as the pioneers occupy the Church on their side of the bridge.
Andrew's force had meantime found a ford, not marked on the map (procedure, drive up to a section of the river and perform the usual +9 test - if you succeed, you have located a ford, if failed, that section is impassable - but you can try again in the next section, and so on)
The Germans had so far had most of the activations - 8 to 2 British or something like that, but now, on Allied turn three, the French arrived.
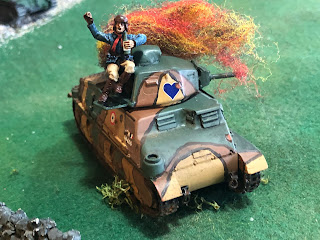
My Sdkfz 222 had just crossed the river into a sleepy French village, when a Somua and a huge char B hove into view!
On the other flank, a Somua supported by two Panhard armored cars arrived to confront Andrew and Mark.
Andrew's force prepares to cross the ford they discovered.
Dismounted motorcycle troops in the woods opposite Johns French.
Motorcycle troops and infantry on the other side of the road, also across the river from John's position.
With the Char B on the table, the 88mm was deployed!
In the centre, Paul prepares to assault the British, despite one of his Pioneer teams being forced to retire from the churchyard.
The 222 heroically advanced onto the bridge and took out a French infantry truck.
Johns mortar FOO was "man of the match", knocking out three armoured vehicles I think, and causing me to pull the 88 back out of site after a near miss!
Marks dismounted infantry in the left centre, supporting Paul's attack on the British held town.
Andrew on our left flank crosses the river.
Meanwhile, my recon troops are pinned down by the superior French forces opposite - motorcycles and armoured cars can't do much to dent a Somua and Char B!
The Allies got an air support card and targeted the centre Sdkfz 251, as they can hit the main target plus up to two others that are within 4"... they missed the target vehicle and the tank - but hit Andrews HQ vehicle - verdamnt!
38t v's Somua in close combat - it was inconclusive, but the Somua was forced back and shortly thereafter ....
.... brewed up - that is why you should not drink and drive. monsieur!
Two of my three Sdkfz 251 transports were now in flames, thanks to the FOO and mortar - the score was about 4 - 0 to the Allies at this stage.
As the German attack developed, it was obvious the right flank was our weak spot, so the Motorradschutzen withdrew and remounted their machines. The infantry pulled back too, as they were patently not going to be able to assault across a river defended by three platoons of French infantry supported by two tanks AND a mortar.
Motorradschutzen redeploying to support the developing breakthrough in the left centre of the German assault.
Where most of the head-to-head firefights occurred.
Marks infantry continues to move forward in the centre, flanking the British held village.
Andrew's infantry gets stuck into the Poilu's.
The hand-to-hand combat lasted several turns, as neither side could gain the ascendancy, Occasionally, the French would prevail and push a unit back, but they would be replaced by a fresh platoon, and the struggle continued.
As the German infantry held the enemy in place, and the armour depleted some of their opposite number, a significant gap became apparent in the Allied position - and the Wehrmacht headed towards it with alacrity.
Andrews Landsers go in against the French infantry again!
My HQ observing the developing situation.
The motorcycle company and the 88mm head towards the left flank.
John had also started to redeploy to support the Brits and /or Rick on their right flank, but my FOO called in an artillery barrage and the Char B was destroyed.
Paul's pioneers' assault across the bridge - despite having a +3 in close combat, courtesy of their flame throwers, they were driven back by the dogged British Tommies.
But to the left of the small town, the armour was rolling forward remorselessly.
Being elite, the pioneers regrouped, and went in again - and were repulsed again!
On the French left flank, an eerie quiet descends on the small town - Les Bosches sont partis!
In the centre, the Pioneeren go in, again!
Flammenwerfer vorwärts!
And this time, they roll a double 6 and prevail, driving the Brits back in disarray.
Map showing how the game reached its climax and ended.
With the road (and small town) cleared, the transport column starts to move forwards down the road, heading west, deeper into France.
A final assault by Mark's infantry on one of Ricks Panhard's came to naught ....
.... and the Allied left flank, all was quiet save the noise of burning German transport ....
.... but it did not matter, as a last-minute visit from the Luftwaffe had broken the morale of the two remaining British platoons, and to add insult to injury, Paul followed up with his infantry, pursuing the Tommies off the field. As Mark said (quoting Captain Mainwaring) "That's a typical shabby Nazi trick, you see the sort of people we're up against!"
In the end, the Germans won 7 - 5 as Andrew, Mark and Paul managed to get sufficient vehicles off the Allied table edge in the last 2-3 German turns. Everyone seemed to enjoy the game, even the Allied players commented that the scenario and special events gave a good flavour of what we all think the Blitzkrieg battles in France in 1940 were like.
Next time, we might try something based on Arras, and let the Allies have a few more tanks on the table (mind you, the Germans will have wall to wall 88mm guns!)
Hope that was not too long or too many images - close ups were supplied by my opponent John - he sent quite a few more but I could not put all of them in the report!