Tonight Julian and I played a game based on the Battle of Hab in 1119 - as per below from Wikipedia:
On June 28, 1119, Ilghazi's Turco-Syrian army destroyed the Antiochene army at the Battle of Ager Sanguinis. After his great victory, the Muslim leader's army captured a number of strongholds in the Latin principality, but more might have been achieved. "The failure of Il Ghazi to profit from his major victory ... was due not only to his own subsequent and prolonged drunkenness, but to the scattering of his forces in search of plunder."
As soon as he heard the news, King Baldwin brought a force north from his Kingdom of Jerusalem to rescue Antioch. On the way, he picked up a contingent from the County of Tripoli under Count Pons. Baldwin assembled the remnants of Antioch's army and added them to his own soldiers. Then he moved toward Zerdana, 65 kilometers east-southeast of Antioch, which was besieged by Ilghazi. While camped at the Tell Danith watering point, Baldwin found out that Zerdana had fallen. Accordingly, the Crusaders prepared to retreat to the stronghold of Hab, c. 25 kilometers southwest of Zerdana.
Battle
On the morning of August 14, Baldwin carefully arranged the Frankish army for its retreat through open country. Leading the way were three squadrons of 700 knights. Behind them marched the several thousand infantryman, composed of bowmen and spearmen. Count Pons with his Tripolitan knights guarded the right flank. A body of Antiochene knights under Robert Fulcoy protected the left flank. More knights from Antioch guarded the rear. Baldwin led a reserve of mounted knights from Jerusalem, but it is not clear in what part of the formation he marched.
The Artuqids hoped to provoke the Frankish cavalry into launching a premature charge or to open gaps in the enemy infantry formation. When such a favorable opportunity presented itself, they closed in to fight it out with lance and sword.
As anticipated, the Artuqid horse archers began harassing the column at dawn. Ilghazi's attacks soon increased in intensity and the Crusader army was probably brought to a halt fairly early in the day. The three vanguard squadrons were dispersed and the main body of Latin infantry came under serious attack. The infantry sturdily defended itself, but, without its normal cavalry support, suffered heavy losses.
On the left flank, Robert Fulcoy overcame the force opposed to him. But, after pursuing the Artuqids, he rode off with his knights to look into the possibility of retaking his stronghold of Zerdana. Meanwhile, the knights under Count Pons were scattered and some fled as far away as Antioch and Tripoli, spreading the news of a disaster. Count Pons and a handful of knights rallied to join Baldwin's reserve where they continued the contest.
With adroit use of his reserve knights, Baldwin saved the day. By intervening at each threatened sector, he held his army together during the long and bitter fight. Eventually, the Artuqids admitted defeat and withdrew from the battlefield.
Our game played out a bit differently - there was certainly no dispute about who won the day....
We started by calculating the number of morale coins for each force - 1 point per light unit , 2 per heavy or leader. I had the muslim army, consisting mainly of light horse archers. My force was split into two commands - total points was 34 divided by 3 = 11 morale points (coins). Julian's crusader army was almost all heavy and consisted of three command, so he had a total of 41 points = 13 coins.
Julian decided his only way to victory was to charge forwards as quickly as possible and use the superior weight of his heavy knights to punch and rip holes in my larger force of lighter horsemen. Having won the initiative by drawing a higher card than mine, he immediately put this plan into action.
However, as with the last game we had using these rules in this period, the muslim horse archers proved irritatingly elusive - Julian either managed to charge, and they evaded, or he failed to charge at all. Then, when he did manage to make contact, his knights fought like vestal virgins, and failed to take any advantage of their supposed superiority. In fact, first blood went to my archers as they dispatched a couple of Turcopole units on Julian's left wing in the first action of the game.
Thereafter, Julian tried but failed to cause any significant damage to my army. I too had some challenges, particularly with the amount of ineffectual archery, and on one occasion my entire move consisted of turning over three cards - first a 2 on the left flank when I needed a 3 minimum and then a 1 with the commander of the right flank - who was allowed to redraw another card - and promptly drew ANOTHER 1! I cannot really complain however, as a couple of moves later, Julian did exactly the same thing at a very critical point.
Throughout the game, my horse archers ebbed and flowed around the heavy knights, firing arrows and then falling back as the enraged crusaders charged them. My heavier cavalry in the meantime engaged the knights head on with their lances and had a couple of successes. By a combination of archery and close combat, I whittled away at Julian's forces until by the fourth or fifth turn, he only had 3 coins of the original 13 left - whilst I had lost one solitary light cavalry unit and still retained 10 of my original coins in hand. It was at his juncture that Julian's right wing commander turned over a pair of 1's whilst trying to activate and next turn, surrounded on three sides by horse archers, he and his Templar knights were cut down, ending the game as the crusader army ran out of morale coins. They lost about 7 or 8 units to the one unit lost by the muslim army - as I said, no doubt about the victor in this refight!

The scenario book Julian used to set up the game

General view of the table - Crusaders to left Muslims to the right

The Crusaders right wing comprising Turcopoles and heavy European knights

The opposing forces - the Muslim left wing

The Crusader centre mainly consisting of infantry but backed by more knights

The Muslim centre showing the camp with the 11 "morale" coins

The crusaders knights advance in move one, but are disrupted by arrow fire from swarms of horse archers

On the Crusader right, the Turcopoles and knights also move rapidly forward

View from the Muslim right wing where archers on the hill had an extra hex of range when firing at the advancing Crusader left wing

Battle is joined in the centre of the field

The cavalry melee in the centre - the front rank of the European knights have been disrupted, and the entire force is hit in the flank by a unit of horse archers

In the centre, the Crusaders knights continued to push forward as the lighter muslim units evaded and drew them into the trap

A view of the action from behind the muslin centre

One of the units of heavy knights

Compare this picture with the one 4 earlier - note the absence of two units of crusader knight!

A general view of the table at the midway point of the battle

Muslim heavy cavalry melee with another unit of knights, who have been disrupted

The action on the muslim left/crusader right wing - only one unit of knights remains from a force of two turcopoles and two knights that had commenced the action

Once again, the crusader centre lurches forward in an attempt to smash the lighter muslim forces

In this shot, both units of knights have been disrupted - these too would shortly be put to the scimitar

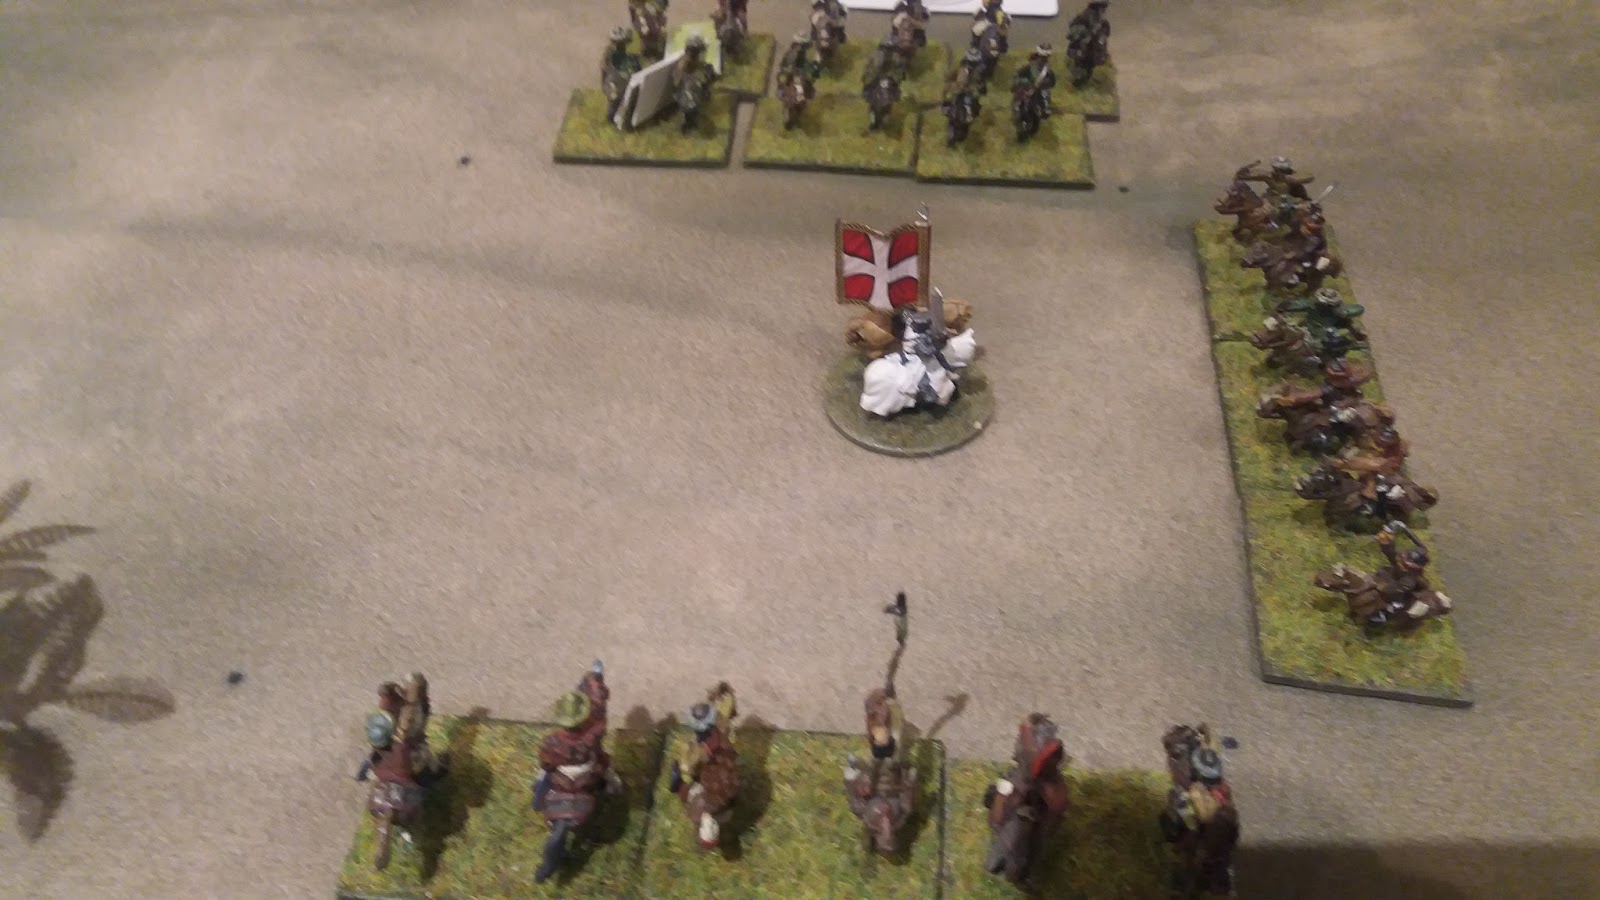
The final unit on the crusader right wing surrounded by horse archers

The last straw - Julian turns over a pair of 1's when attempting to activate the knights shown above

A final general view form the muslim side as the game comes to a close. The block of infantry in the top of the picture is virtually all that remained of the crusaders army.

The last unit is wiped out
Last man standing - the sole survivor of the crusader right wing!
A very enjoyable game for me, for Julian, not so much - although he did claim it was "fun"! He really did have atrocious luck with the cards tonight - maybe tomorrow he will be more successful as we do it all again but this time with four player and using 25/28mm figures - cant wait!
No comments:
Post a Comment