Thursday, 23 March 2017

Dark Ages Game Wednesday Evening

On Wednesday I had a quick 2-3 hour game at Andrews house, testing out his reworking of a ruleset he devised and we used to use about 8-10 years ago. It is quite a simple system and has some similarities with Warlord Games Hail Caeser/Black Powder rules. It took a few turns to get the hang of things again but the beauty of the rules was always their simplicity, so they were quite easy to pick up again. Some areas were left unresolved and we had to make a decision there and then what should happen - at this stage, the "rules" only exist in Andrews head - he has not written them down!

Anyway it was a good excuse to get some of my Valkyrie Warmaidens out of their boxes and take a few pictures - unfortunately once again not the best quality all of them and I deleted the particularly bad ones, of which there were about ten or twelve. My figures are a combination of Eureka and Shadowforge - the cavalry the former and most of the infantry the latter, with the odd Games Workshop Valkyrie making a cameo appearance. The Princess and her shield bearers are a fantasy brand that I cannot identify now - I had quick look on Google but could not match them with anything....Keltos or something like that I think.......??
The map above shows the initial deployment - we had around 8 units each - I had 2 heavy cavalry, one archer, two light infantry and three medium infantry - Andrew had two medium cavalry, two archers three medium infantry and two light cavalry. This equated to 12 "army points" each - when these were reduced to 0, the game was over - we would lose one each time a unit routed and another if it left the table. The terrain was "minimalist" - a flat desert like table with three slightly raised features where only light troops could go. Andrew won initiative and the game was on!
Above and below, front and rear view of my commander and her "supporters" - she certainly had a birds eye view of the action from up there


Two views of a command element from one of my medium infantry units - the girl with the white raven shield is a Foundry product


The leader of the Eureka heavy cavalry - female cataphractii

One of Andrews beautifully painted and based light cavalry units

Andrews archers

Andrews medium cavalry

The first clash develops - Andrews medium cavalry advanced on his right wing, supported by the archers to the left of the picture
The initial moves showing Andrews advances in black and my counter moves in red


Here Andrews two units of light cavalry advance

One unit confronts my light infantry and begin several rounds of ineffective bow fire

My heavy cavalry were disordered by the archers so had no option to attempt a counter charge when Andrews mediums charged them; however, after one round of combat, they had evened the balance (one red marker each) and after another round of combat, they were victorious, and the defeated mediums fled the field - minus one army token from Andrews force....

The light archers continue to fire their arrows to no effect - meanwhile, my useless medium infantry constantly failed to pass their test to move!

The second unit of light cavalry charge home against one of my medium infantry units

On the other flank, my second heavy cavalry unit engaged the archers on their flank, once again they were disrupted (red marker) by defensive fire as they went in. This meant one less dice but as Heavy v Light, they hit on a 4 5 or 6 whereas the archers needed a 6 to hit.
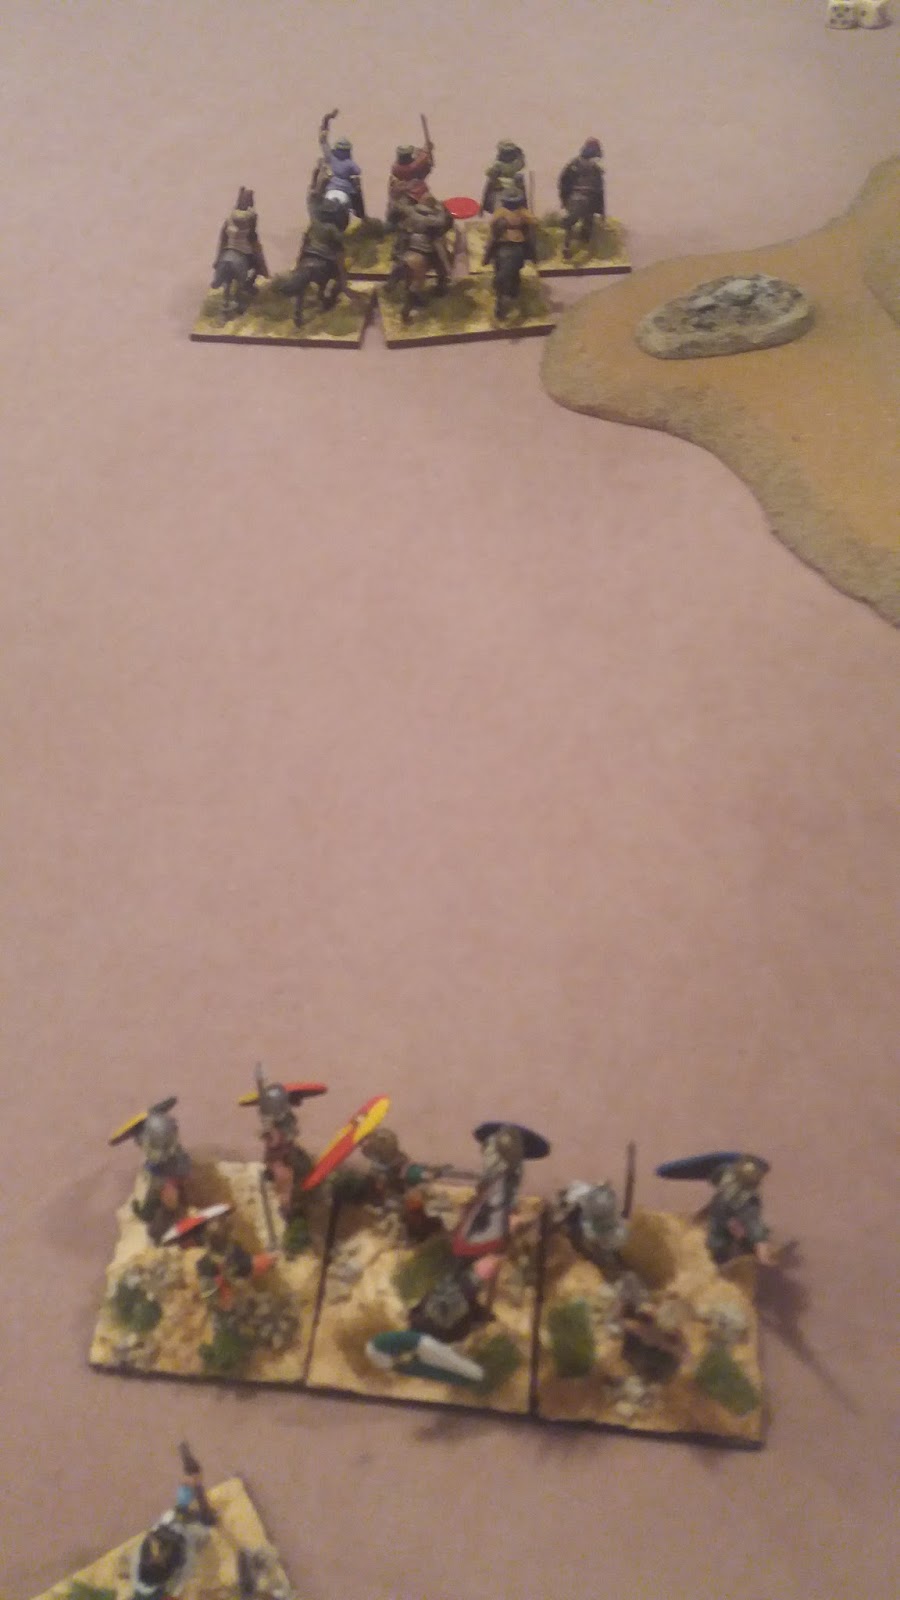
The medium infantry on my right are victorious and drive off the light cav - good girls!

Back on the other flank and my mounted ladies have defeated the archers after two rounds of combat - the archers did well to survive the initial charge

After about six moves, I finally managed to talk my beautiful but obstinate medium infantry into doing what I wanted them to do, and they formed a nice tidy line - meanwhile, their half naked light infantry colleagues have driven off the light cavalry archers.


With a medium cavalry unit AND these archers mere inches from the table edge and carrying three disadvantage points each, only a 4 or less on 2 D6 could save them - and Andrew from losing another two points - miraculously, Andrew rolled a double 2 twice in a row and saved both units!

The light cavalry charged in to have another go at my light infantry who had their leader attached - a slightly risky tactic. This was a worrying period as the melee continued for 2 or 3 rounds with my light infantry coming close to breaking, which would have taken the Princess away with them. I finally managed to manouvre the medium infantry to a position where one of them could join the fray as a support and this eventually swung the combat in my ladies favour....At this stage I think Andrew had suffered 6 routes and was down to half his army morale.

The view from Andrews side of the table near the end of the game - this is my left flank where his three medium infantry units are confronted by my two heavy cavalry. Being bow armed, they have inflicted three disruption points on one of the units. The light cavalry/light infantry melee can be seen in the background.

The final conflict of the game - Andrews light cavalry battling with my light and medium infantry

A close up of one of the scantily clad Shadowforge light infantry units
Map showing the various melees that occurred - I was fortunate enough to prevail in all of them

The light cavalry are driven off

A aerial view of my right wing - one forlorn unit of Andrews archers left exposed by the sudden departure of their mounted counterparts!

The scene on the other flank as the game ended

My victorious "general" surveys the scene of her triumph....time to hit the shops and celebrate girls!


Tuesday, 21 March 2017

War of 1812 - Second US regular Battalion Completed

Its been a long, slow slog but here is the second unit of OG US Regular Infantry in Felt Shakos charging. I have nominally dubbed them the 18th Regiment. This time I have photographed each element (excepting the two command ones that feature in earlier blogs) and then the entire unit from front and rear.

The next unit will be the 5th Infantry, who are a mixture of headgear and wearing the "winter" uniform of blue breeches rather than white, and also have all cross belts etc in black leather, just for a bit of variety!

Each element has a variety of poses and some extra "bits and pieces" such as a discarded shako in this one


This element includes a discarded drum - the parts are taken from extras left over from hard plastic kits - the shakos from the Napoleonic British artillery by Victrix and the drum from the War of Spanish Succession by Wargames Factory

The full unit of the US 18th Infantry Regiment, front and rear


Friday, 17 March 2017

Thursday Night Game - WW2 15mm using Iron Crosses Rules

We organized a scratch game at short notice when my regular opponent was advised the ladies of the house would be out that evening. A WW2 game using our latest rules discovery, Iron Crosses, was agreed and I said I would bring along my own British force for a change, as they rarely get an outing.

We foregathered after work around five thirty and after the obligatory pre game beer, arranged a table of random scenery and then decided on forces, which were basically 4 tanks and 7 platoons of infantry each side, which we calculated gave us 13 command activations per side.

The initial set up was something like this map -

The picture below is looking at the table with the left hand side of the map above at the bottom of the picture and the woods on the right of the map at the top of the picture. The British advanced from the right hand side of the photo
As it turned out, we picked far too many troops for one player on each side to handle with only 13 command actions, so everything on the near side of the road in the centre of this picture was ignored and all the action took place around the wooded hill in the top of the picture

The following series of pictures just show various vehicles and units in their initial deployment positions

The four British Firefly's - as it was late war and my Box'ead mate had selected two Panthers and two Mark IV panzers, I decided I need the upgunned version to have any chance at all! These are all FoW models from when they first started up 15-20 years ago

Four British Infantry platoons with HMG support and M3 halftrack transport

The two Panthers in their initial starting point

The "point" of the confrontation - a German base or "something" in the centre of the German base line......

The two German MK IV's deployed on their left flank

The German OC in his Kubelwagon

A couple more views of the Sherman's prior to battle being joined


One of the British platoons advancing - mainly Peter Pig figures but also some Command Decision


The second map shows roughly where we deployed the forces - as mentioned, everything to the left of the road above just sat in place, with the exception of the Panthers that moved into the built up area then down the road to confront my Sherman's

Our initial move saw the Germans win initiative and their HMG in the centre of the table attempted to engage my HMG attached to my leading infantry platoon. However I successfully "interrupted" and fired first, causing two morale hits. The German gun then returned fire and did exactly the same damage to my HMG.

In the next activation, the Germans put down some smoke but my HMG engaged anyway, scored another morale hit and wiped out the German HMG crew.


The above map indicates how the game progressed from the initial deployment. The first German move was one of the MK IV's , which engaged in a fire fight with my leading Sherman and was successful in doing so (below). It also turned its gun on my HMG and wiped them out too - sweet revenge! Meanwhile my infantry had advanced into the woods on the hill and engaged in a see saw firefight with the occupying Germans that continued throughout most of the game.

In the next phase, my second Sherman got the drop on the MK IV and returned the compliment, brewing the German vehicle up.

The German player then expended a lot of effort and command points trying to get his Panthers moving - a succession of 1 2 and 3 rolls ensured neither vehicle would move and caused an enormous amount of frustration and Germanic blaspheming! Eventually, however, the pair of MK V's finally made it to the road on the centre of the table (above)

The leading Panther advanced and positioned itself in dead ground so that it was only visible to one of my Shermans. I successfully interrupted but failed to achieve anything - the Panther fire was deadly accurate and he only needed a 4 or higher on a 10 sided dice to destroy me - and rolled a 1! On my next shot, my Sherman gun with a 10 value rolled a 7 to equal the 17 front armour of the Panther and caused SIX morale hits - see all the "skull" tokens in the photo above. The tank beat a hasty retreat back to its colleague sheltering amongst the buildings in the German rear
The infantry firefight in the wood continued - I was firing twice as many weapons as the Germans but despite rolling two D10 each time only requiring 5 or 6 to hit, I had EIGHT attempts where both die rolls were 4 or less - now in was the Tommie's turning the air blue! 
The second MK IV now advanced to the same position as its burning colleague but this time my Firefly gunners were ready and took him out with a well placed 17plb shell.

The second Panther advanced and had ANOTHER go at my Sherman, but with the same result - a simple hit and then only 4+ required to cause me considerable if not irreparable damage - and he rolled another 1! I was loving it at this stage :) I moved two of my remaining three Sherman's out of the dead ground and engaged the Panther - my first tank hit but did not cause any damage but my second gunner hit then rolled an 8 against the side armour and then a 6 on the 6 sided dice to reduce this masterpiece of German precision engineering to another blazing hulk!

We decided that the writing was on the wall at this stage - my infantry were very slowly winning the fire fight in the wooded hill, whilst I retained three of my initial four Sherman's, and the Germans were reduced to a single Panther that was carrying 4 morale hits. The map above indicates how the game developed and the situation when we finished. It was an enjoyable way to spend 3 or 4 hours on a Thursday evening and we learned a bit more about these rules which are honestly pretty intuitive and simple to remember and play without constant reference to play sheets, which is exactly how it should be!

Next time, more painted War of 1812 figures..............