Wednesday, 19 February 2025

Wargames Wednesday - Another 15mm Barbarossa-Inspired Solo Game

 I decided to give early war in Russia another try - this time, two Russian infantry units supported by two HMG, two mortars and an AT Rifle were defending a river crossing against three German infantry units, each with an attached HMG and, initially, two PzKfw II's. 

The Russians had 10 cards including an ace for a single T34 and a King for a single KV1. The Germans had 12 cards including an ace for three PzKfw IV Ausf D, a king for two PzKfw III and a queen for Luftwaffe air support. Being the attackers, the Germans went first.
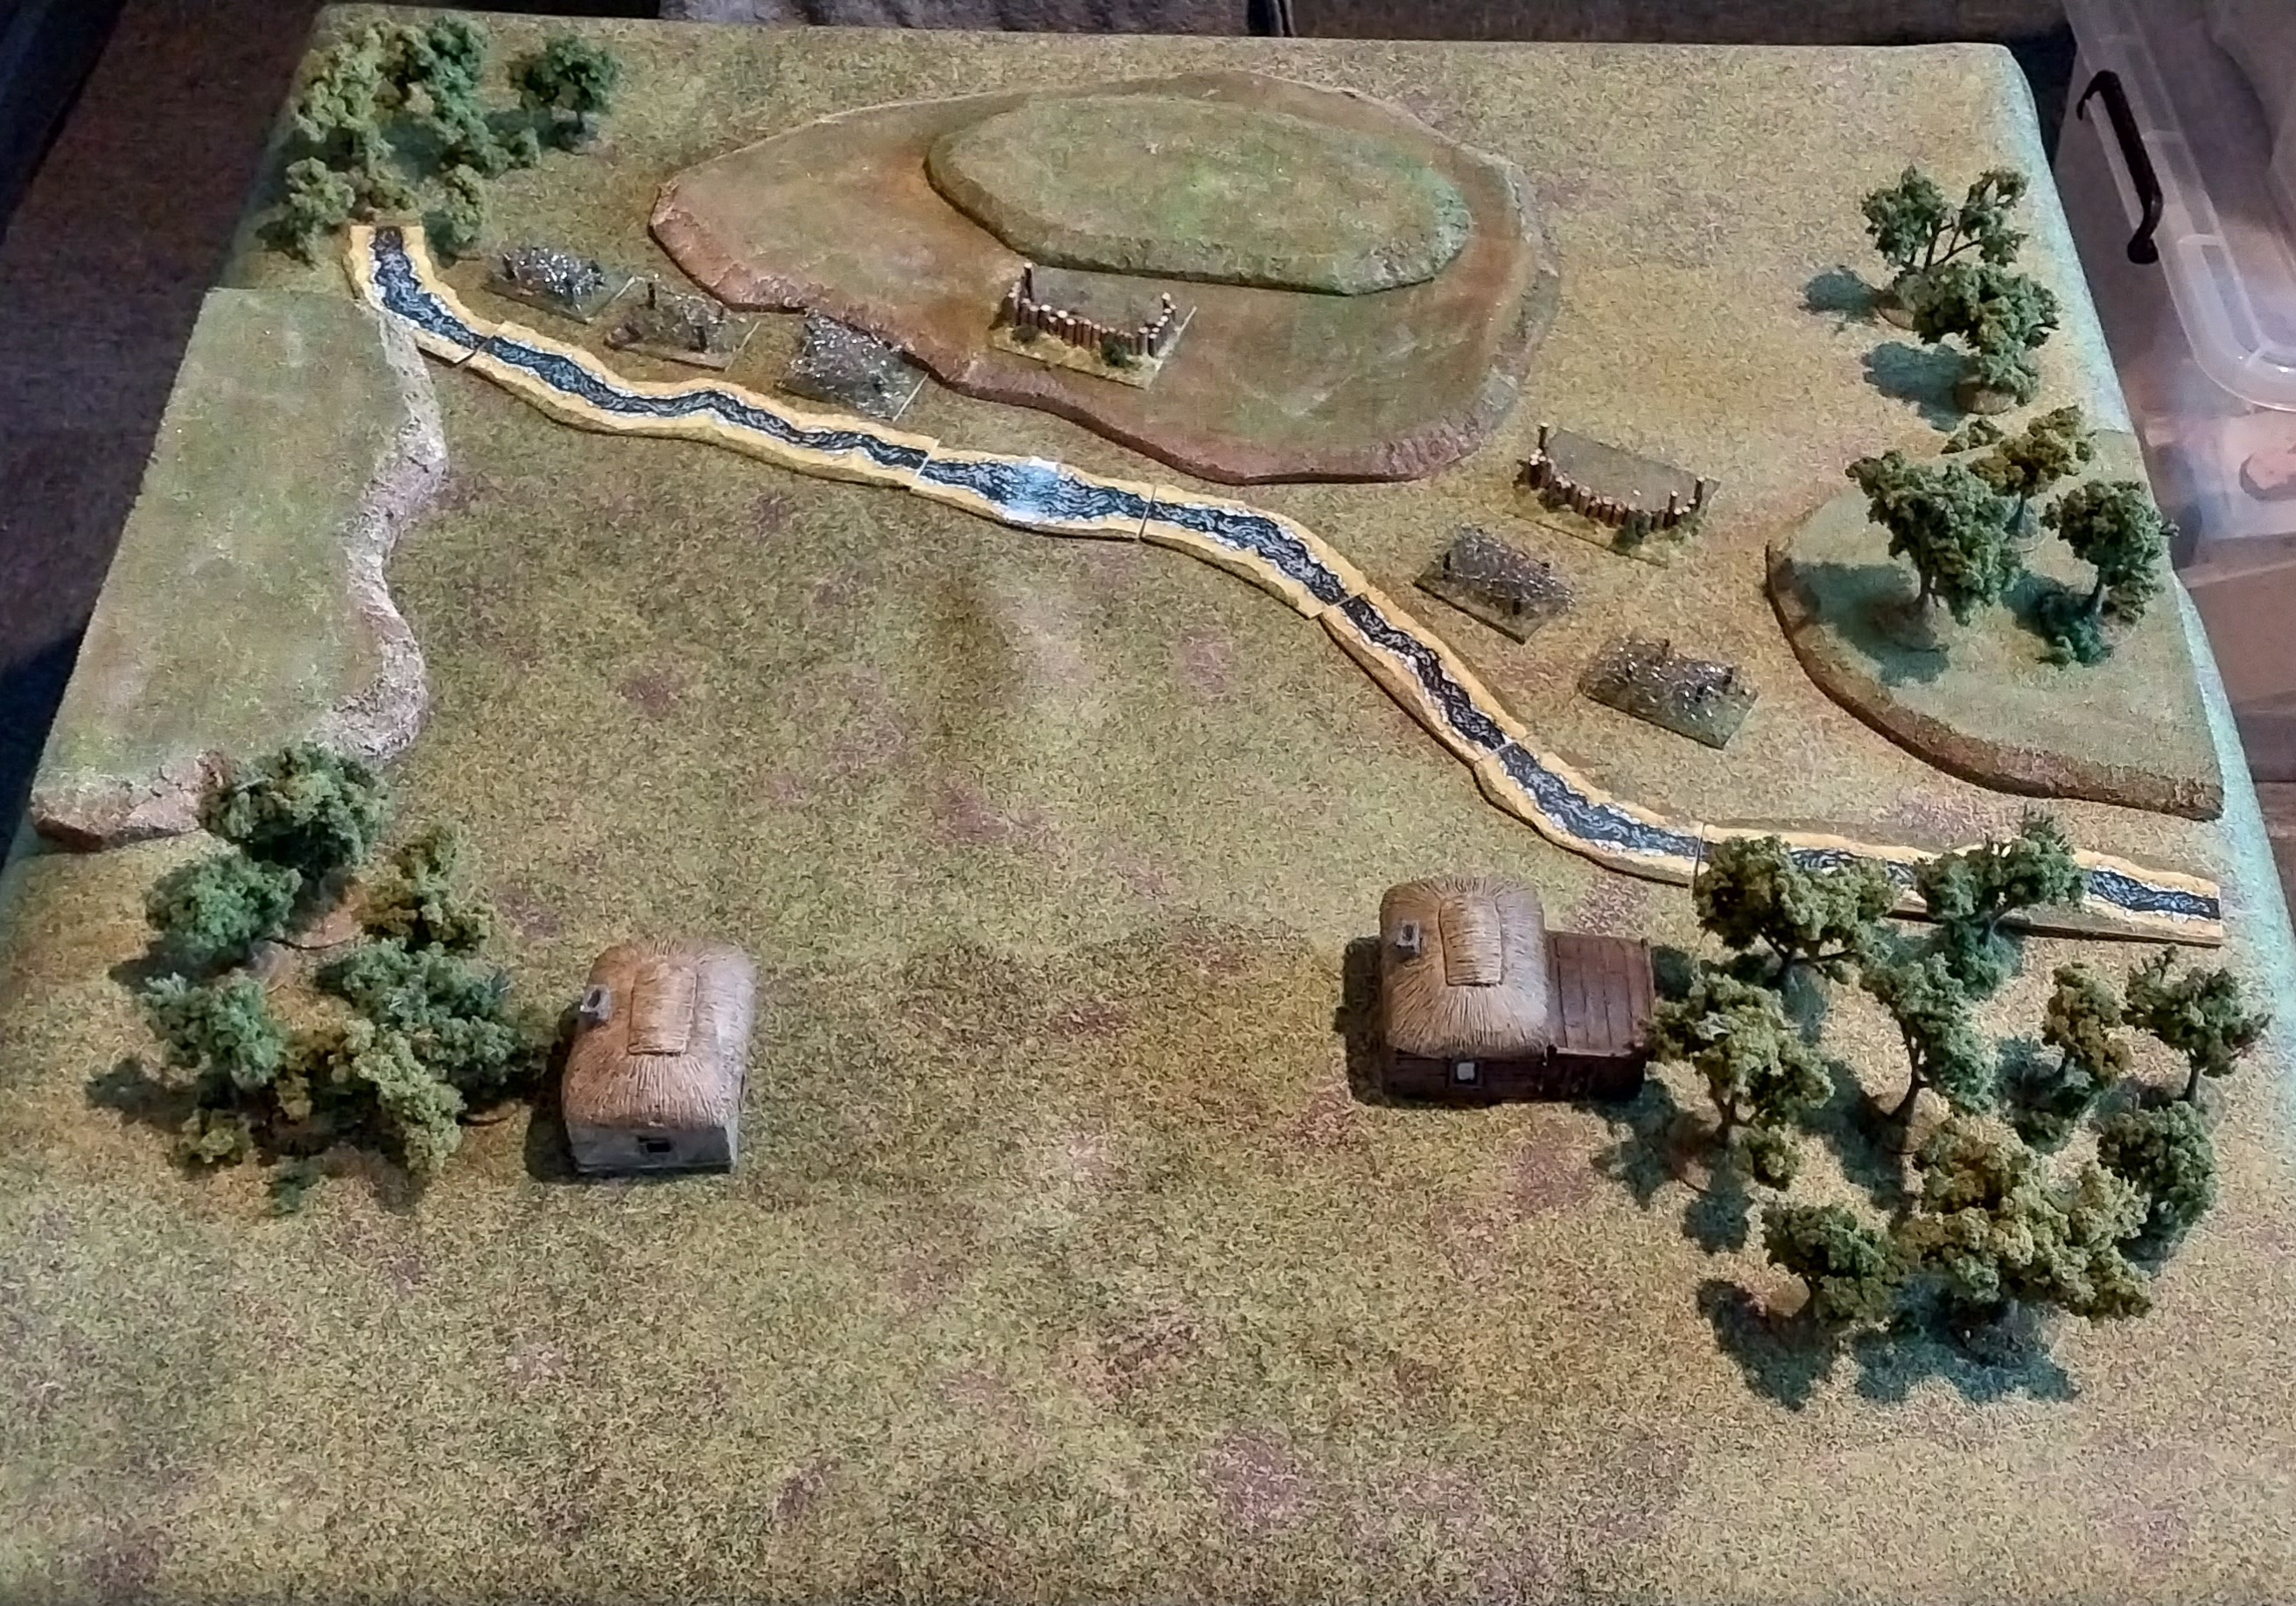

The bare table - I even pressed a couple of my home-made defensive positions into service - they were actually built for use by the Japanese in the pacific - but a log bunker is a log bunker really!


After the Germans moved first, I drew three red cards in a row! The Russians managed to put a hit on the infantry in the German centre.


The ATR lined up one of the Panzer I's.....


....... no prizes for guessing what that score means!


Yep - scratch one panzer!


The very next turn, this happened!


So, here we are at the end of turn 4 - one panzer knocked out, the second silenced and the infantry teetering on the brink of a forced retirement that would almost certainly take them out of the game permanently! (The Germans did manage to move this unit to the right, where they could not be observed, and gradually succeeded in rallying the hits off)


On turn 7, the Germans Panzer IV reinforcements arrived.


The German infantry were working their way up both flanks, using the cover of the woods to get within firing range of the entrenched Russian infantry. I had made them elite, so they added one to the dice score, whereas the Russian infantry were classed as conscripts and had a minus one. The empty bunker indicates one of the HMG units has been wiped out.


Turn 11, and the KV1 rumbled onto the battlefield...and....


The ATR crew struck again!


Then, BOTH the mortar crews joined it - a 12 gets two hits on any target!
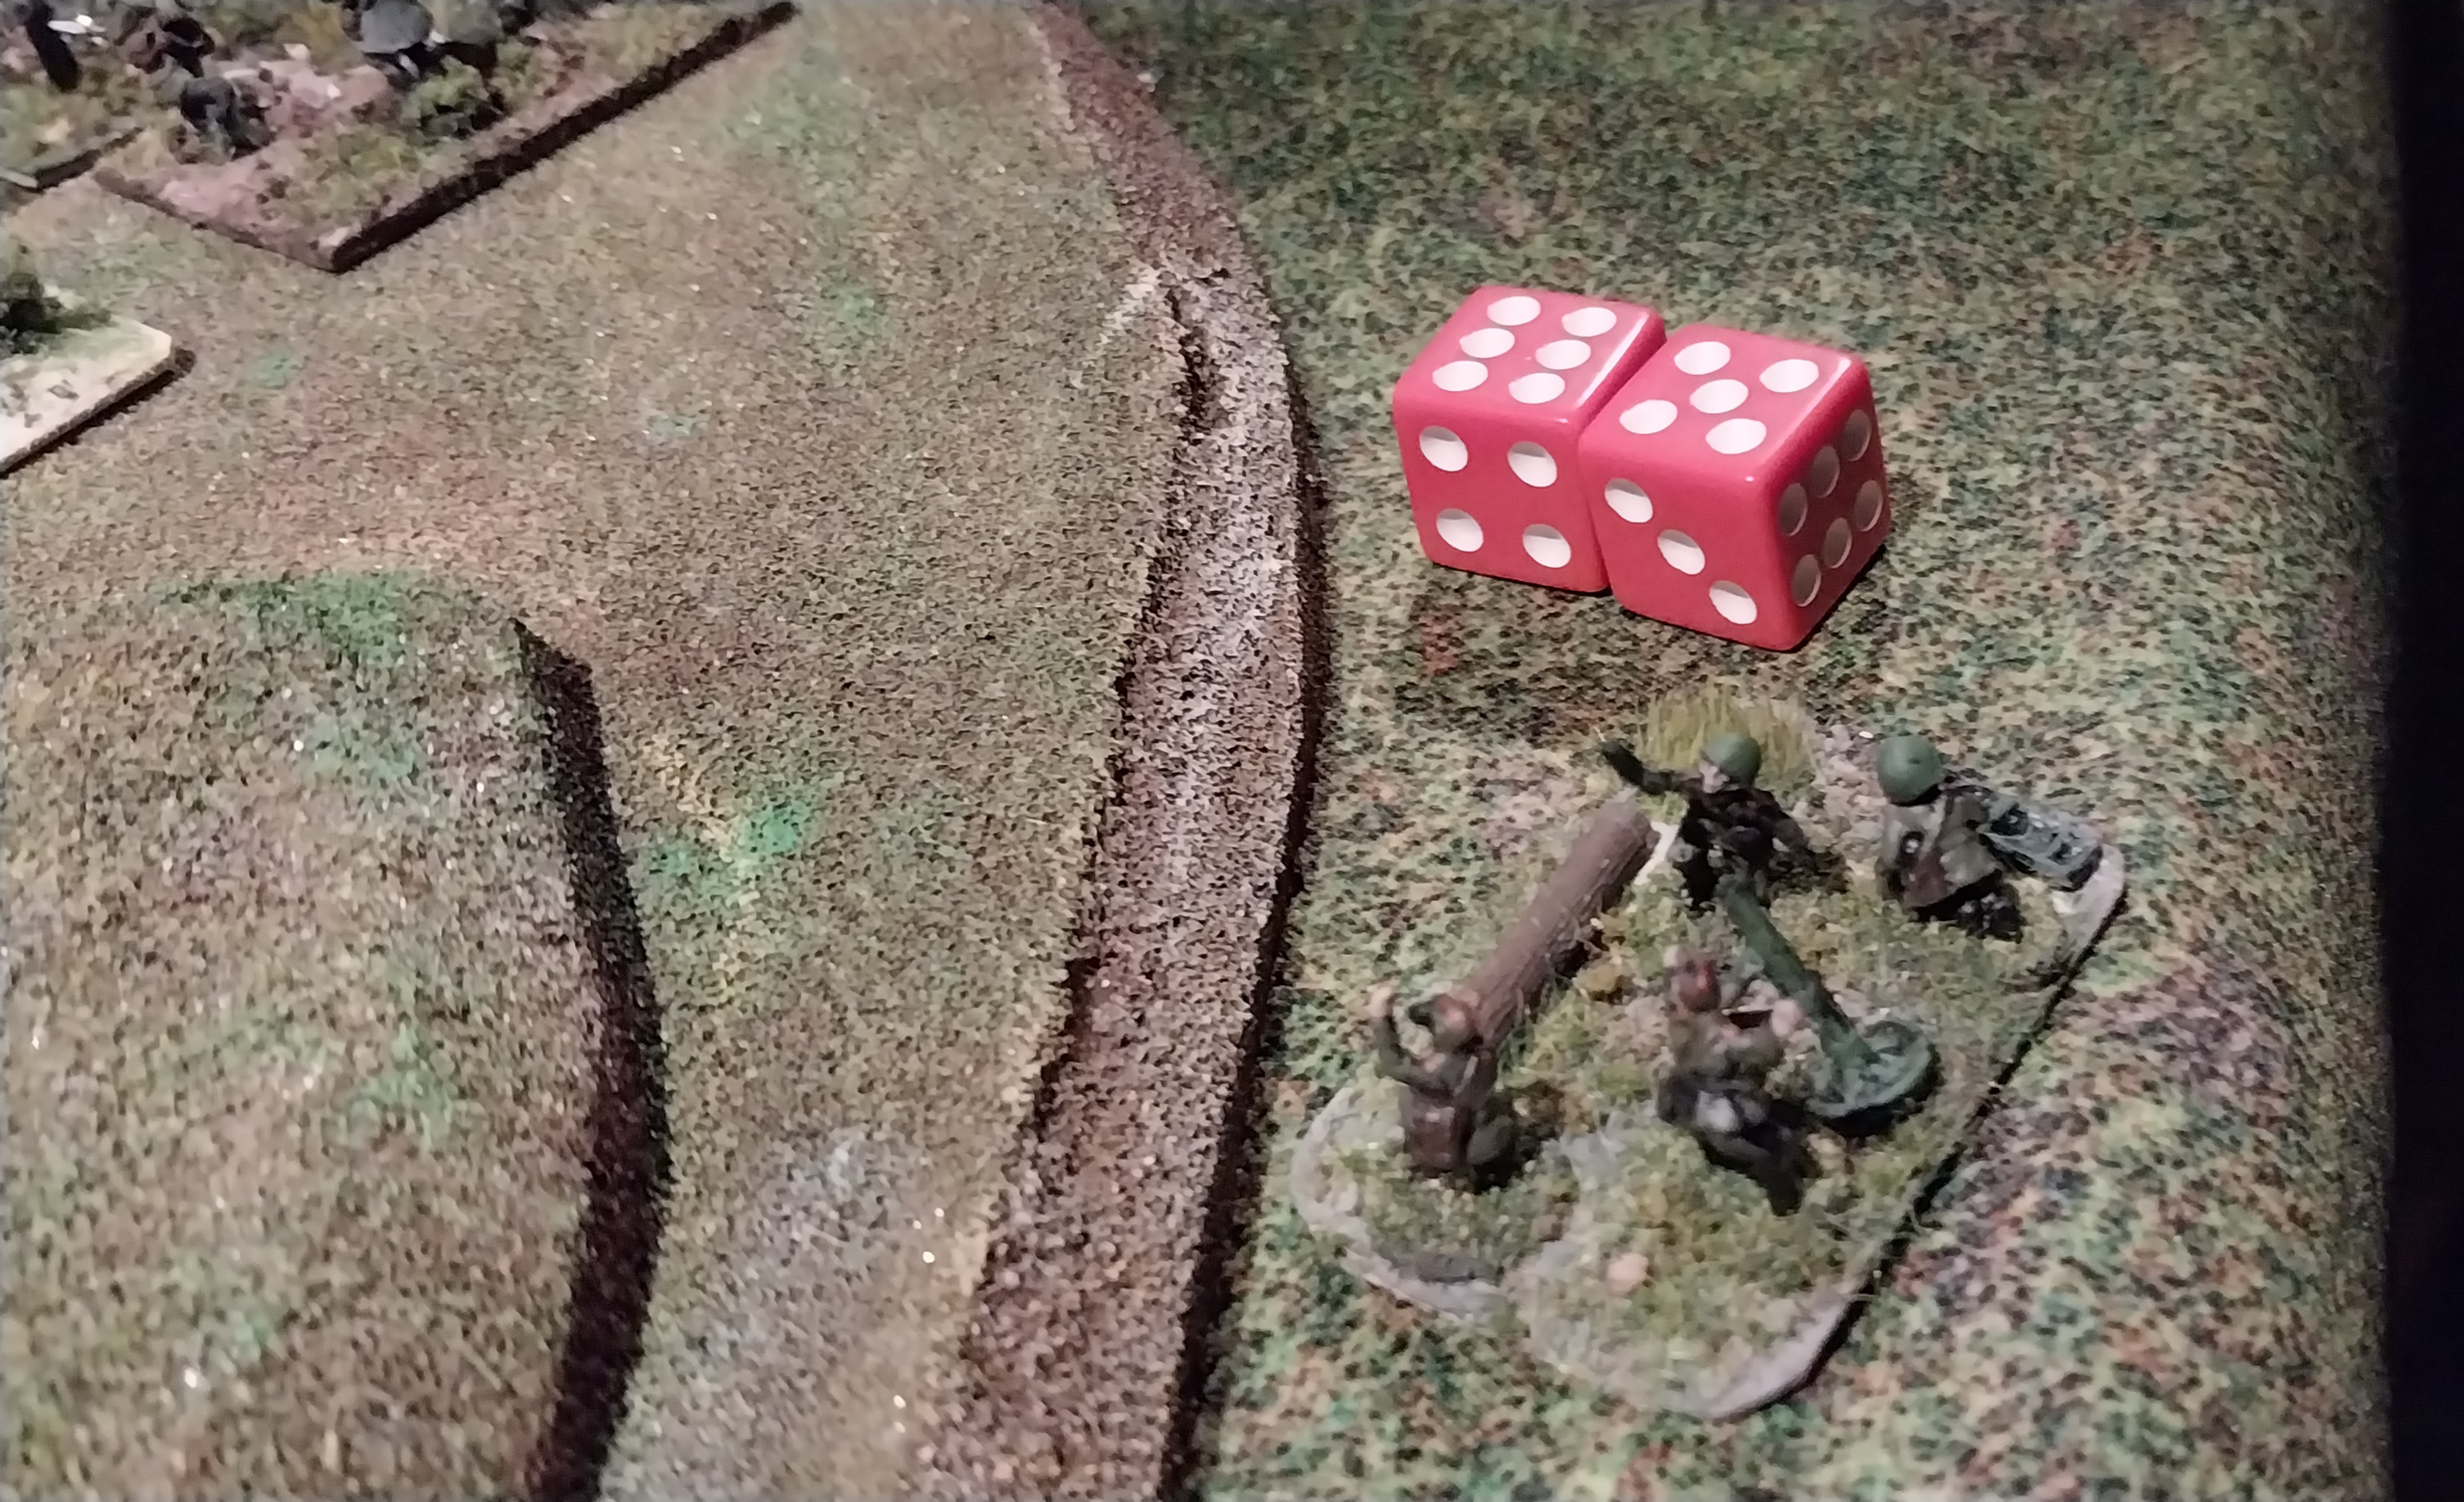


On turn 15, the T34 arrived to join the defensive effort, and....


The KV got a perfect score firing at the German infantry in the woods across the river ....
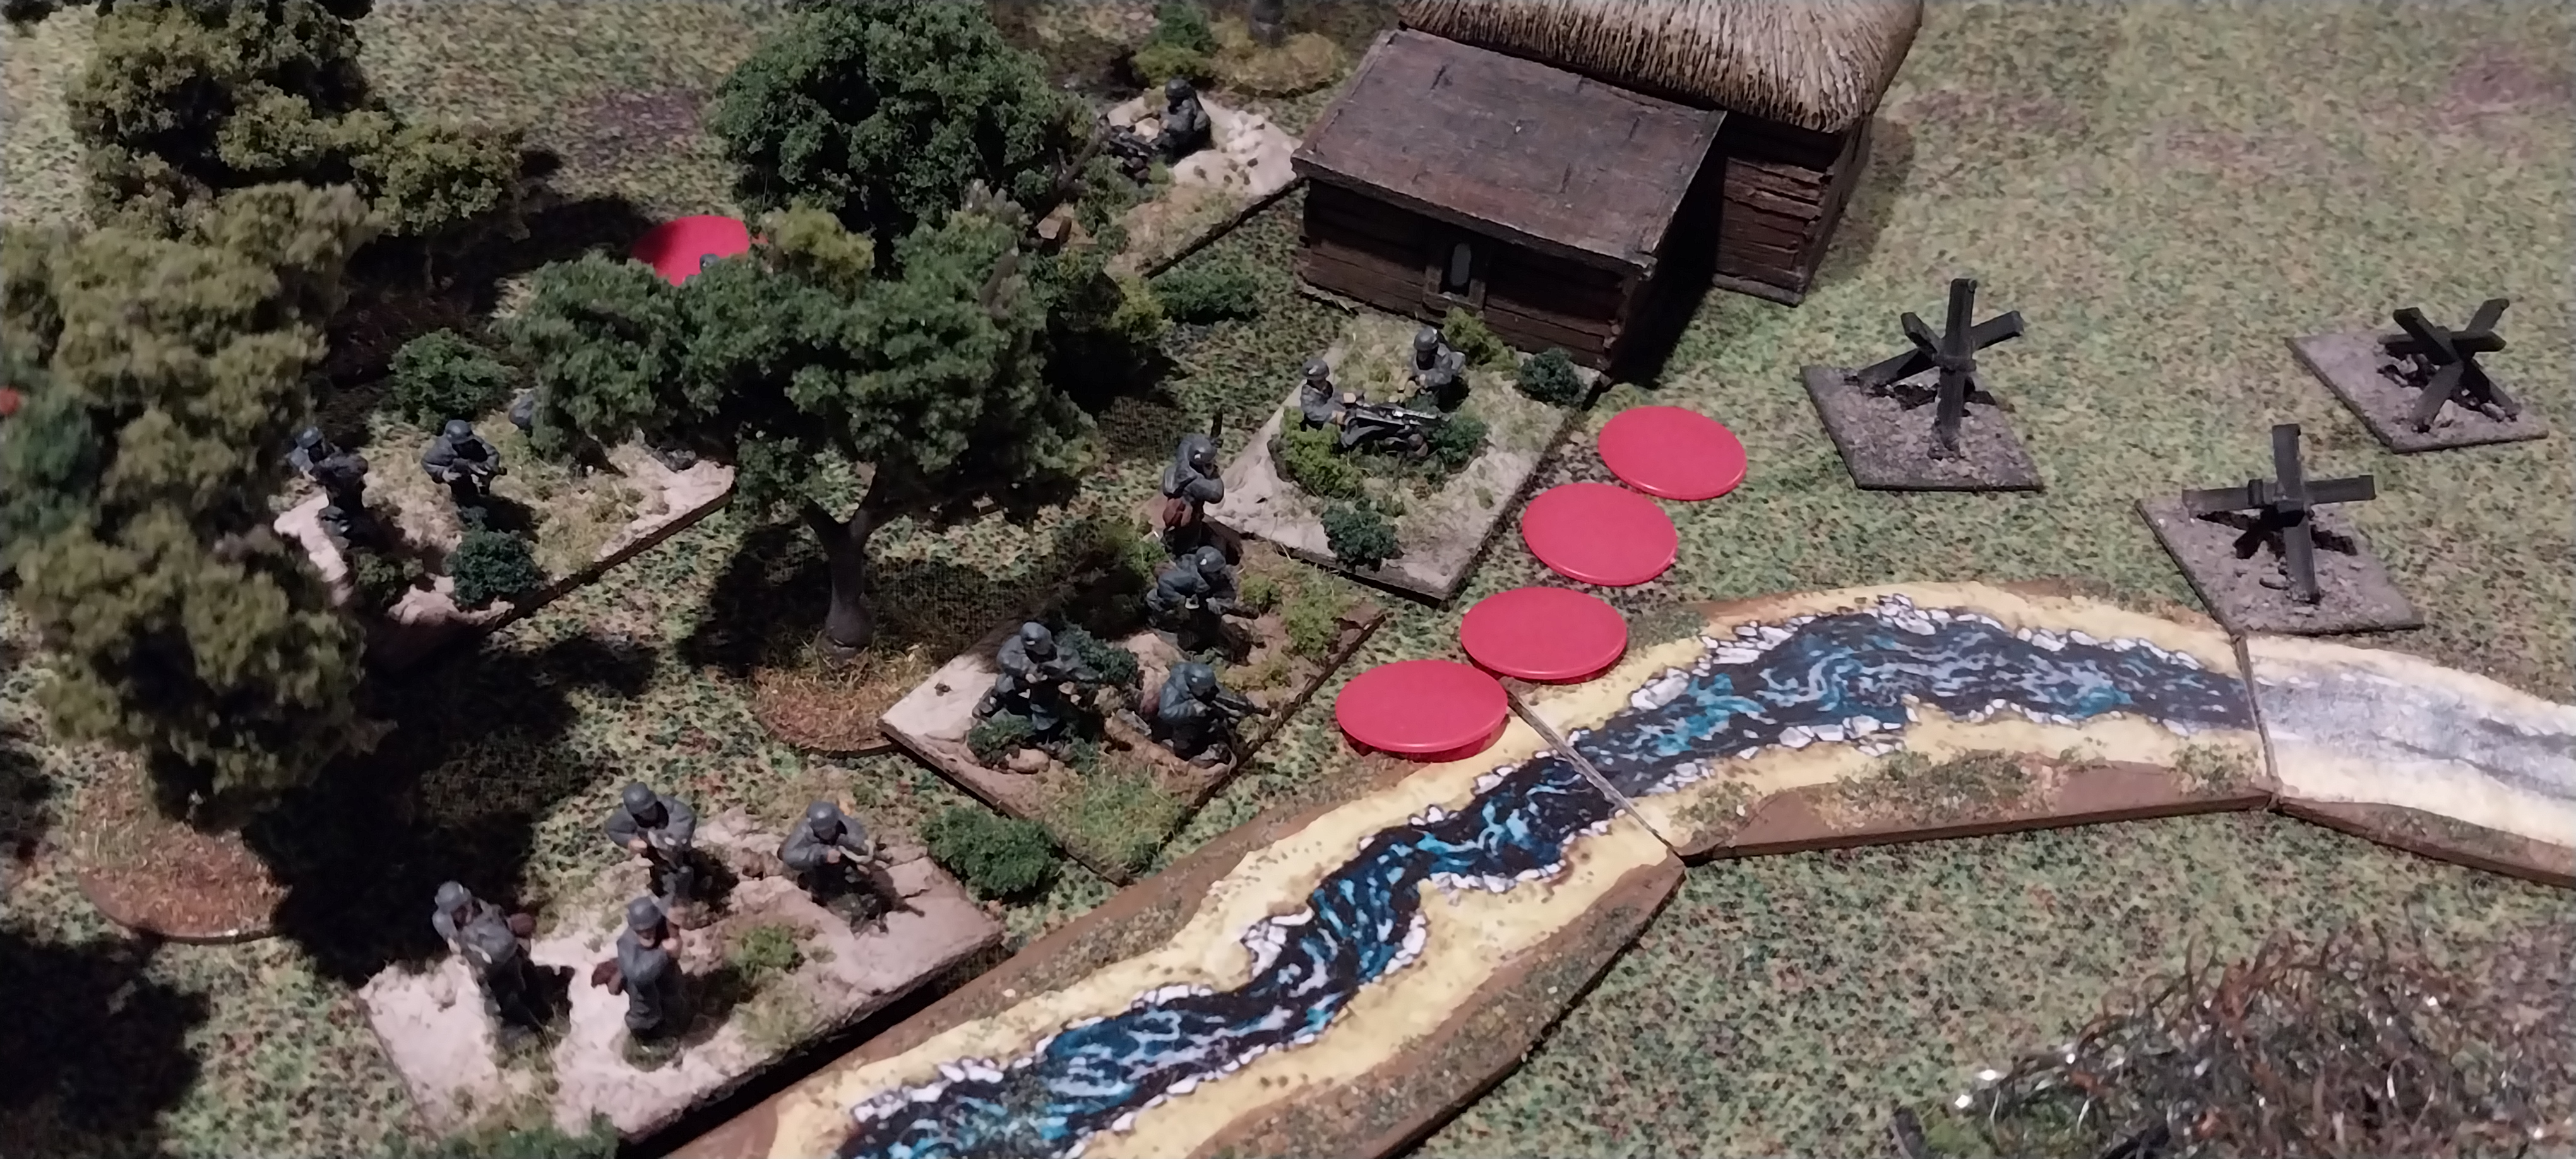

.... forcing them to fall back!


But by turn 15, the combined fire from the Panzers had destroyed both the Soviet HMG teams


The tank commanders cleverly occupied the vacated defensive positions, meaning the Germans, with their less than effective short 75mm howitzer type armament needed a score of 12 to get a hit.


Turn 20 (of a planned 22) and the two PzKfw III arrived.


The very next turn, the Luftwaffe made and appearance ....


.... which proved to be a bit of a damp squib!


A nice little 1/144 Academy kit in about 6 parts that I bought years ago for the princely sum of NZ$4!

I had now run out of cards, but decided to play on - I reshuffled 4 Red and 5 Black, including the queen, to give the Germans another chance at an air attack, and what do you know,


.... the first card was the Queen, so the Me110 made a return visit ....


... with equally "devastating" results!


I kept on keeping on for about anther fifteen minutes, but the game reached a bit of a stalemate. 


The German tanks blasted away, 4 shots every turn, at the T34, but needing an 11 or 12 to hit it, and failed to do so. The T34 failed to rally, so was never able to fire back!


The KV1 and mortars managed to combine to knock out a couple more German tanks over several rounds of firing


The mortars and remaining Russian infantry also managed to get 4 hits on two of the three attacking infantry units, which then had to fall back 2 D6 cm automatically.


This is how things looked from the Russian position when I finally called it a night - you would have to say, it doesn't look like the Germans were going to break through any time soon.


The victorious Russian commander - destined for Hero of the Soviet Union status, perhaps?


With my renewed interest in the Ostfront, I picked up another couple of books from the library as below:


I am halfway through the one on the right, here are a couple of images and brief blub on the book:


In this vivid first-hand account, we gain unique access to the inner workings of Stalin's Central Women's Sniper School, near Podolsk in Western Russia. Luliia was a dedicated member of the Komsomol (the Soviet communist youth organisation) and her parents worked for the NKVD. She started at the sniper school aged 16 and eventually became a valued member of her battalion during operations in East Prussia. She persevered through eight months of training before leaving for the Front on 24th November 1944 just days after qualifying. Joining the third Belorussian Front her battalion endured rounds of German mortar as well as loudspeaker announcements beckoning them to come over to the German side. Luliia recounts how they would be in the field for days, regularly facing the enemy in terrifying one-on-one encounters. She sets down the euphoria of her first hit and starting her "battle count" but her reflection on how it was also the ending of a life. These feelings fade as she recounts the barbarous actions of Hitler's Nazi Germany. She recalls how the women were once nearly overrun by Germans at their house when other Red Army formations had moved off and failed to tell them. She also details a nine-day stand-off they endured encircled by Germans in Landsberg. Regularly suffering ill-health, she took a shrapnel injury to her knee and had to be operated on without an anaesthetic. She would eventually see the end of the war in Köngsberg. Like her famous counterpart Pavlichenko she gained recognition but struggled to come to terms with war service. Haunted by flashbacks she burned the letters she sent home from the Front. She later discovered that of the 1885 graduates of her sniper school only 250 had died in war. In this powerful, first-hand account we come up close to the machinations of the NKVD (the secret police) as well as the grueling toll of war and the breathtaking bravery of this female sniper.

And talking of  Pavlichenko, the so-called Lady Death, I watched this pretty good movie about her on YouTube last night - Russian/Ukranian with English subtitles. (for some reason, when I use the Blogger video tool, I can't find the right YouTube clip, if you follow this link, you should reach it!  https://www.youtube.com/watch?v=R8AA0YUNcHg)

I particularly liked the speech she gave in Chicago, when she visited the USA in 1942 as part of the Soviet attempt to embarrass the western Allies into launching a second front as soon as possible.


What I had not realized is, she killed all 309 fascist occupiers in one battle - the defence of Sevastopol. After she was evacuated (by submarine, just as the city was finally falling to the Germans) she was never in combat again, as she was suffering from shell shock/PTSD. After the US publicity trip (she went to Canada and the UK too) Pavlichenko helped train new snipers for the remainder of the war.

Monday, 17 February 2025

"On First Encountering the T34". A 15mm Solo Game

 From the Imperial War Museum:

"The T-34 in particular was a major leap in tank design and came as a complete shock to the Germans when it was first encountered in July 1941. It had sloping armour - which effectively doubled its strength - and a powerful 76.2mm gun. Its reliable diesel engine gave it a good range and turn of speed, and its wide tracks could cope with mud or snow. Russian industry was already gearing up to turn it out in huge numbers."


From Wikipedia

At the beginning of Operation Barbarossa, the Germans were expecting little from their opponent's tank forces, which were composed of the old T-26 and BTs. While most of the Soviet Union's armoured forces were composed of such tanks, the T-34 and the KV designs, which were previously unknown, took the Germans by surprise. Both types were encountered on the second day of the invasion – 23 June 1941.

"Half a dozen anti-tank guns fire shells at him [a T-34], which sound like a drumroll. But he drives staunchly through our line like an impregnable prehistoric monster... It is remarkable that lieutenant Steup's tank made hits on a T-34, once at about 20 meters and four times at 50 meters, with Panzergranate 40 (caliber 5 cm), without any noticeable effect."

— German battle report, Finkel

German Panzer 35(t) light tanks and anti-tank weapons were practically ineffective against the Soviet armoured giants, which closed with and, even though some of them were out of ammunition, destroyed some German anti-tank guns by simply driving over them

To try and balance things out, I gave the Russians the chance of 3 x T34 and 3 x BT7 as reinforcements for the initial force of three infantry units, 2 armoured cars and an HMG defending a small village. The attacking Germans started with 5 infantry units, an SdKfz 250, 2 x SdKfz 222 and 2 HMG's in support. Their reinforcements were 5 x PzKfw III with 50mm guns and 5 x PzKfw 38t with 37mm guns. I used our homebrew AS9 rules, which use a deck of cards for random activation sequence. There were 26 in total - 10 each standard red and black, plus an Ace, King and Queen of each colour - Ace for the best tank reinforcement, King the other tanks and the Queen was an off-board artillery "stonk". I made sure to mix the cards very thoroughly... maybe that was a mistake in retrospect!


The Germans (to the left/west) automatically got first turn as the attackers, thereafter, activation was by turn of card, unless one side got three in a row; then, the other side automatically had to get the next activation. The Russians counted as being entrenched, so were harder to hit.


The first 4 turns ran German, Russian, Russian, Russian! The German HMGs fired on turn one but didn't hit anything, then the Russians returned the favour for three turns in a row, including one of the armoured cars failing to hit an SdKfz 222.


Turn 5 and 6 went to the Germans, the red markers indicate units that have taken a hit. Remember, in these rules, both sides fire. The activated player can choose to move OR fire, but if they choose the latter, unless they destroy the target (which they can do in one shot to a vehicle or gun team, if they score 12) the target fires back at them.


Turn 7 was Russian and then 8 and 9 were German again. One of the Russian infantry units was teetering on 3 hits. The first action in each turn is to attempt rally, which is done by rolling 9 or greater on 2 D6 to remove one hit marker - a score of 12 removes ALL hit markers. In this game, I was generally rubbish at rolling rallies for either side, with a few notable exceptions!


On turn 10, I turned over the red ace, and on came the 3 x T34 tanks. These are original FoW resin and metal models circa 1998, as are all my FoW kit. The slogans were sourced by getting a Russian dictionary from the library and copying out Cyrillic alphabet words, then hand painting them onto the turrets! No internet to check, let alone 15mm scale decals to use back in the day.... LOL.😉


The Russians had a couple of turns and managed to rally off most of the hits they had been carrying, then after the Germans managed to destroy the one and only Russian HMG, I turned over the red queen, and the three BT7 tanks came on too!


A view from behind the German lines as the Russian tanks move forward. The Russian infantry on their left flank are again sitting on three hits, as is the leading German infantry unit, that is sheltering in dead ground behind one of the buildings


On turn 15, the red queen came up, and a Russian artillery barrage hit the HMG and adjacent infantry. Both German HMGs were silenced at this stage.


Next turn, the armored car finished off one of the German HMGs......


...... and a T34 brewed up a 222!


The tanks were mainly using their MGs to help suppress German infantry, and the combined fire power drove one unit back to the table edge, whilst the T34 adjacent to the central building had assaulted the German infantry, winning the close combat and driving them back too!


Finally, on turn 20, the black ace was drawn, and the 5 PzKfw III's appeared in support of the German assault. All the German rally attempts failed - again! .... and in an exchange of infantry fire, the targeted Russians rolled a double 6, putting two hits on the Germans who had fired at them.


Turn 21 also went to the Germans - a Panzer III fired at the T34, but the 50mm shell just bounced off the sloped frontal armour.  (just like in Finkel's report, quoted above!)


The 76mm swung round and a shot rang out - with a +3 for a gun greater than 75mm, but -1 against medium armour, it wasn't too hard for the Russian crew to score an 11 or 12 and brew the German tank up! 

The German commanders tank fired at the T34 ....


.... and scored a direct hit! These Russian tanks are not invincible, after all, Jungs! 

The remaining Pz III's only had a BT7 in view - their combined fire only managed to get a single hit, silencing its 45mm gun.


The German armour was having trouble with the remaining two T34's - despite outnumbering them 4 to 2, for every shot fired, a return shot came in their direction - and the T34 had a significant calibre advantage! On turn 23 (of 26) the black queen was turned over and the German artillery caused one Russian infantry unit to abandon the front-line trenches and retire eastwards.


On turn 24, the black king was finally revealed, and the 5 x 38t's arrived, but possibly too little, too late by this stage? Two Pz III's were burning and another 2 were suppressed, whilst only a single BT7 was suppressed on the Russian side.


Unfortunately for the Germans, three of the 38t's scored a 10 when firing at the T34, but because of its armour rating and their small guns, they needed to score 11.


Then the remaining Pz III's had a try, and their result was worse - not hits on the T34 but return fire silenced one and destroyed the other!


The Russian infantry were in pretty poor shape by now - one unit had left the field, and another had been driven out of their trench after accumulating 4 hits, but the Germans were not much better off, with two units having disintegrated and their part of the battlefield was littered with the smoking hulks of destroyed panzers!


In the final turn, a red card was revealed - and to add a final injury to insult, the one suppressed BT7 rallied it's hit off, then knocked out a 38t, whilst the two T34's killed another Panzer III and a 38t!


The game took a couple of hours to play through - first image is timed at 1912 and the last at 2124. The Russians certainly had all the luck; if the Panzers had turned up first and been on the table unmolested for a several turns, they probably could have helped overwhelm the Russian infantry and secured the town before the armoured reinforcements could arrive. I thought a 10 to 6 advantage in tank numbers would be ok, particularly when all the German tanks were more or less as good as the three BT7's, but the way the activations fell really did the German cause no favours at all!

I may carry on with further Barbarossa inspired games, or possibly just alternate between different WWII periods and theatres, depending on how the mood takes me - nice to have a bit of variety in my Wargaming Wednesday games! I must also have a think about getting my 28mm skirmish figures back into action some time, too.

I hope you enjoyed this AAR of the game played on Saturday evening - should get in another one on Wednesday and may possibly have a couple more "proper" FtF games later in the week - I am starting to sound like Mr Freitag!

Saturday, 15 February 2025

The Battle of Paoli, AWI, September 20, 1777

This will be a very long post with a lot of reading - but only because I have pinched a whole lot of stuff from Wikipedia about this AWI action! My thanks to Mark (Old Nick) at "Come on my Brave Fusiliers" blog for posting about this "battle" here https://bravefusiliers.blogspot.com/2025/02/breaking-down-xavier-della-gattas.html

The Battle of Paoli, also known as the Battle of Paoli Tavern or the Paoli Massacre, was a battle in the Philadelphia campaign of the American Revolutionary War fought on September 20, 1777, in the area surrounding present-day Malvern, Pennsylvania. Following the Continental Army's retreat in the Battle of Brandywine and the aborted Battle of the Clouds, George Washington left a force behind under the command of Brigadier General Anthony Wayne to monitor and resist the British as they prepared to attack and occupy the revolutionary capital of Philadelphia.

On the evening of September 20, British forces under Major General Charles Grey led a surprise attack on Wayne's encampment near the Paoli Tavern in present-day Malvern, resulting in many American casualties. With inaccurate later claims that the British took no prisoners and granted no quarter, the engagement came to be known as the "Paoli Massacre."

After the American defeat at the Battle of Brandywine on September 11, 1777, General Washington was intent on accomplishing two tasks. He wanted to protect the revolutionary capitol of Philadelphia from British forces under the command of Lieutenant General Sir William Howe and also shield his inland supply depots at Reading, which was 60 miles (97 km) northwest of Philadelphia, and at Lancaster, which was 65 miles (105 km) west of Philadelphia. Washington withdrew across the Schuylkill River on September 12, bypassing Philadelphia and heading northwest to the Falls of Schuylkill in the present-day East Falls section of Philadelphia.

After resting for a full day and refitting, Washington's army again crossed the Schuylkill River at Levering's Ford in present-day Manayunk on September 14 to face the British, who had moved little since Brandywine due to a shortage of wagons to carry their wounded and baggage.[4] After the Battle of the Clouds, an ultimately aborted engagement due to bad weather on September 16, Washington withdrew to Yellow Springs and Reading Furnace in northern Chester County to replenish his ammunition. He left Brigadier General Anthony Wayne's Pennsylvania Division at Yellow Springs in present-day Chester Springs. When the British columns moved towards the Schuylkill River, Wayne followed Washington's orders to harass the British and attempt to capture all or part of their baggage train.

Wayne assumed that his presence was undetected and camped close to the British lines 2 miles (3.2 km) from Paoli Tavern in Paoli. Wayne's division consisted of the 1st, 2nd, 4th, 5th, 7th, 8th, 10th and 11th Pennsylvania Regiments, Hartley's additional Continental Regiment, an attached artillery company and a small force of dragoons. The various regiments and units amounted to approximately 1,500 men. Several miles to the west and moving to join Wayne was William Smallwood's Maryland militia, who had approximately 2,100 inexperienced troops under his command.

The British heard rumors that Wayne was in the area, and Howe dispatched scouts, who reported his location to be near the Paoli Tavern and Warren Tavern in present-day Malvern on September 19. Since his position was just 4 miles (6.4 km) from the British camp in Tredyffrin Township, Howe immediately planned an attack on Wayne's camp.

At 10 p.m. on September 20, British commander Major General Charles Grey marched his forces from the British camp and launched a surprise attack on Wayne's camp above the Warren Tavern in present-day Malvern not far from the General Paoli Tavern. Grey's troops included the 2nd Light Infantry, a composite battalion formed from the light companies of 13 regiments, plus the 42nd Royal Highland Regiment and 44th Regiment of Foot. A dozen troopers of the 16th Queen's Light Dragoons were in the vanguard of the main British column. Altogether, Grey's force numbered approximately 1,200 men.

To ensure that the Americans were not alerted, Grey ordered his troops to advance in silence with muskets unloaded and attack with bayonets alone. In the case that loads could not be drawn from weapons, he ordered that the flints should be removed instead, earning the Grey the epithet "No Flint" Grey. Major John Maitland, commanding officer of the 2nd Light Infantry battalion, was given permission to advance with muskets loaded, giving his personal assurance that his men could be relied on not to fire.

Earlier, Wayne received two warnings of a possible attack and sent out mounted sentries, who spotted the British force two miles from the camp and gave the alarm. Reaching Warren Tavern, the British forced a local blacksmith to guide them and approached the camp silently along heavily wooded roads, where they hit a sentry post. Most of the sentries fired into the dark, exposing their position and were annihilated by the silent British vanguard. In the camp up the hill from the pickets, Wayne's troops were already formed up and armed. Hearing the firing from the picket on the right, the main body of Wayne's force began moving west out of camp in a column through well-fenced fields when a disabled cannon blocked the avenue of escape for several minutes. With loud battle cries, the British stormed into the camp in three waves: the 2nd Light Infantry in the lead, followed by the 44th and the 42nd, and light dragoons sweeping across the camp. Some of Wayne's troops fired in the direction of the British attack, exposing their positions in the dark; the rear of Wayne's column was silhouetted by their campfires. Some fired into each other and the ensuing chaos caused troops in that part of the line to panic and run. Wayne organized a rearguard defense, but many of his troops fled from the camp and were pursued for a mile or two. Near White Horse Tavern, the British encountered William Smallwood's forces and routed it as well.


My version - I have the Black Watch (Old Glory, bottom right, along with Grey and the Light Dragoons), and the Light Infantry (Front Rank, middle left) but the 44th Foot are represented by The 3rd Foot, The Buffs (Front Rank figures bottom left)


You have to imagine its dark!


I used simple "1 2 3 they do 4 5 6 they don't" to decide if the Americans opened fire in the dark on their own comrades - mostly, they did!


The Light Dragoons hit an already retreating American unit


More misdirected fire!


General Grey (above) and General Wayne (below) encourage their respective commands


The 2nd Light Infantry keep the pressure on the routing American forces


The American forces flee the field


General "No Flint" Grey, the victor.

With only four British killed and seven wounded, the British routed an entire American division. American casualties from the battle are more uncertain. Historian Thomas J. McGuire says that 53 dead Americans were buried on the battlefield but "whether these were all of the American dead or only those found on the campsite-battlefield is uncertain". Local tradition says that eight more American (and some British) soldiers killed in the battle were buried at St. Peter's Church in the Great Valley, an Anglican church.An estimated 71 prisoners were taken by the British, 40 of whom were so badly wounded that they had to be left behind in nearby houses.According to McGuire, a total of 272 men were killed, wounded, or missing from Wayne's division after the battle. McGuire reports that on the day after the battle, 52 dead Americans were buried, and another body was found later. Among the buried, 39 are unnamed. The highest ranking American officer killed was Major Mareen Lamar (sometimes misspelled Marien).

An official inquiry found that Wayne was not guilty of misconduct but that he had made a tactical error. Wayne was enraged and demanded a full court-martial. On November 1, a board of 13 officers overruled the inquiry's initial report, concluding that Wayne had acted with honor.

The incident gained notoriety partly because of accounts by supposed eyewitnesses, who claimed that the British had bayoneted or mutilated Americans as they were attempting to surrender. Reports included the following:

I with my own Eyes, see them, cut & hack some of our poor Men to pieces after they had fallen in their hands and scarcely shew the least Mercy to any...:— Lt. Col. Adam Hubley, 10th Pennsylvania Regiment

...more than a dozen soldiers had with fixed bayonets formed a cordon round him, and that every one of them in sport had indulged their brutal ferocity by stabbing him in different parts of his body and limbs...a physician...examining him there was found..46 distinct bayonet wounds...:— William Hutchinson, Pennsylvania Militiaman

The Enemy last Night at twelve o'clock attacked...Our Men just raised from Sleep, moved disorderly — Confusion followed...The Carnage was very great...this is a bloody Month:— Col. Thomas Hartley, 1st Pennsylvania Regiment

The Annals of the Age Cannot Produce such another Scene of Butchery...:— Maj. Samuel Hay, 7th Pennsylvania Regiment

American military historian Mark M. Boatner III refuted these allegations, writing:

American propagandists succeeded in whipping up anti-British sentiment with false accusations that Grey's men had refused quarter and massacred defenseless patriots who tried to surrender. Gen Heath's (American) comment is simply that, "the bayonet was chiefly made use of, and it proved but too efficacious ...The "no quarter" charge is refuted by the fact that the British took 71 prisoners. The "mangled dead" is explained by the fact that the bayonet is a messy weapon.

Wayne's troops swore revenge and "Remember Paoli!" was used by them as a battle cry at the Battles of Germantown and Stony Point.

To show their defiance, the men of the 2nd Light Infantry dyed their hat feathers red so the Americans would be able to identify them. In 1833, the Light Company of the 46th Regiment of Foot were authorized to wear red cap distinctions instead of the regulation Light Infantry green in commemoration of this gesture.

In 1934, the Royal Berkshire Regiment, which carried on the traditions of the 49th Foot, were authorized to wear a red distinction in their head dress although, misleadingly, this was granted "to commemorate the role of the Light Company at the battle of Brandywine Creek". In the second half of the 20th century, the descendants of both regiments wore red backing to their cap badges and did so until 2006 when The Light Infantry and the Royal Gloucestershire, Berkshire and Wiltshire Regiment were absorbed by The Rifles.


I had to leave the last two paragraphs in - they are so quintessentially British Army!

Hope this was of interest - a great little scenario for anyone interested in the AWI, I can imagine it would work very well with the large-scale skirmish rules like Rebels and Patriots of Sharpe Practice, and once again, thanks to Mark for bringing this action to my attention in the first place.