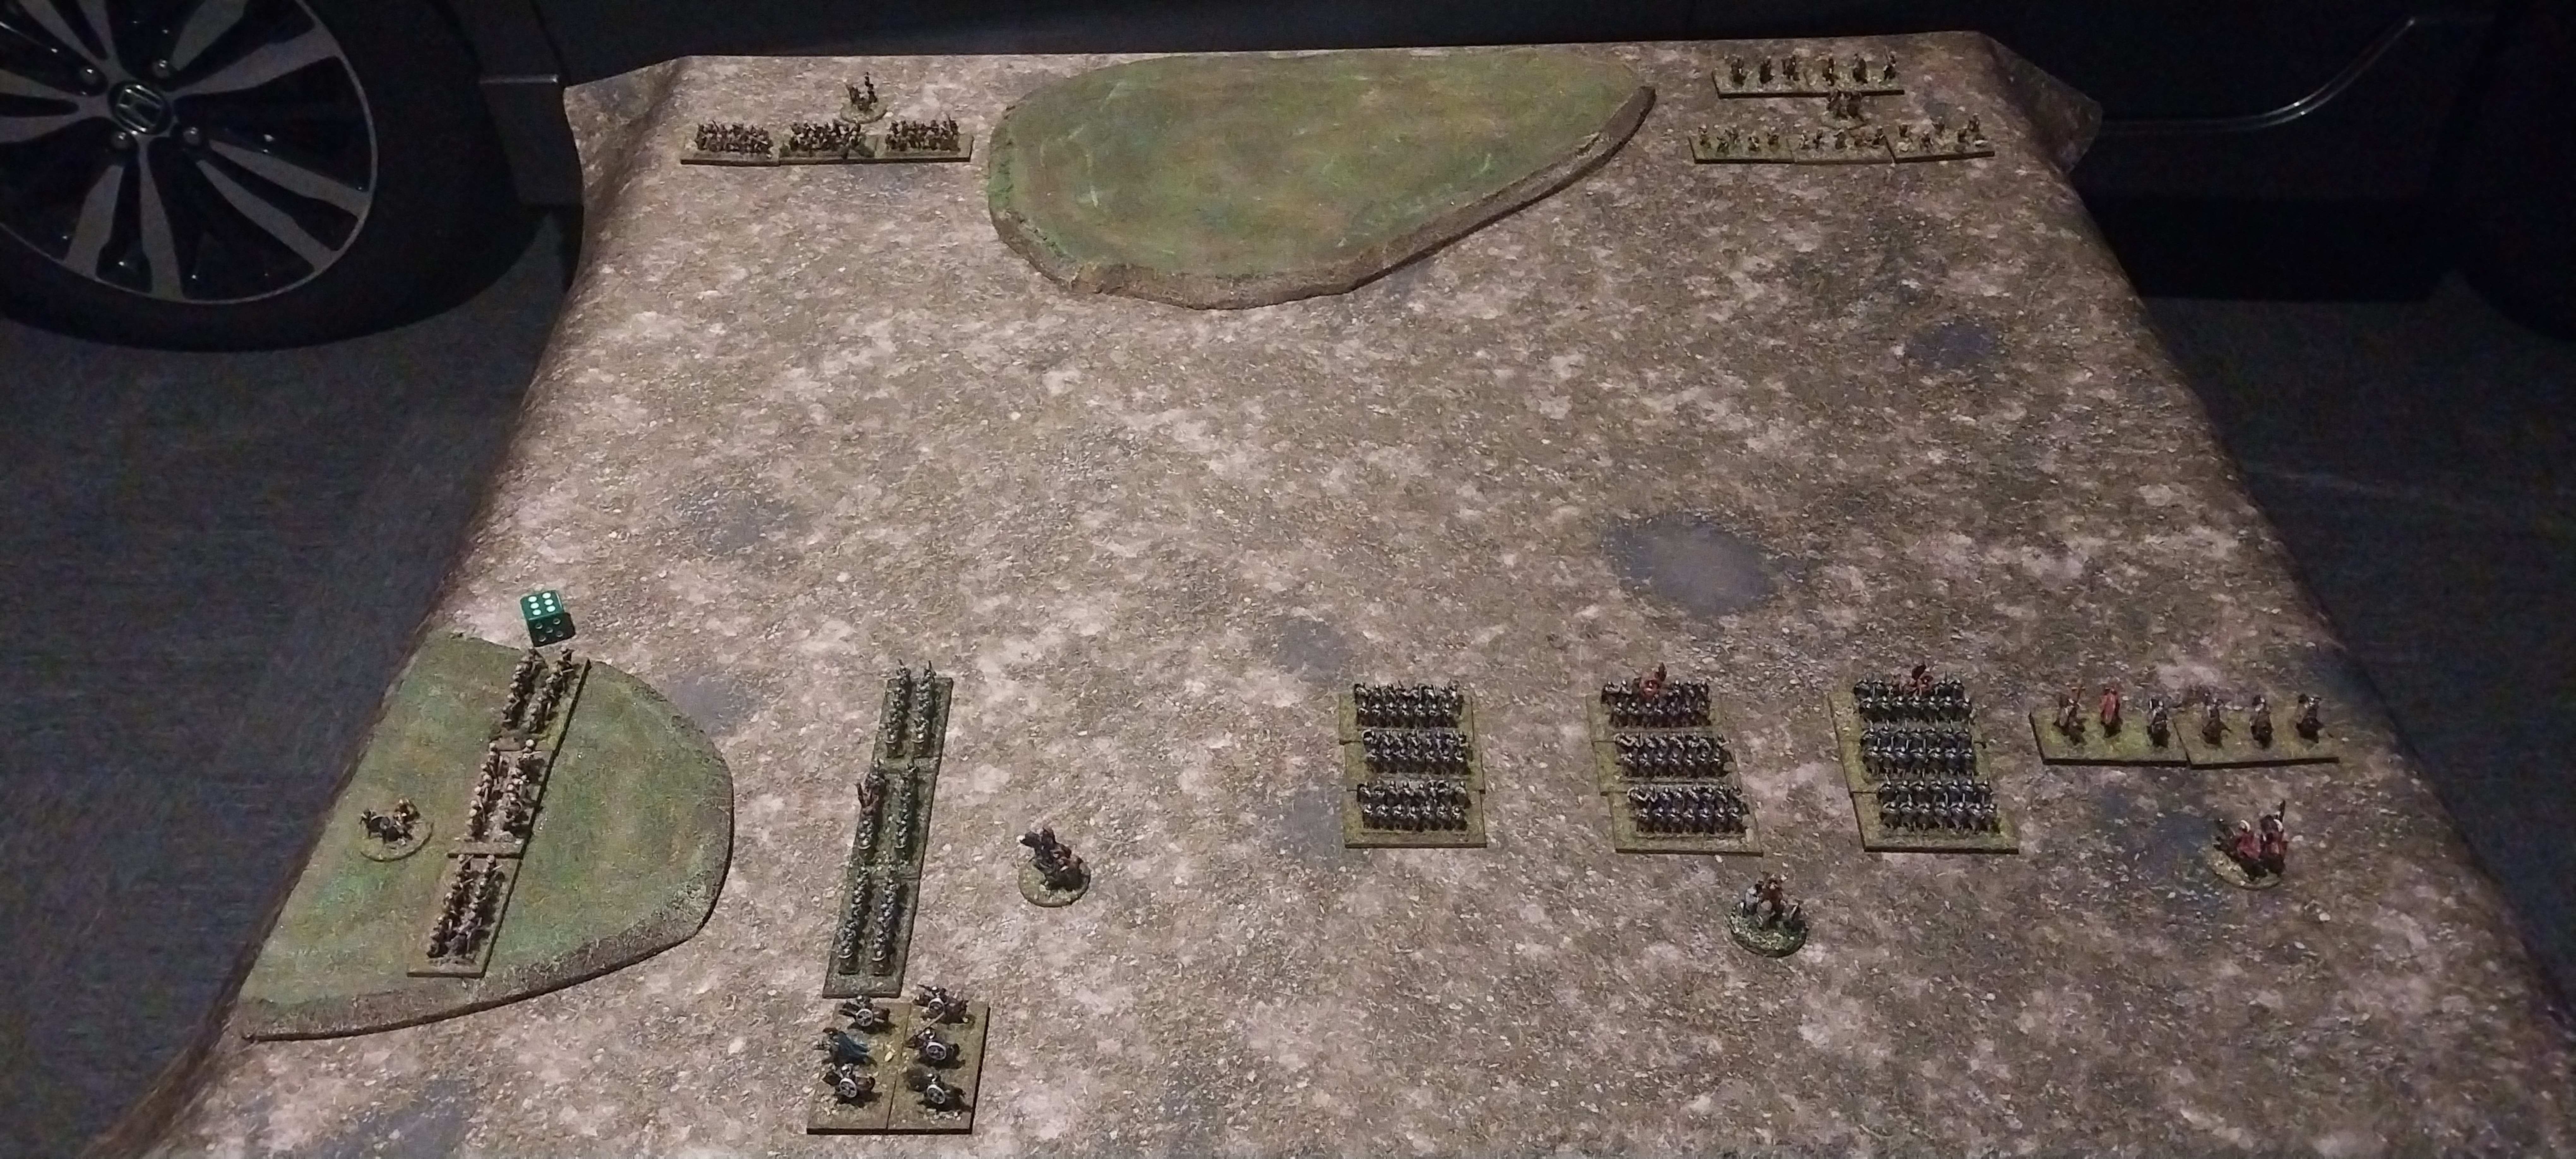
Six players and one umpire (Andrew) for the game today, which was set in central Asia somewhere and featured the Chinese and some variety of Muslim tribesmen (we called then Afghans, so the combined army was christened "Chafghan"!) versus a "Euro" army of White Russians, Brits and Bolsheviks - yeah, I know, but it is all made up anyway, so that's how the forces were arranged! Rules were Andrew's 20th century once again. So, without further ado......

Just for you Stew - view down the table from Barrys spiral staircase!

And from the other end - Euros on the left, Chafghan on the right.

Tribal cavalry advance

As do some infantry, with support from an FT17

The Euros right flank, commanded by yours truly.

Barry held the centre of the enemy side with a force of Chinese troops

First blood to a Chinese field gun

On the left flank, Nick led the White Russians - Rick was in the Centre with the Brits, keeping the two Russian forces from fighting each other!


The Chinese score a second success - vehicles don't last long in Andrew's rules!

Barry commanded the Chinese defending a series of compounds around the town. To his left, Chris moves forward.

The Bolsheviks advance towards the force commanded by Paul

This lady was concealed in the BUA held by the Chinese and was hoping some gallant European officer would rescue her - we didn't even try!

The junction between Ricks Brits (burning field gun) and Nicks White Russians

Tribal cavalry, beautifully painted by Andrew.

Semi regular Chafghan infantry of Chris's command.

I had lost my little FT17, but a gap had opened up between Paul and Chris, and as one of our victory point aims was to get units (but not vehicles) off the enemy table edge, my Bolshevik units headed in that direction. The single figure in pilots' attire is "Biggles" who had joined my command on an Even card.

Marching under the banner of proletarian brotherhood and liberty!

Chris charged his lance armed tribal cavalry into one of my infantry units

But the Slavs stood firm, and the cavalry were repulsed - URRAH!

The Red Army gunners had manhandled their guns onto the high ground and commenced firing on the enemy forces

Biggles goes in! He operated as a "unit" with a +3 - so a very potent addition to my force!

The two armoured cars assault a unit already carrying the max four hits, to drive them off the road.


At the other end of the battlefield, despite having lost most of his supports (vehicles and artillery) Ricks Brits looked well positioned to follow Nicks White Russians off the field and gain VP's

The Whites reach their goal!


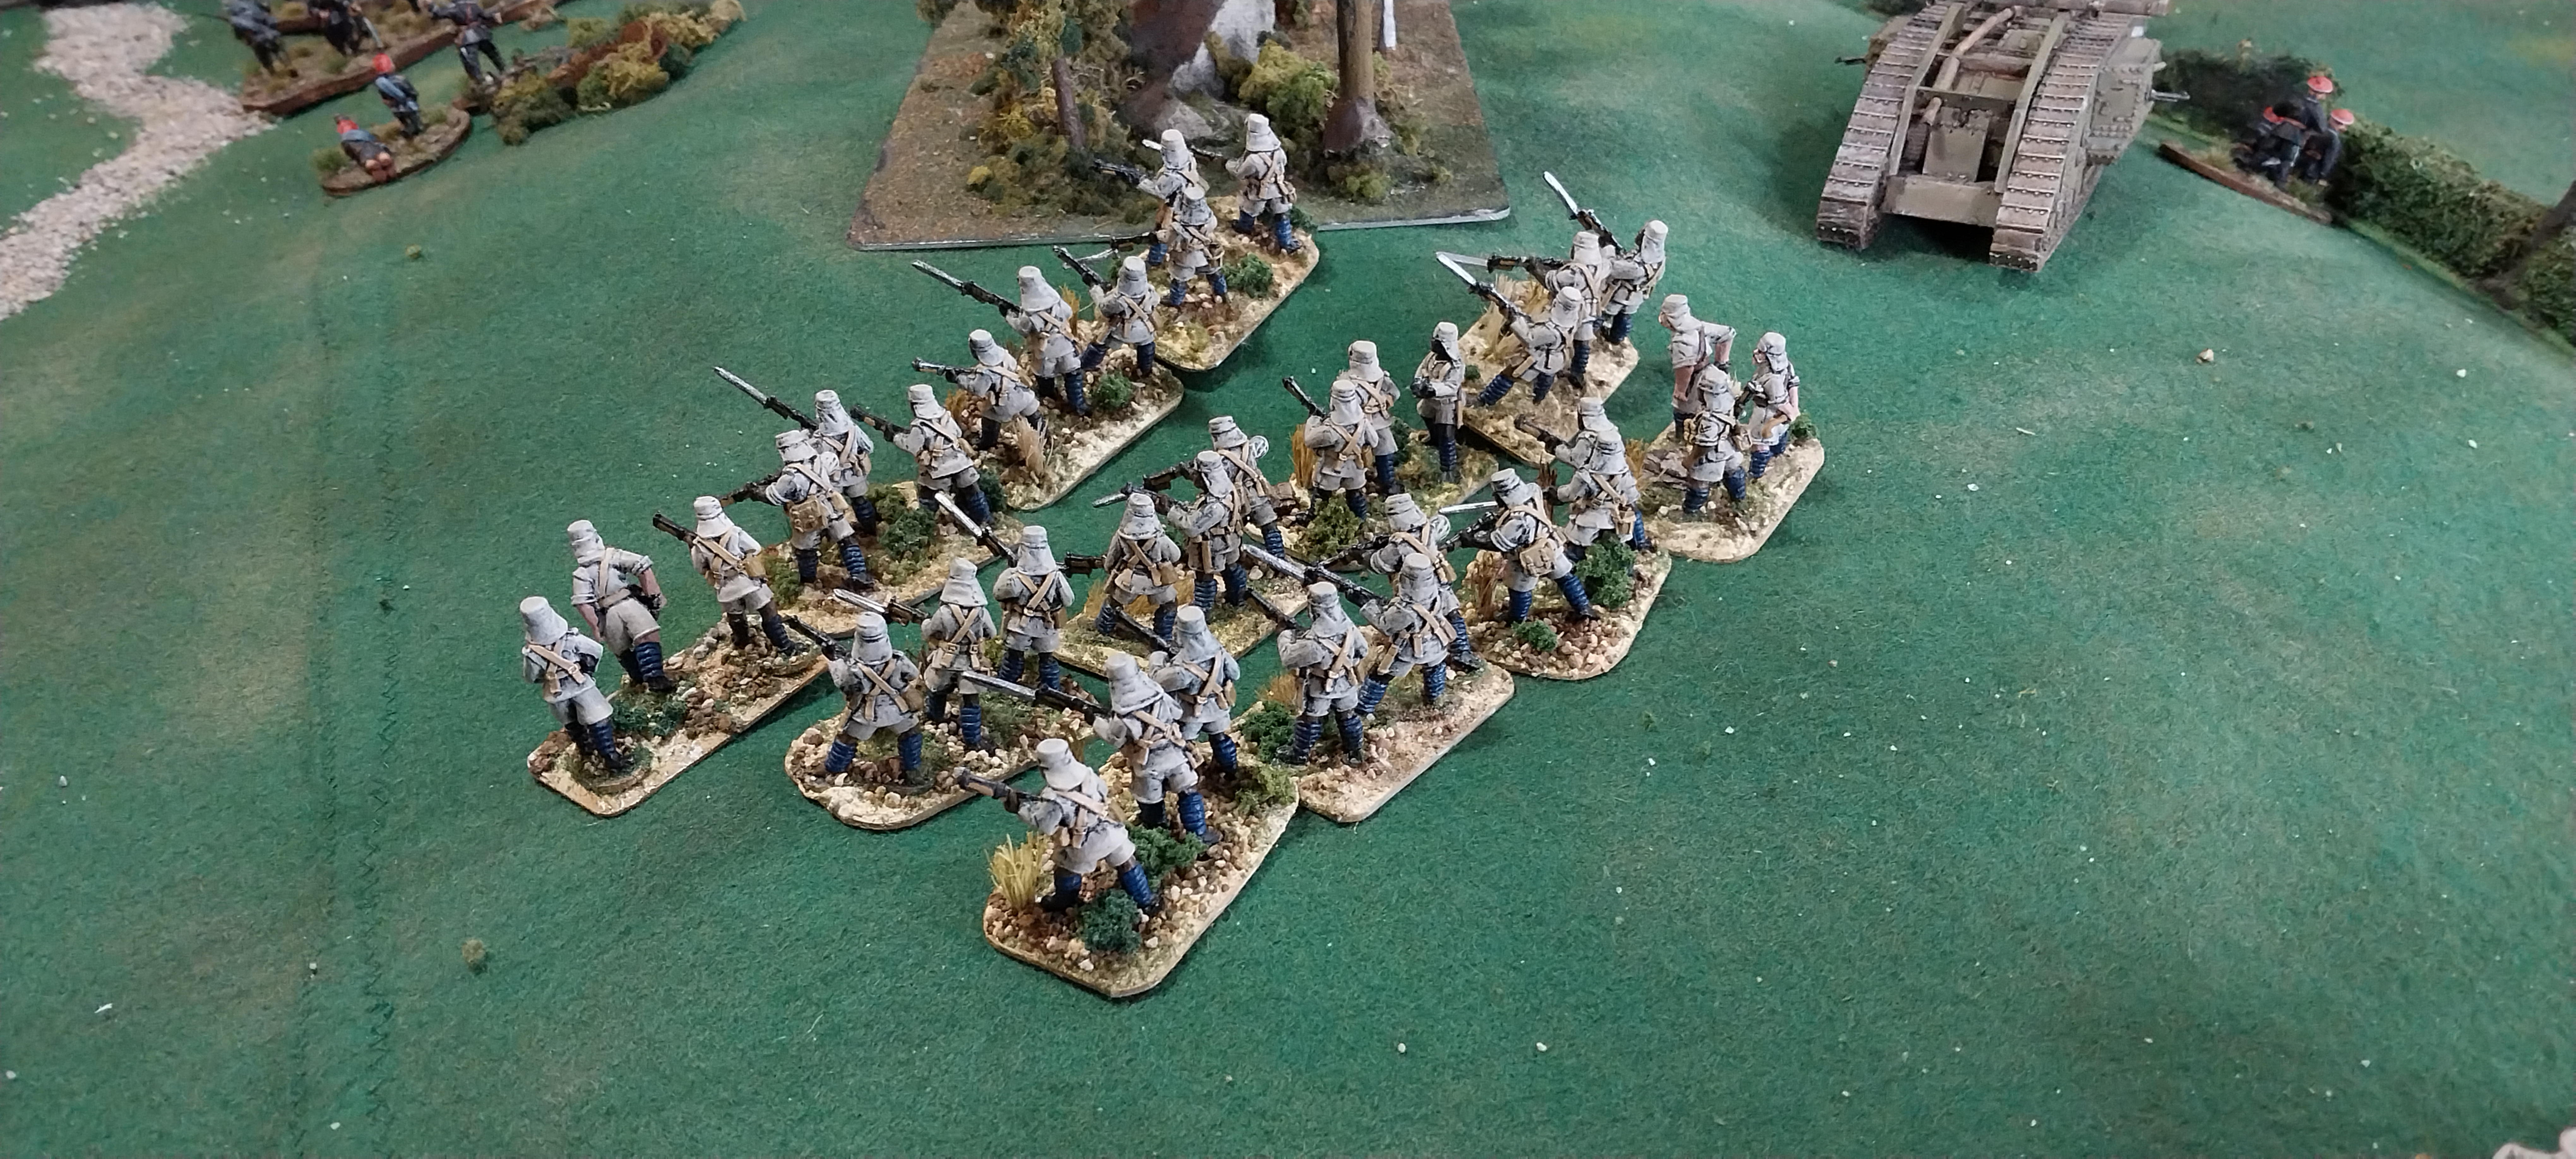
The Brits are not far behind

Too late, the Chinese realise no one is going to be silly enough to assault their defensive position, and they start emerging towards the Whites and Brits - meanwhile, both Chris and Paul were concentrating on stopping my Bolsheviks

The lancers charge again, but again failed to gain the advantage over the stoic Red Army infantrymen

Supported by the guns on the hill, the Bolsheviks are fighting their way through the Chafghan units.

Here I made a critical tactical decision - but to be fair, I was unaware it was critical at the time - my command unit attacked Paul's cavalry, who were carrying three hit markers inflicted by my artillery

And Chris's lancers are still trying to get the better of my infantry

Bloody Biggles might fight like a demon, but the fat bstrd moves at a snail's pace - two or three times, I rolled a double one or one and two when trying to get him to charge a Chafghan unit - the Bolshevik infantry had to do the hard work themselves - can't trust those Imperialist lackeys!

So, the cavalry is now on four hits, which would mean if they don't rally at the start of the next Chafghan turn, they will have to retire 3 x D6. I should have moved my command group away at this point but I didn't - I can't even remember the logic - it was to do with at exactly what point the cavalry might be forced to rally and I thought it made more sense to leave my unit there, as it was only carrying a single hit

What I didn't know until we fought another round, and the cavalry won, was that Paul had a secret mission to engage an enemy commander in combat and if he won, to capture said commander - and that was what bloody happened - GRRR! I have to admit to losing my cool at that point - obviously, IF I had known there was a risk of this happening, I would have avoided putting the commander into combat and even if forced into one round, I would have disengaged him and moved towards the table edge asap, when I had that opportunity!

I could still have rescued the commander by getting into combat with the cavalry and beating them - and Biggles with his +3 was within easy range 4 or 5 inches - and I rolled double 1 - AGAIN!
That was basically the end of the game - it had been set for 12 turns each, there were 5 cards remaining - and only the very last one was for the Euros - which we had guessed, as we had at least two runs of three turns in a row earlier in the game.
Being a points-based game with a set time limit, we lost - but I feel if we had just played on another few turns, we might well have still got all the Brits and most of the Bolsheviks off the table - so I wasn't too disheartened by the end result, although the capture of my command group did rankle for quite a while after it happened!
An era I do like playing because of the variety of troops involved and the rules, although a couple of the group are not too fussed on them, I also find to my liking, so all in all, a good day's gaming!