OK I apologise if I have tempted some readers here in the mistaken belief that this post relates in any way, shape or form to Bloody Big Battles rules - it doesn't - it's just a coincidence and I realised as soon as I wrote it, that it might be misconstrued - but I didn't change it!
For regular readers, Mark has already done his report on the game here1866 and all that: The War in Spain (stracmark.blogspot.com)
Unfortunately, Mark and I were on the same part of the field, basically fighting each other to a standstill, although at the end, I had nothing left and he still had some troops on the table. But the result of this is, my view of the game is pretty similar to his, and apart from some images, I only have the vaguest idea of what happened in the "main" part of the battle - but here goes!
The introduction in italics I lifted directly from Marks blog because he wrote the scenario and knew what it was about, and the forces involved!
The basis of the scenario was that Don Carlos was with his army in the field and had allowed his army to rest near the convent of Nuestra Señora de la Infadelidad above a sleepy village. While they rested a significant Isabellino force, supported by the British Legion and the French Foreign Legion attacked
The Carlists deployed a brigade of seven battalions and a mountain gun on the right, around the Convent, with two brigades each of two units of cavalry in support. In the village they deployed another seven battalions and a field gun while the left was held by five battalions, a field gun, two cavalry units and a mountain gun.
Paul, Barry and Mark commanded the Carlist forces whilst I had the BAL, Andrew the FFL and John and Chris had the main Isabellino force in the centre and left of our side of the table.
The main Isabellino force of fourteen battalions, three cavalry units, a horse gun, a field gun and a mountain gun approached from the Carlist right while the allied contingents - the French Foreign Legion of four infantry battalions, a mountain gun and a unit of cavalry, and British legion of seven infantry units, a gun, two stands of rockets and unit of lancers - approached from the left.
The BAL (a combination my collection and Marks) advance on the extreme right wing, with the French to their left.
Paul in the centre of the field but the extreme right of the Carlist position was quick off the mark, and moved forward aggressively, hoping/expecting to catch Johns advancing Isabellinos in column of march.
The initial cavalry charge drove off the gunners and the cavalry pressed on into the infantry but by some good fortune, John was able to get his troops into line and hold off the horsemen.
On the extreme Isabellino left, Chris emerged from the woods with a significant force of infantry. The end of Paul's line is indicated by the Carlist cavalry in the top of the image.
Paul's position on the high ground, including the convent of Nuestra Señora de la Infadelidad
The defended village on the Carlist left flank, where the French and Brits were operating.
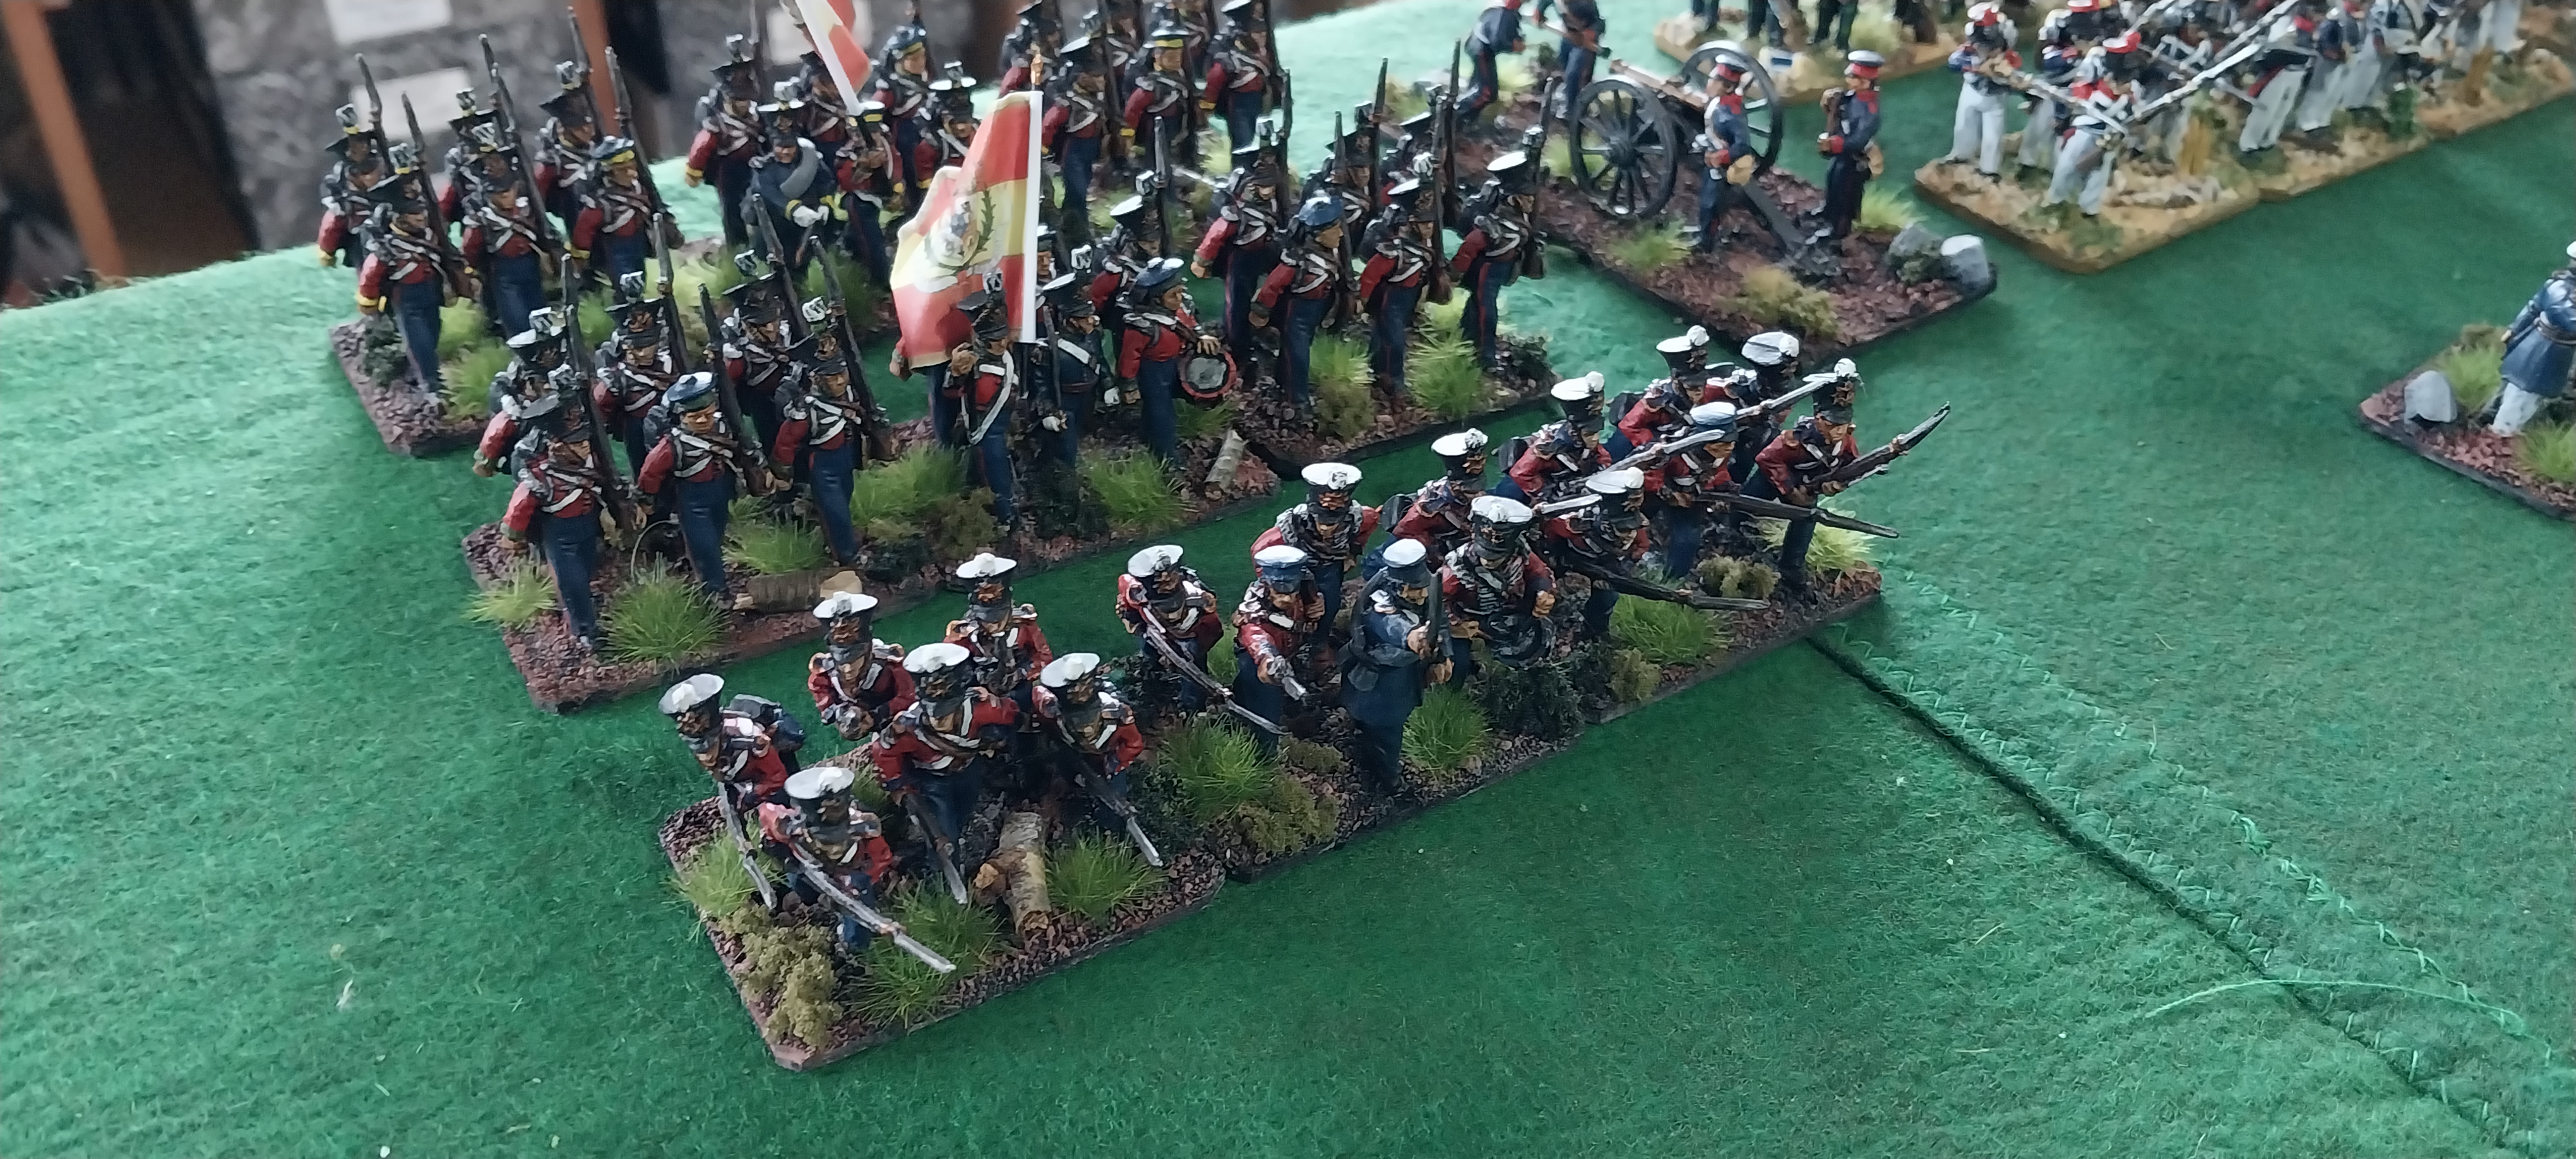
The BAL advance towards Marks Carlist command - figures with the lighter, dryer looking bases are mine.
Another cavalry charge and counter charge between Paul and John led to one success each!
Despite advice from the British commander to ignore the built-up area and concentrate both forces against the Carlists in the open, the FFL headed for an assault on the town......
The fighting in the centre was brutal and messy - at one point Paul was heard to mutter that he had done everything right, but the dice had let him down - which was probably true!
The entire French force gets sucked into a long, drawn out and costly attack on Barrys Carlists holding the town.
The object of the attack, the renegade claimant to the throne, Don Carlos!
Carlist cavalry pushed back two of my units I think before one of them was destroyed by musketry and the other pulled back.
The BAL wing was getting into quite a messy situation by this point!
As the French continued to expend their energies against the stone walls defended by Carlist infantrymen
The Isabellino left under Chris advanced in pristine order against Paul's diminishing forces on the hill.
Johns' gunners were charged again!
The BAL force was also diminishing - with a significant gap opening between them and the FFL to their left.
The centre/left of the Isabellino line. with John and Chris gaining the advantage over Paul.
The BAL sector of the field as it gets even messier!
And then..all of a sudden...the entire Isabellino right wing just disintegrated! This can happen under Marks rules - once several battalions are in poor shape, a bad activation roll means the entire formation (brigade in this instance) can just quit the field. Mark was kind enough to point out his own force was in a very similar predicament - I just rolled a poor activation test before he did! The French Foreign Legion also collapsed at about the same time, but John and Chris had won their half of the battle, so I am not really sure what the overall outcome was...but we did not capture Don Carlos, so I guess that must be a Carlist victory?
Now, John went to all the trouble of sending me a multitude of images of the game, some of which he obviously also contributed to Marks AAR - so it would be rude not to post them - but no descriptions - they are just eye candy!
Figures and especially the hand-built buildings by Mark were stunning and I hope you have enjoyed the large number of images presented!


Quite the battle, great AAR , especially coupled with Mark's. Great photos, nearly has me putting my Carlist back near the top of the queue.
ReplyDeleteI agree, Joe! Marvelous looking game full of colorful troops and superb buildings. You’re tempted to bring your Carlist War collection back out onto the table? I’m tempted to start one!
DeleteGood stuff, Keith! Thank you.
This comment has been removed by the author.
DeleteThanks Joe...top of the painting queue sounds like the right place for your Carlists!
DeleteJon....your "commenting " by replying to a previous comment caused me great confusion at 0550 this morning...hence the deleted comment...I replied to Joe but it came up under your name...but now I am awake, I understand why!! 😆
DeleteSorry for the confusion!
DeleteLol...it's easy to confuse me at the best of times, let alone before 0600!
DeleteAg, great looking fame sir! Love to see close up photos too!
ReplyDeleteBest regards
Thanks Michal...I will continue to include John's contributions...he specializes in the close ups!
DeleteA superb looking game with plenty of troops on the table
ReplyDeleteThanks Scotty.....there were very few of mine on the table by the end of the game!
DeleteSplendid looking game, both figures and terrain!
ReplyDeleteBest Iain
Thanks Iain and I agree...the buildings in particular are Mark's forte!
DeleteI read Mark's review on this as well Keith. I was genuinely surprised at the variety of troops and nationalities. It really makes for a visual feast.
ReplyDeleteCheers Lawrence...yes , all those floppy red and white berets add a lot of colour to the field of Mars!
DeleteA very characterful pair of armies, you are getting some fine games to the table over the past weeks.
ReplyDeleteThanks a lot Norm - apart from 36 Brits and 36 Spaniards, plus the two rocket crews that I contributed, everything on the table is from Marks collection! I am hoping to do another WWII solo game this week too.
DeleteTwo great looking armies what an epic battle!!
ReplyDeleteCheers Ray and epic struggle sums it up pretty well!
DeleteA fine game for sure and a very attractive period to game, but sadly no figures wearing those 'berets' in 10mm that I'm aware of, which is probably for the best!
ReplyDeleteDon't your mates at Pendraken do the Carlist war yet - only a matter of time, surely Steve?!
DeleteA splendid looking and sounding game Keith…
ReplyDeleteThat is an impressive collection of toy soldiers.
All the best. Aly
Thanks a lot Aly - all Marks work, as I have mentioned, with raw materials supplied by your friends, Messrs. Perry!
DeleteMarvelous stuff!
ReplyDeleteThanks Greg, glad you think so!
DeleteSplendid sounding game Keith, and superb feast for the eyes.
ReplyDeleteThanks Richard - just found your comment in SPAM for some reason - hence the delayed reply!
DeleteLovely looking collection Keith and colourful…really nice 👍
ReplyDeleteThanks Matt...Mark does do a good job....and QUICKLY!!
DeleteThen man is a machine, I don't know how Mark gets through them all. Looks like a great game to play in Keith, loads of toys on the table and a fantastic mix of units.
ReplyDeleteGreat stuff.
Cheers
Stu
Thank you Stu...Mark has above average productivity, that is for sure! I would probably have had even more fun of I had not lost my entire command!
DeleteWow! Stunning images - so many beautiful figures for a period not often seen gamed.
ReplyDeleteThanks Dean, glad you like all the colour! It's not a war many have even heard of, let alone gamed! The Perry's seem to do ranges like that...Mark also has a large collection of S American armies they have done!
Delete