For those who would like some quite detailed background to this game, I can do no better than refer you here to our GM Marks recent blog post on the subject....1866 and all that: The Japanese Invasion of Korea 1592-93 (stracmark.blogspot.com)
I have a significant number of photos once again, and with two such beautiful armies and some fantastic scratch-built scenery on display, I doubt anyone will mind too much!

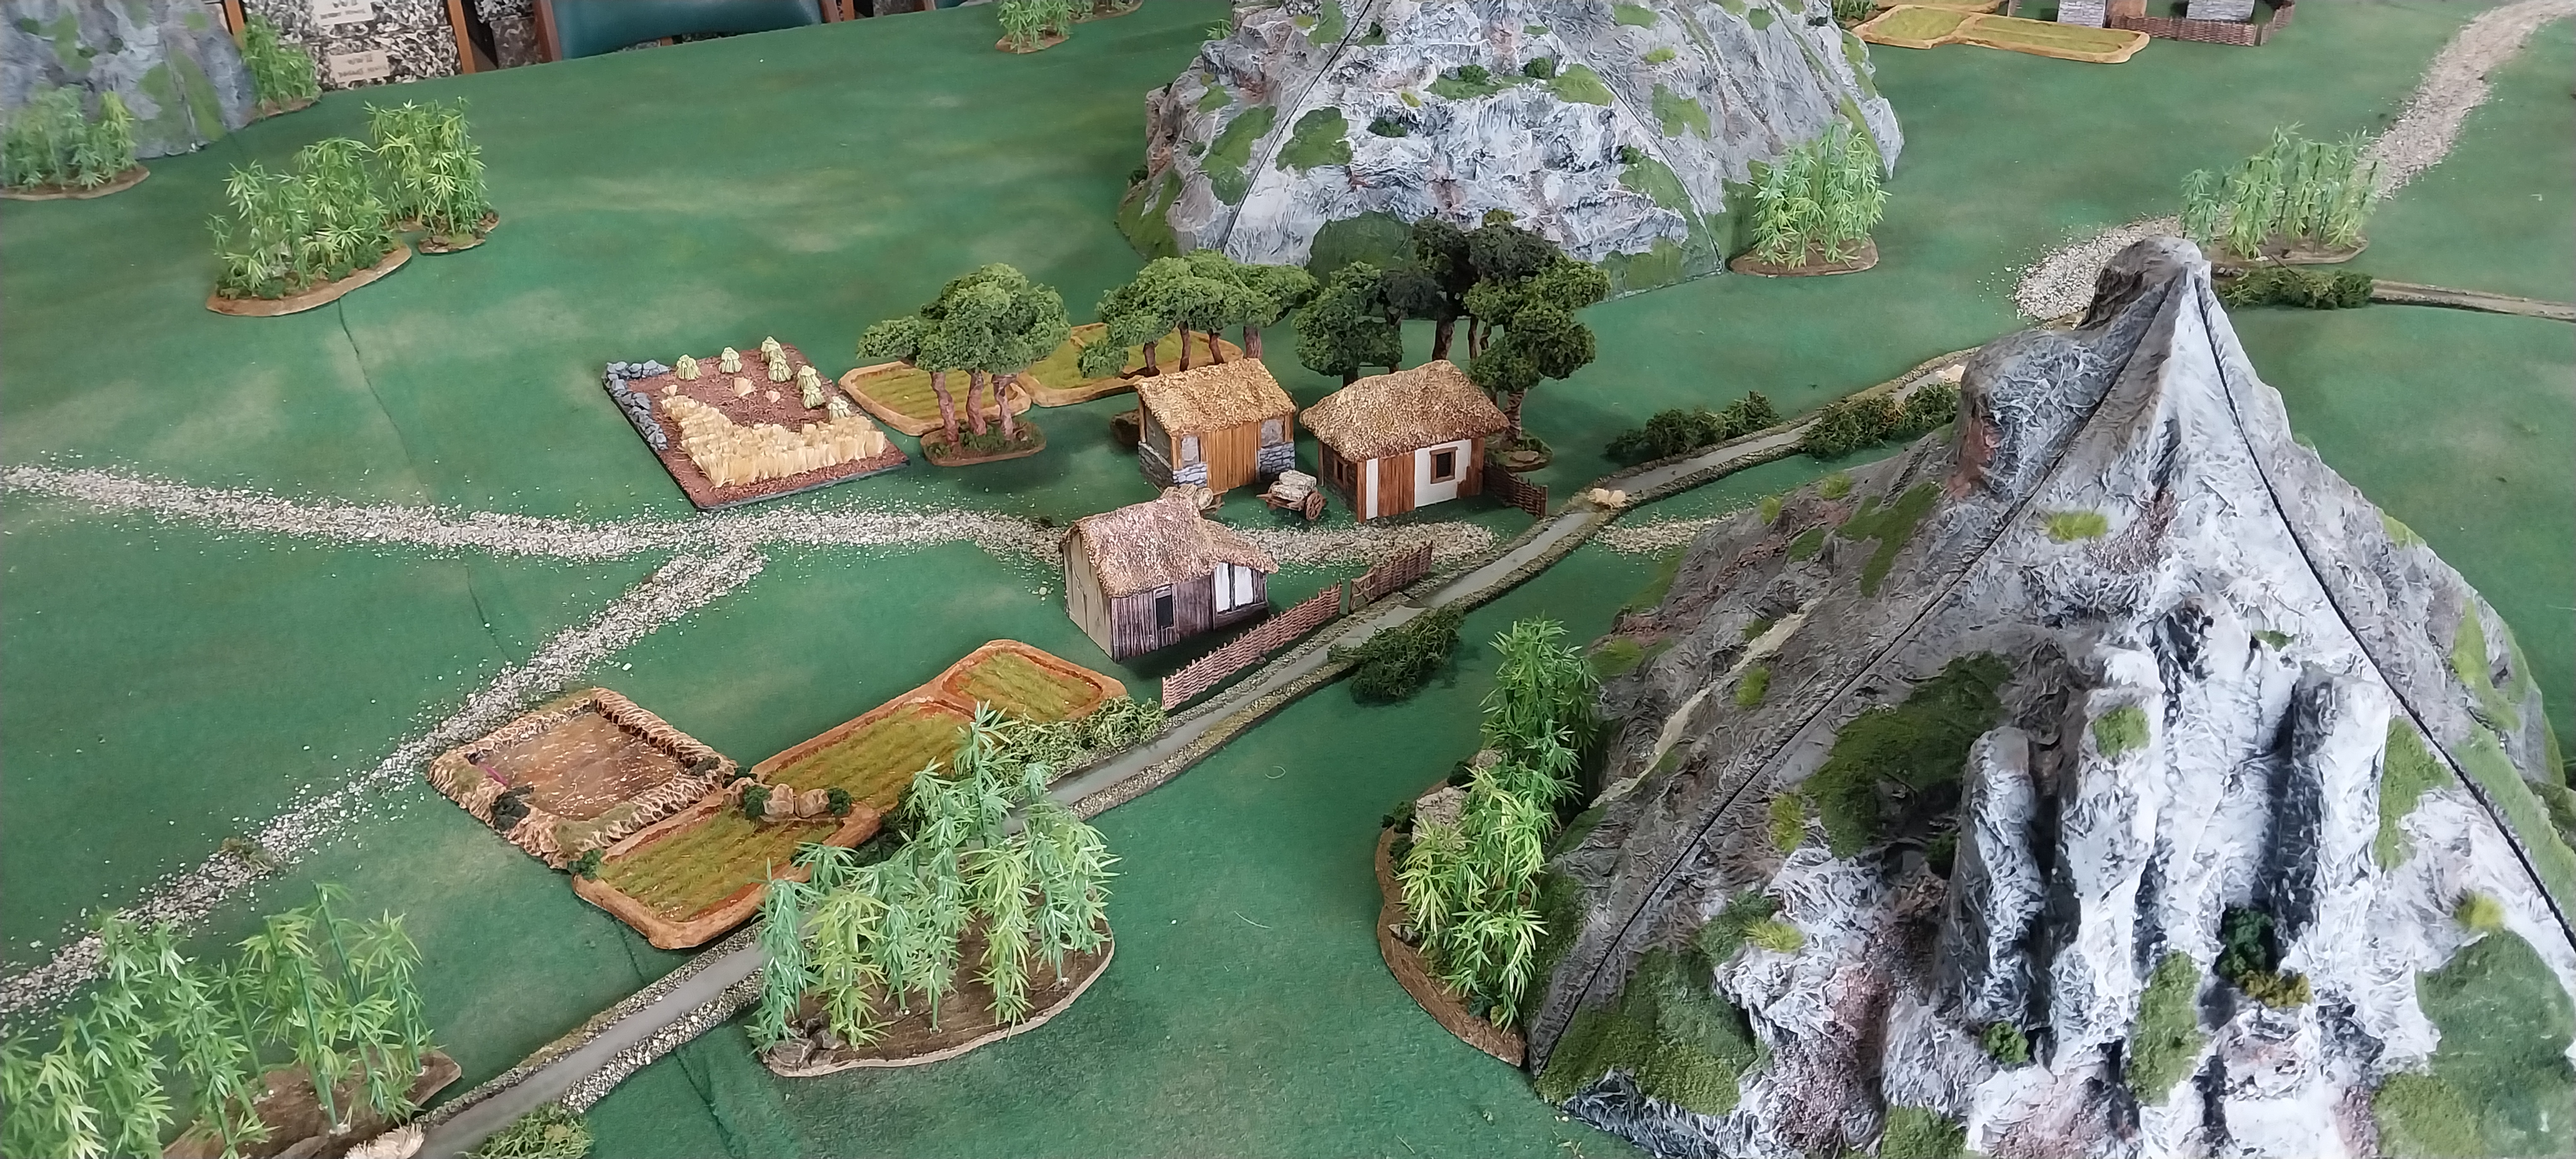
The now traditional view along the table from the vantage point of Barrys circular stairs1

Mark spent quite a bit of time and effort creating some stunning purpose bult scenery


There were 5 Japanese players - Paul, Nick, Andrew, Rick and me. We each chose a Japanese force in order, based on a drawing of lots.

The force above was the one I ended up with


The Temple of Heavenly Peace (I think!), capturing which would give the successful Japanese command 2 victory points.

Mark really excelled his own very high standards with this model!

Paul (white banners) and Nick (red) were the first two forces to enter the table, either side of the monastery.


The were both almost immediately involved in skirmishes with ambushing peasants and the monks who lived at and guarded the holy shrine. Apparently (this is history) the Korean regime got the monks to fight for them by promising future tax exemptions!

Both Japanese forces made attempts to assault the monks base but were repelled!


On turn four, Rick and I entered the table from the other end - my force above, his below.


As soon as my force breasted a hill on my side of the river, a significant defending Korean force was revealed, including an early Oriental version of the Nebelwerfer (below)


The Koreans had a large force of excellent cavalry - their best troops - fortunately for me, they all galloped off in the direction of Ricks troops!


A view down the length of the table from our end

And down at the other end, Paul was receiving quite a rough handling from the militant monks, including the death of his commanding lord!


The monks were still in possession of their monastery


Subtlety never being high on the Samurai agenda (that's probably factually inaccurate!) my lord charged forward to engage in combat - he started as a tiny unit (2 dice) was a samurai (2 dice) cavalry (2 dice) and leader attached (2 dice) - the Korean infantry who charged him were standard unit, (3 dice) charged (1 dice) and had a support (1 dice) in addition, because he was mounted, he hit on 4 5 or 6 whereas the infantry required 5 or 6. He cut through them like a Katana through silk - two units of Korean infantry were soon no more and I gained two victory points!

The two samurai foot units were next across the river.


Rick also crossed the river, and his lord took up position on the high ground


Korean cavalry clash with mounted samurai from Ricks command and were destroyed!

But there are plenty more where they came from - unfortunately!

My foot samurai went in against the Korean infantry but with less dramatic effect than their lord.


Meanwhile, my Ninja was on the prowl - each Japanese force had one of these special warriors

A defence in depth was awaiting Nick and Andrew on the far side of the walled target of our aggression.

My first few combat rolls were very good - Chris suggested a picture of this one, for example, as my samurai dispatched another unit of his infantry and my VP score reached 4!


Rick was having a bit of trouble deploying his force across the river - I am not quite sure why....

His mounted samurai clashed with a second unit of Korean cavalry while the lord took on a third

I believe it was after losing this melee that Ricks lord died!

One of my samurai units (bottom right above) destroyed their opponents and moved through but the other melee continued as the Korean infantry put up a tough fight


And the Koreans prevailed, pushing back my lord AND the samurai foot unit

Meanwhile, on the far side of the fortified town, Nick was showing how it SHOULD be done, and in a flurry of strikes, had wiped out half of Marks defensing force and amassed 7 VP's in short order!


And at the far end of the table, Paul was getting the measure of Barrys monks


Down at our end, Rick had lost his lord and his mounted samurai and his infantry-only force was struggling for any way to take the fight to the massed Korean cavalry that confronted him.


I managed to lose one of my samurai units and there attached hero in a botched attack where I had all the advantages - but threw crap dice - my 4 VP disappeared from the score board... and the remainder of my force went two or three turns with very poor activation scores that lost me two more units and failed to re energise my remaining samurai unit, as it should have done.

Nick and Andrews forces continue their relentless advance from the other end of the table.


The Korean cavalry charged into Rick - again!

I think it was one win each in the ensuing melee's

I finally rolled 4 for activation and cleared most of the casualty markers from my samurai - 4 reduced back down to 1.

Down the other end, Paul had more or less wiped out all the Korean opposition, and his troops occupied the holy shrine - ready to put the whole place to the torch, the heathens!


By now, it was just past 4pm, so we called a halt, with the Japanese the definite winners, although Rick - on minus 9 VP - and me on minus 2, did not really feel like winners!


Nick and Andrew did not quite make it into the fortified town, but it was pretty much a foregone conclusion that they would, and they had pretty much destroyed the Korean force commanded by Mark

Nick won the game with the most VP and collected his price, a brace of bottles of rather nice red wine Mark brought back from his recent visit to Gibbston Valley winery, near Queenstown!
And finally, because I forgot to do it at the last game when I delivered them, here are all the cork buildings I did for Barry to paint up for his Sudan collection, including the rather flash mosque and minaret - might have to another one of those for myself!

A great game today that had been a VERY long time in the planning - it was originally intended for Tarawera 2020 but some pandemic put paid to that and all the figures, which are by the Perrys, incidentally (and terrain) have sat waiting their turn to shine ever since then. As I am sure you will agree, well worth the wait for such a fabulous collection, thanks to Chris and Andrew (for the Koreans) and Mark (Japanese and all the terrain)!