Annual Wargaming Trip 2017 - Part 2
Day Two saw us change period to Napoleonic. Chris had devised a scenario set in 1812 where an Austrian army was pursuing the Russians, who were making for three bridges at the far end of our 3m table to make their escape. There were two Russian players - Mark and Paul - and four Austrians - John, Barry, Rick and me. I commanded the main pursuing force , John had a small (concealed) blocking force at the far end of the table, between the Russians and the river, whilst Barry and Rick commanded flanking Austrian forces. Chris had devised a system to simulate the potential contact between the off table Austrians and the off table Russians. If the Austrians succeeded in engaging the Russians, it delayed their arrival on the actual table by another move. Mark commanded both off table Russian forces and Paul commanded the force that started on the base line at the opposite end of the table from the river and bridges. As soon as Paul had moved any of his units over 400mm from the table edge, I could come on at that point with any Austrian troops I wished.
Paul duly haired off across the table, leaving a couple of units of infantry in square about 500mm in and a light cavalry regiment on each flank to slow my infantry pursuit. I brought on my own two regiments of hussars on my right flank and followed this up with a battery of artillery and six battalions of infantry. My first success was firing grape shot into one of Paul's squares, which disintegrated under the weight of shot and quit the game on move three. Next up, after a bit of prevarication, my leading hussar regiment charged Paul's cavalry and won the encounter, again driving the unit from the field. On the other flank, however, I did not have any guns or cavalry to support my other six battalions of infantry, and as a consequence, they held back for several moves until Paul was forced to withdraw the covering cavalry as they became too isolated from the rest of his forces.
Meanwhile Mark had arrived on both sides of the table about half way down. Barry and Rick continued their flank marches off table for a bit longer although eventually Rick decided to come on with his infantry at the same point Mark's Russians had entered. Mark meantime had rolled two or three great activation rolls and his forces streamed onto the table at time and a half movement - with his cavalry in column on a road, this equated to an initial move of 1200mm! However, his leading cavalry received a rude shock when they approached a walled farmyard and were fired on by John's concealed Jaegers!
On the other flank, Mark left two battalions very close to his entry point, thus preventing Barry from arriving under the 400mm proximity rule. Barry therefore continued the flank march with his entire force, arriving at Johns gun line on the heights ahead of the Russians, well before Mark's force did so.
Finally, Rick arrived at the rear of John's forces on the other flank with his four regiments of heavy cavalry.
From this point on, a steady slog ensued in which my leading hussar regiment managed to charge down the road in column, catching one battalion of Marks Russians in the rear, then breaking through onto a gun battery, destroying both. Unfortunately, having shot their bolt, they were then isolated in the middle of Marks forces and suffered massive casualties from combined musketry and grapeshot. The casualties were not quite enough for them to quit the field though - unfortunately, in this case - because instead, they retired away from their attackers, which in this case did not take them back whence they had come but rather pushed them forward in front of Marks position, up the hill and right through John and Barry's grand battery, masking half of them for one turn then disrupting them as they poured through to the safety of the ground to the gunners rear!
On the other flank, I had the same luck with activation throws as Mark had, and in three moves had closed the big gap Paul had opened up as he withdrew covered by that cavalry regiment. Three battalions went into line behind the said cavalry and raked them with shot, causing a morale failure and their disappearance from the field.
Paul and Mark executed a number of devastating infantry assaults on Rick's infantry battalions, causing one or two to break and flee. The third assault by Paul's elite grenadiers was beaten off, and the Russian rearguard attempted to disengage to continue their retreat to the river.
Barry and John's huge gun battery wreaked havoc on the infantry to their front but my second hussar regiment was unable to replicate the heroics of their illustrious colleagues as Mark maintained a battalion in square in the woods, preventing them from getting at the rear of his forward troops. On the other flank, Rick struggled to find a useful task for his cavalry and resorted to piecemeal charges against infantry units in column or square, none of which came out well for the Austrians - surprise, surprise!
Rick and I combined in an infantry assault which succeeded in smashing one battalion of Paul's rearguard and then my unit broke through onto a battery and destroyed that too. Unfortunately this left them in front of a walled farm occupied by another Russian battalion and in the next move, they received the good news in spades from these boys. Rick's battalion also broke through but onto a fresh unit behind a wall and suffered accordingly.
At this point however, things looked very rosey for the Austrian cause, but in the final three or four moves of the game, Mark managed to overwhelm Rick's cavalry on the left flank of the Russian withdrawal, opening a route to one of the bridges, whilst on the other flank, a series of desperate infantry charges by Mark and the leading units of Paul's force, threw back John and Barry's units in some confusion although the gunners held their nerve and continued to service their guns.
We called the game at this point - I thought it was a draw or perhaps a minor Russian victory, whereas Mark thought it was an Austrian victory as he doubted many Russians would have been able to get away across the bridges, despite the success they had in the last few moves of the game. The main thing however was that we all had a very enjoyable day and owe Chris a big vote of thanks for a fascinating and complex scenario that kept us on our toes for 6 - 7 hours!
Here are the images from game number two:


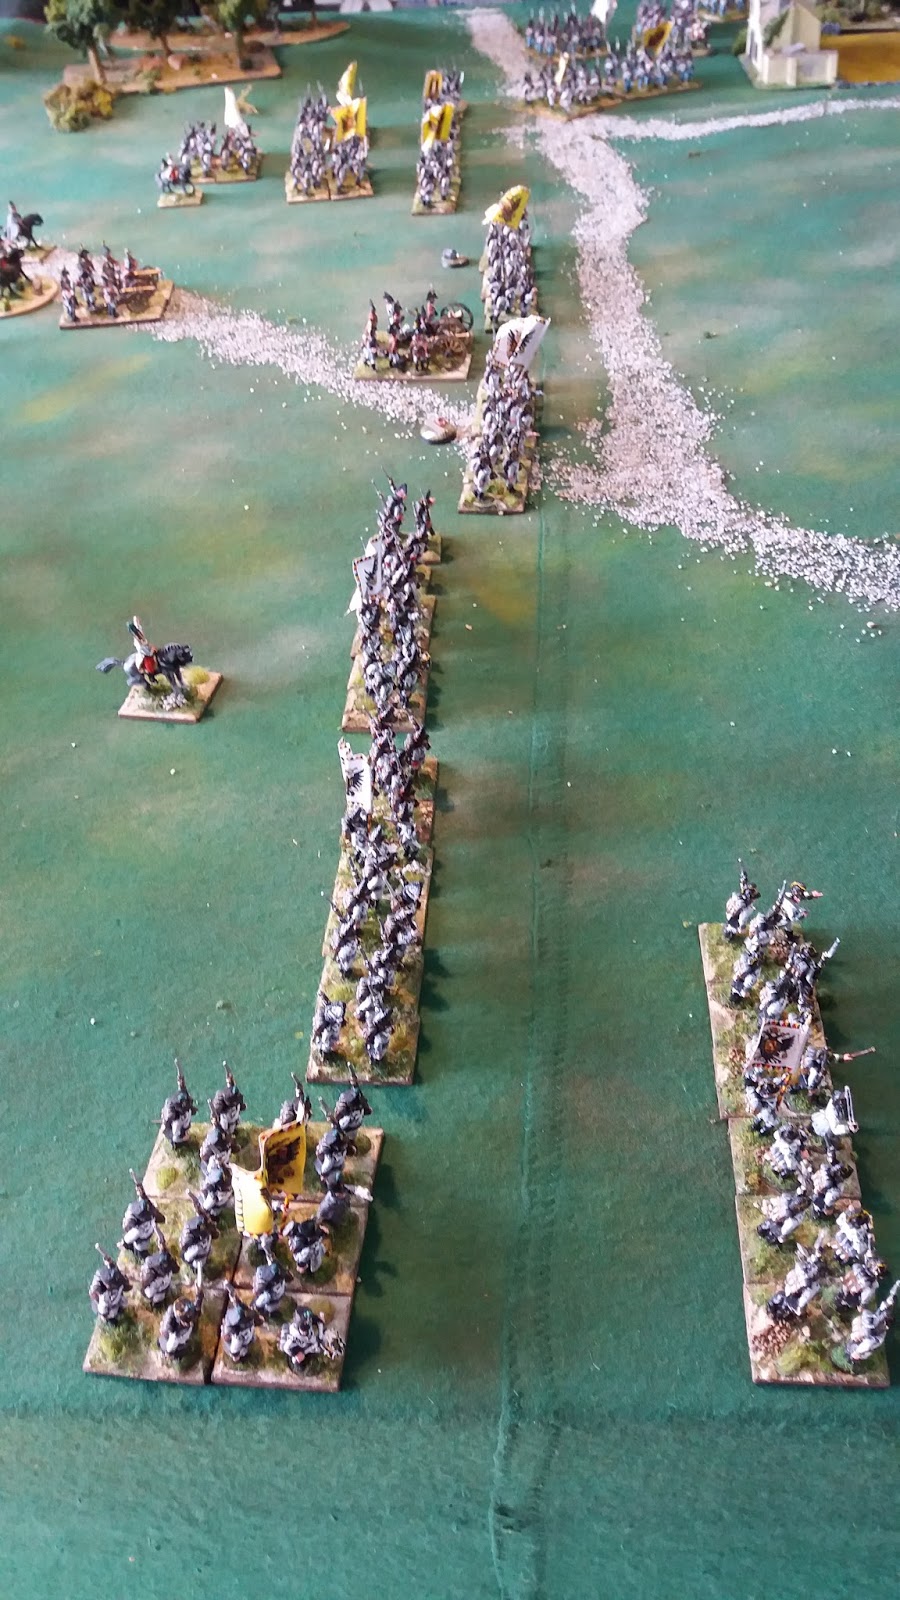


The massed assault on the grand battery position as the game came to an end. The gunners held out but several infantry battalions to their right were roughly handled and driven back by the Russian assault.
The figures in this game are from a variety of sources. Most of the Austrians are mine, the infantry mostly Sash & Sabre, with support from some Old Glory, both first and second editions. Cavalry also a mix of Sash & Sabre and Old Glory, as are the artillery. Marks Russian force were also his own figures - a mixture of plastics infantry and metal cavalry and guns - all Perry I think. Paul's Russian force was all Minifigs that have been in the group collection for 30 years or longer.
We then retired to the house to quaff wine, beer and Calvados, eat far too much rich food and watch military related DVD's till the wee small hours of day three in front of a blazing log fire - this is how life should be every day!
No comments:
Post a Comment