On Sunday, 6 of us plus Andrew as GM/umpire, had a very enjoyable all-day game, using mainly my figures, augmented with one force provided by host Barry and another by Andrew. Rules used were Andrews AS9 homebrew which we have used several times previously; basically, you require a 9 or better on 2 D6 to "score" in either firing, close combat or rallying off hit points. There are a few modifiers such as add one if target is in cover etc (and can be more if using different quality troops etc, but we left everyone as bog standard in this game) but basically that's about it. Infantry move 2 x D6 inches and cavalry/vehicles 3 D6. Terrain has no effect on infantry movement, but cavalry and vehicles cannot enter woods. Hits are caused by a modified score of 9, 10 or 11 - 12 = 2 hits. Units being fired at return fire, unless they physically cannot eg HMG fires 24 inches at a rifle-only unit with max range of 18 inches. If a unit is fired at by multiple enemies, it returns fire at all of them. The sequence is Rally, Fire, Move, Combat - and if you fire, you cannot move - so you do have to make some judgement calls if trying to advance. Each turn, a player can attempt to rally off one hit point from one unit - and the commander figure had four rally "orders" he can choose to issue - but once they are gone, they are gone - so need to be used judiciously. Two hits on a gun team (artillery, vehicle or separate HMG etc) wipes it out, infantry or cavalry units take 4 hits and must then retire 2 D6 inches and continue to retire towards their own table edge until they can succeed in removing one hit marker in the rally phase. Activation is via a pack of standard playing cards - Red in this case being the "Sino/Bolshevik" forces and Black the "Anglo/Afghans".
Being a BoB/Pulp scenario, Andrew had added in a few "special characters", and we all drew a "mission" card at the start of the game - achieving these would gain extra victory points and help decide who had won the game!
Right, between John and I, there are around 150 pictures to choose from, so in a relatively rare event, I am going to try to edit out some of them - or maybe I won't - it kind of depends on whether I end up thinking they all add something to my narrative of the game!
Brits on the left, Bolshies on the right - a bit back to front that really!
First three images are my force. all Old Glory figures
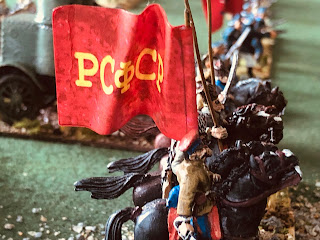
Opposite me was Rick with some of my Bolshevik collection - mainly Copplestone and Brigade Miniatures
In the centre, the Chinese, supplied and commanded by Barry - all Copplestone BoB figures
And at the other end was John, also leading a Bolshevik force provided by me. The cavalry are OG WWI Russians pressed into service.
In the "British" centre was Chris, with more of my OG Brits/Indians.
And down the far end, opposite John, is Paul, with a force of NW Frontier tribesmen provided by Andrew.
Each force basically comprised 4 infantry units, with one HMG, two cavalry units and a vehicle - Chris had no vehicle so had an extra cavalry unit, Paul had no vehicle so had a gun (the only artillery on the table)
Scots Greys and Lancers advance on our extreme right (my flank)
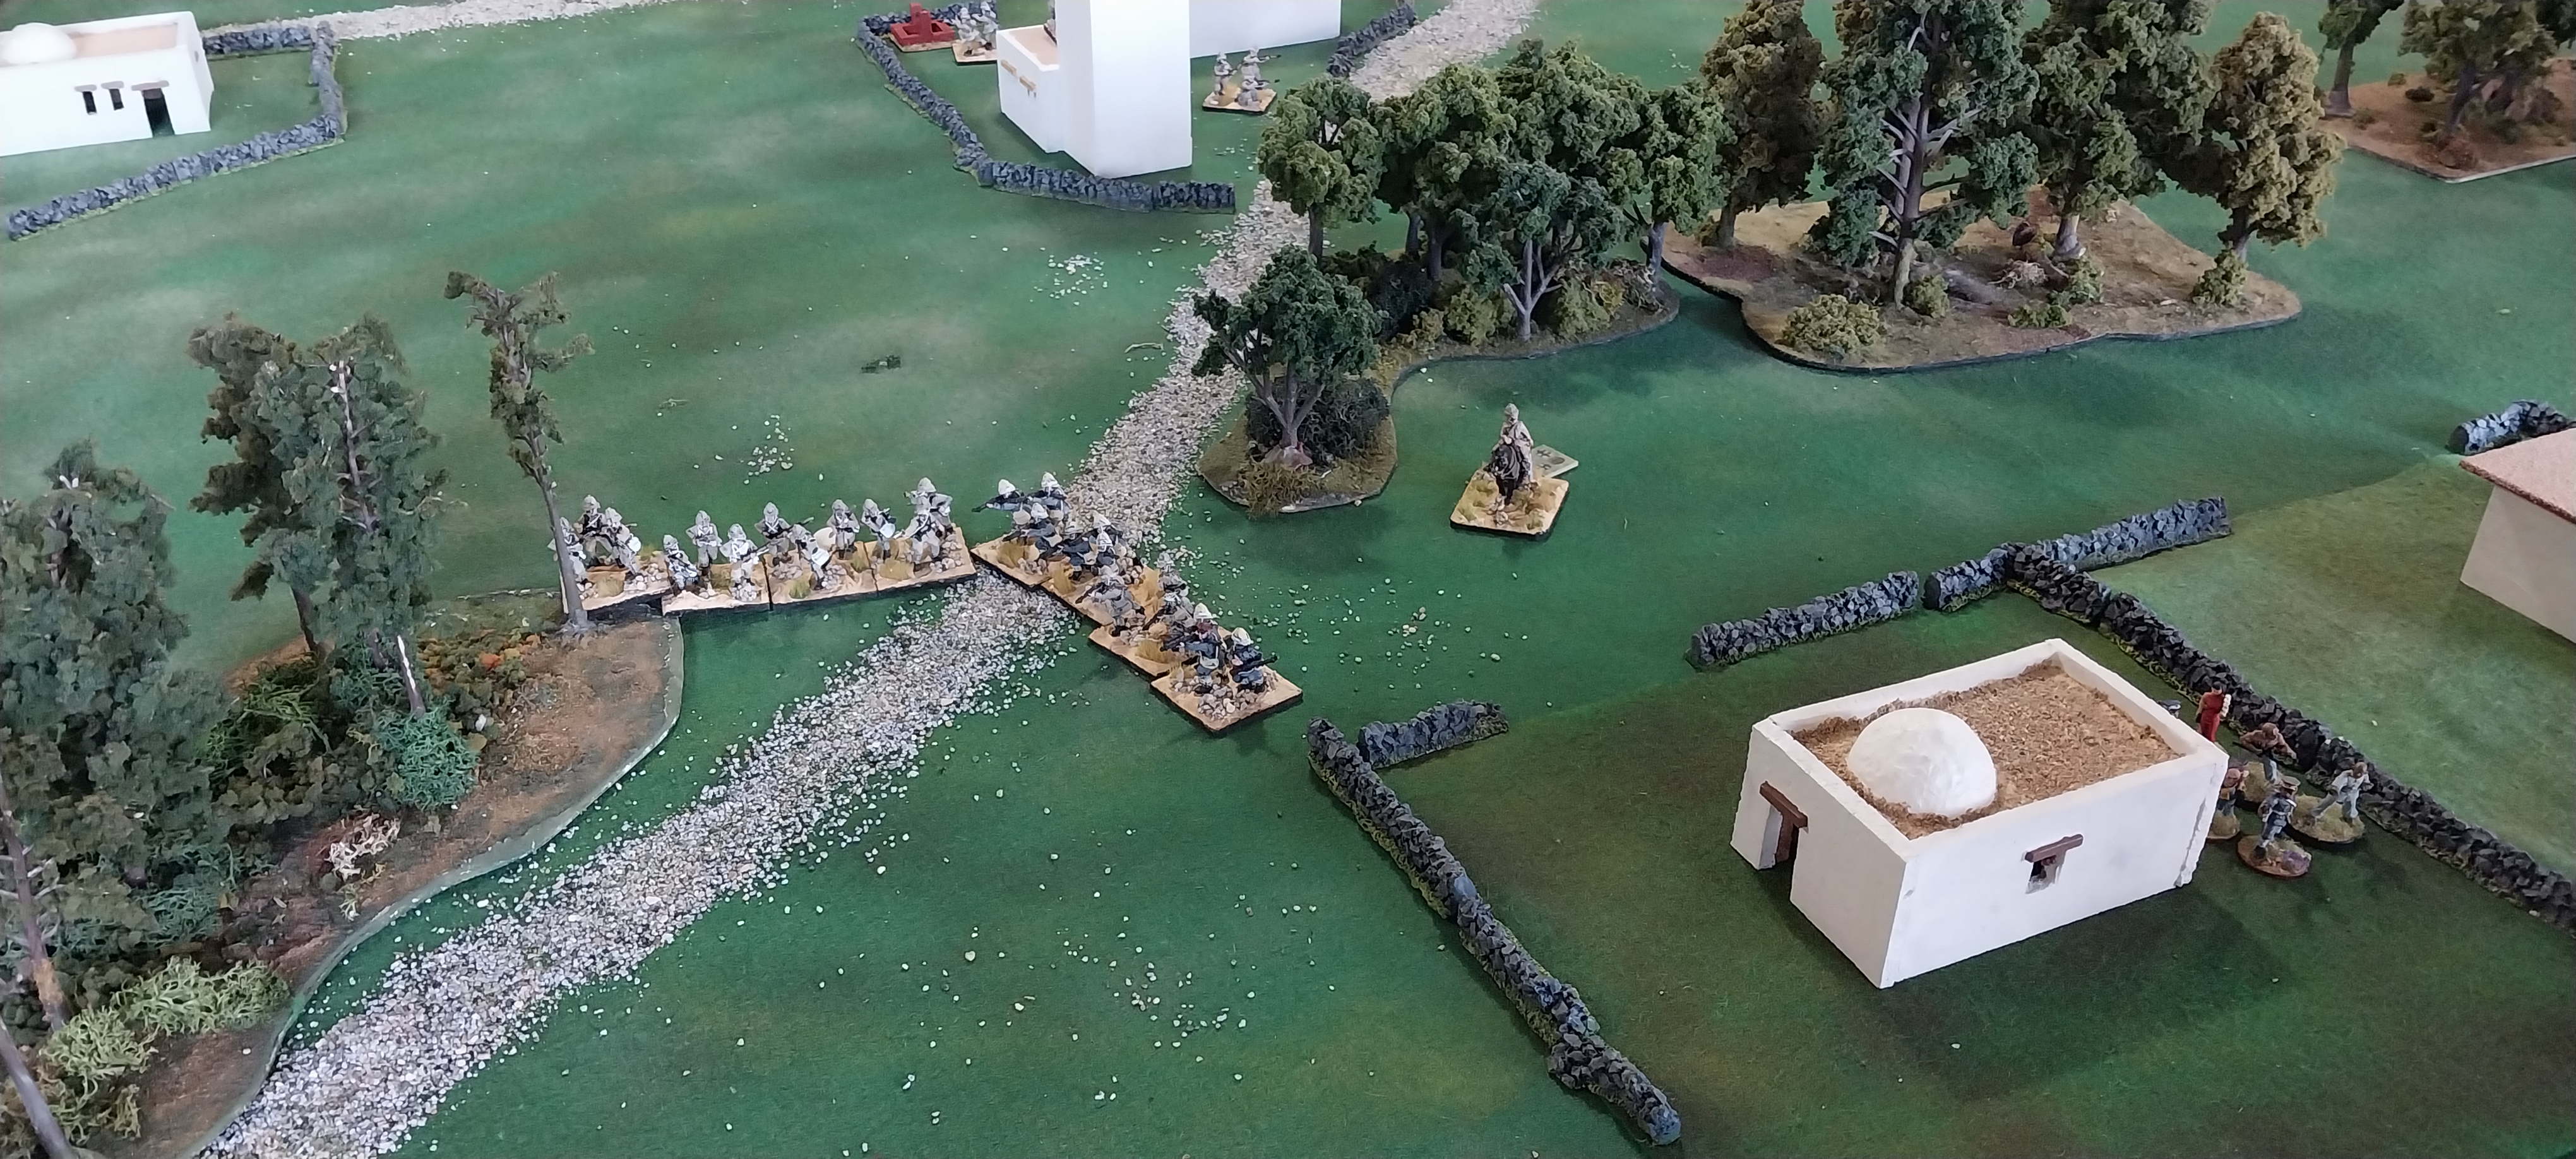
Chris advances in the centre - apart from the special missions, there were three VP on offer for whoever "controlled" the mosque in the middle of the table at the end of the game.
"Control" = most units within 12 inches of the mosque, so, one side might be inside the mosque (all "compounds" could only hold a single unit) but if another player had three units within 12 inches, it would be the latter who controlled the building, not the occupants.
Chris had a mission to escort the Blue Dragon Princess and her entourage across the field of battle and off the opposite table edge (Andrew asked me to bring along some suitable figures from my Pulp collection!)
IF he had told me the character's name beforehand, I would have brought this one instead.....
Ricks force advances
As does John on the opposite flank
Unbeknownst to me at this stage, Rick had a mission to escort a Chinese emperor/warlord off MY edge of the table - his location was at this point indicated by the yellow "tiddly wink"
The Chinese in a race with Chris to seize the mosque - they came second!
Paul's tribesmen surged forward towards John's force - Andrew has done a great job on the paint work
Meanwhile, my cavalry had found a sneaky path around the woods on the very edge of the table!
They were on a mission to get within striking distance of Ricks C in C
Because - THIS was MY secret mission!
John's Bolshevik cavalry confront A LOT of mounted tribesmen!
The Brits have occupied the Mosque!
Ricks Bolsheviks continue to advance.....
As my cavalry slips around behind them!
Barrys Chinese are supported by an FT17
A solid wall of Brits faces the Chinese in the centre of the table....
.... including a certain special Lady in Red!
The Tribesmen close in on John's force.
As his infantry move forward to the assault.
Chris's cavalry force moves up in the centre
Ricks infantry have made good progress and are on the high ground, confronting a British unit occupying a wooded area below (both units have an attached HMG)
My cavalry arrived behind the Bolshevik line just a tad too late - the C in C and "special character" had already made it through the gap in the woods with Ricks infantry - but his cavalry were still available for killing!
A gratuitous picture of a Bolshevik heroine in one of Ricks units - just love this Copplestone figure!
"The Lady" is halfway across the field, and no one really seems to have noticed her! It transpired later that Barrys mission had been to intercept and carry her off....
Paul, meanwhile, had this character figure, who was on a mission to search the mosque and locate a hidden ruby of enormous value - by rolling 9 on 2 D6, needless to say!
Bolsheviks advance on Paul's tribesmen
Royal Marine Light Infantry exchange fire with some Red Guards....
.... and come off second best, being forced to fall back - don't tell anyone in Plymouth/Portsmouth!
First of many cavalry clashes between Ricks Kon Armiy and my cavarly.
In the centre, the cavalry of both sides decided to exchange fire from the saddle for a number of turns.
While Barrys Chinese proceeded to hurl themselves against the walls of the mosque in repeated and ultimately futile attempts to take it - they did drive the Brits out a couple of times, but failed to hold onto the position, thanks to support from Paul's special character - who fought with a =3 to his dice rolls!
Johns Bolsheviks were doing similar against the tribesmen at the far end of the table
Meanwhile, the mounted tribesmen were taking their time coming to grips with the Bolshevik cavalry - perhaps the armoured car put them off?!
Back at my end of the table, I had pulled back an armoured car and an infantry unit that was originally supporting Chris' advance, and the RMLI had occupied a compound facing the Bolshevik infantry.
My cavalry had successfully seen of their Bolshevik counterparts (for now) and the Scots Greys looked to move through the gap in the woods to catch Ricks force in the flank/rear.
Lunch break! As you can see, it was a lovely warm sunny spring day in Auckland - perfect for spending all day inside playing with toy soldiers :)
Back to the action - the cavalry battle on my end of the table continues.
With the Bolsheviks driven back - AGAIN!
On the other flank, the tribesmen finally get into combat with the enemy cavalry too.
As the Red sailors (including some in skirts!) advance on their dismounted colleagues.
And the Red Cavalry come back for another go - this time, they drive back my lancers!
Chris and Barrys cavalry still acting as mounted riflemen!
Johns Bolshevik C in C moves up. In the rules, well, this time, anyway, the C in C was a character figure, with a +3 on any dice roll, so quite a potent fighting unit - but risky using him (or her!) as such - John and Paul both did so, nonetheless (It turned out later that Johns mission was the same as mine, so he was aiming to defeat Pauls C in C in combat)
The mounted tribesmen assault the armored car! In our BoB/Pulp scenarios, its assumed they have grenades, dynamite etc - and if they score hits in the usual way, they can win.
Johns' cavalry on the back foot v Paul
The Reds have driven the tribesmen from some of the compounds!
The Brits prepare to try and intercept Ricks force before it can get the VIP off the table!
The Chinese are in a bad way - three of Barrys four units were on four hits at this stage and obliged to retire.
There they go, back towards their own table edge!
Chris' cavalry reprises the tribesmen's trick of charging the tank and in combat, roll a double six - two hits and the tank is finished for the day - hurrah!
The Chinese in full flight as Chris continues to advance (he still has to get his character figure off the enemies table edge!)
It's all a bit of a mess down in John and Paul's sector, John got fixated on assaulting a wood containing Paul's artillery piece and supporting infantry - it was always a long shot and became a bit like the French obsession with taking Hougemont at Waterloo - it wasn't necessary and just burned the offensive spirit out of several Bolshevik units - we didn't mind that, of course!
Bolshevik sailors attacked by Paul's C in C.
The end is nigh for Johns Bolshevik cavalry by this stage -
Rick achieves his primary mission and gets the Chinese VIP off my table edge!
Nice figure from Andrews collection.
Have the Brits left it too late to act?
Maybe not - infantry and the armoured car advance...
Meanwhile, on both flanks, the Anglo/Afghan cavalry is gaining the upper hand
Red sailors again in combat with the tribal C in C
Brits advancing virtually unopposed in the centre as the Chinese force is broken
You can see one of Ricks cavalry units is on four hits, the other on three, whilst my Brits only have one each, and in the background, Chris had two of his cavalry units heading my way to assist if required!
Ricks infantry position starting to look a bit shaky too. My armoured car fired on Ricks, scored 12 and much to Ricks chagrin, it was removed from play WITHOUT being allowed to return fire (this only happens with units that are removed when they reach two hit points, like vehicles not infantry or cavalry units)
Here comes Chris's cavalry, although their help was not required as it turned out!
Still some fight in the Chinese - they pushed back Chris's third cavalry unit.
Johns' cavalry and armoured car about to pop.
That Bolshevik C in C is looking pretty isolated on that hill, isn't he?
Bolsheviks charge down the hill but failed to notice my C in C was attached to the target unit, so I had a +3 to my roll - not too hard to achieve a 12 - and the unit had to retire!
John has one last go at the woods - "They're coming on in the same old style. Well, then we shall have to meet them in the same old style."
The Lady in Red is almost at the table edge!
Inches to go......
My Brits storm forward - Bolshevik unit that was in the bottom right here was driven back and off the table, meanwhile, my C in C, supported by the armoured car, assaulted Ricks C in C
And he is captured - to add insult to injury, he is secured by a female guard!
Chris achieves his primary mission
As did I!
Final views of the table
A comprehensive victory for our team! John and Barry scored no points, Rick got three for getting the VIP off the table but failed to get an extra one for having his brigade in good order, Paul and I both achieved our missions, and had our brigades in good order, so each had 4 points and Chris was man of the match with a good order brigade, in control of the mosque AND escorting the Blue Dragon Princess safely off the table - 7 points to him - or, an army total of 15 to 3!
Well, THAT took me about two hours to write, and I have edited out a few of the images - still lots left though, so if you made it this far - WELL DONE. You are probably too fatigued to think about commenting, but my thanks to all who can summon the energy to do so!