Well, I have managed to stick to the schedule so far - that is another Wednesday solo game under my belt!
I had scanned through the OHW scenarios and found that number 5 - Bridgehead - would be a suitable follow up from last week's game. Thinking about it afterwards, I could have changed it a bit and re used the curving river set up to link the games together better - but we will just have to assume this game is a separate but related action from the previous one, at a different point along the Medway's length!

Initial layout - the Romans have one unit on the British side of the Medway. Romans (blue) and Britons (red) will arrive on turns 1-5 as shown in the OHW scenario notes below.

But first, you may have noticed a somewhat nicer looking gaming "mat" - this is a 6' x 4' double sided neoprene mat from Battlefront/Flames of War. It cost me $NZ 125 - about £60 - 120 of which was a "Prezzy Card" I got as a Christmas gift from my employer - so thanks, New Zealand Couriers!

Despite the size, the mat is thin enough (1-2mm I would say) to use folded over so it becomes a 4' x 3' mat for my 29" square table.
Now, here are the details of the game I played this evening:


I had actually used a hand drawn map and I see I did not position the woods exactly where they should have been - oh, well!

Romans 1 - Archers 2 Cavalry 3 Veteran HI 1 4 Veteran HI 2 5 Veteran HI 3 and 6 Auxiliary Infantry (who were already on the table, north of the river crossing.)
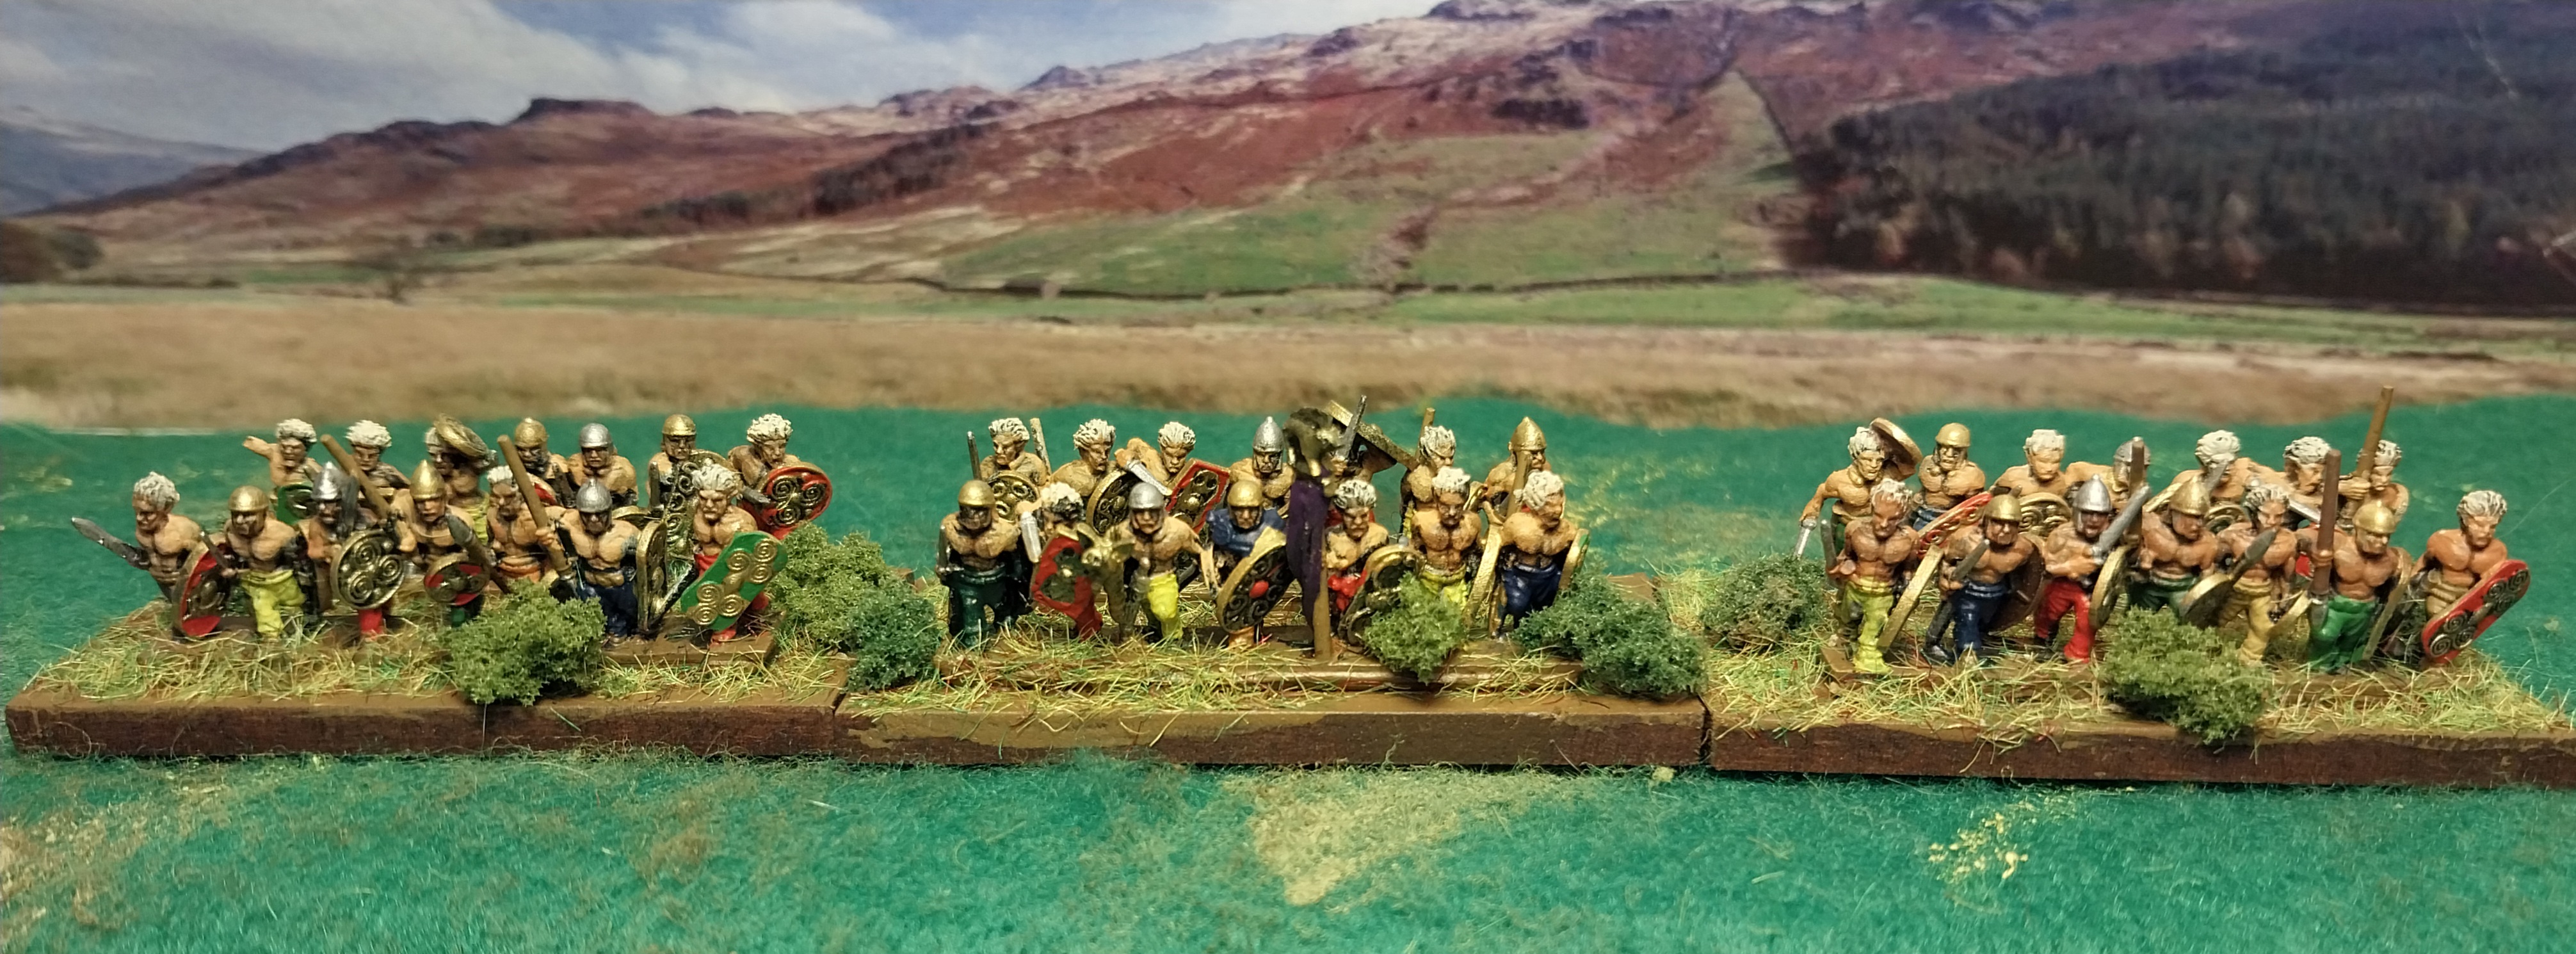
The Britons were 1 Chariots, 2 Skirmisher 1, 3 Skirmisher 2, 4 Fanatics 1, 5 HI 1, 6 HI 2
The make-up of the two forces was rolled for, using the OHW table in the Ancient rules.

The end of turn 2, the fanatics and HI 1 came on at point C and the Roman cavalry arrived on the road at point D.

Turn 3, the cavalry had used the extra speed granted by the road to reach the far side of the Medway, and a unit of VHI had arrived at point D, whilst the Britons had the chariot unit, and one unit of skirmishers arrive at point B. The infantry, in the meantime, advanced on the flank of the auxiliaries.

On the following turn, another Roman VHI unit arrived on the road, but no extra British troops this time (as per the scenario)

Turn 5 saw the last of the Britons arrive on the other flank, at point A, whilst the first clash took place between the chariots and the Roman cavalry. I have given the chariots a D3 +1 for their first round of combat, dropping back to the D3 of the cavalry, thereafter. The chariots came out slightly ahead 4-3 on the casualty count, but both units passed their morale test. Meanwhile, the fanatics charged into the auxiliaries, again with a D3+1 - but minus 1 because the auxiliaries are armoured (I thought after, perhaps Roman cavalry should get that amour bonus as well?)

The chariots and cavalry clash

Naked British fanatics charge in against the Auxiliary infantry.

On turn 6, the final Roman VHI unit entered at point D. Meanwhile, the other units were in position to expand and defend the bridgehead, as the defending Britons moved up to attempt to drive the invaders back across the Medway. In continued melees, both the infantry and mounted troops of both sides caused additional loss to their opponents, but no one faltered, and the combats continued. (the fanatics, like the VHI, do not have to test for receiving casualties)

Turn 7 was a bad one for the Romans, as the chariots won the melee, with the Roman cavalry failing their morale roll and recoiling over the Medway. Worse still, the British heavy infantry caught the auxiliaries in the flank whilst the latter were still engaged by the fanatics to their front, and the shock of this second attack from an unexpected direction broke the will of the infantry completely (they reached the total of 9 casualties and were removed from play)

In turn 8, the British skirmishers on the Roman left scored one hit from firing, whilst the victorious chariots charged forwards into a fresh unit of Veteran Heavy Infantry, causing two casualties on them. In reply, however, the VHI and the adjacent archers combined to take the chariots in both the flank and their front simultaneously, scoring sufficient hits to drive this unit from the field.

In turn 9, the fanatics had managed to get into a position to attack a Roman VHI unit in the flank, causing the maximum possible damage of 4 hits - but being veterans, the Romans were not required to do a morale test. The skirmishers charged into the Roman archers and got a hit on them, but the archers passed their test and stood their ground. The last fresh unit of VHI crossed the Medway into the bridgehead, and the recovered cavalry moved up to the hold the ford from the south bank of the river. The Roman VHI that had survived the ferocious flank attack by the fanatics, now turned to face their assailants, and put two more hits on them, whilst the British skirmishers fighting the archers were hit in the flank by a fresh VHI unit and took 5 casualties - but passed their morale test!

In turn 10, the second unit of skirmishers got another hit on the VHI from shooting. The supporting British HI unit charged into the Roman infantry but caused minimal loss. The other unit of skirmishers fell back from the melee with the archers, to get out of the flank attack and the fanatics got one hit on their opponents. When the Romans responded, the fanatics were wiped out, the HI by the road took two hits from the VHI, and the HI unit on the Roman left flank took 3 hits and were forced to fall back.

Turn 11 was inconclusive, as the British HI on the flank advanced again, putting a couple of hits on the Roman veterans, who chose to pull back to prevent a flank attack from the skirmishers. The second skirmish unit had re engaged with the Roman archers, and the other British HI exchanged blows with the Roman VHI, with neither side giving any ground. The Romans, however, now had an extra unit of VHI maneuvering on their right flank

Turn 11 melees in progress


In turn 12, both British HI units caused a single hit on the opposing VHI, whilst the skirmishers got one on the archers - who again passed their morale test. All the Roman VHI units were now carrying 5 hits, however.
In the Roman phase, the "spare" VHI unit crashed into the flank of the already battered Britons by the road, getting four hits and causing the unit to evaporate. The archers got a hit on the skirmishers, with the latter standing firm, and the last remaining British HI unit took three hits from the Roman veterans, but again, the Britons proved equal to the challenge.

Given the situation at the end of turn 12, and the fact that the victory conditions only required at least one Roman unit to be north of the river on turn 15, I nearly called the game there - but I decided to play one more turn! In the light infantry melee, the Roman archers nerve finally cracked, and they were driven back to the river. The Britons joy was short-lived, however, as a unit of Roman veterans crashed into their flank and destroyed them as a fighting unit. To the Roman left, the last British HI unit also passed its break point, and the British army effectively ceased to exist, with only a solitary unit of light infantry skirmishers still on the field.

The Roman army had again been victorious, and the conquest of Britain can continue next Wednesday!

The Butchers Bill - solitary Auxiliary infantry unit to the left - and five British units to the right.

The victorious Roman general - perhaps Gnaeus Hosidius Geta, who is mentioned as being pivotal to the Roman victory in the account of the battle by Cassius Dio?
Well, I enjoyed that once again, and the results so far work in well with the idea of the campaign by Aulus Plautius to conquer Britain - not sure if I need to do one more for the Battle of Medway, seeing it was quite a titanic struggle, according to Dio, and lasted two full days - I will see what suggests itself from the OHW scenarios. Thereafter, it should be on to another river crossing - the Thames this time - before the final battle before the British capital of Camulodunum.
Very pleased with the new gaming mat, I can see it getting a lot of use, now I have finally got around to buying one!
Thanks for your visit and i hope you found the latest AAR entertaining