For those who follow Mark's "1866 and all that" blog, you will know the background to this fictitious battle, set in the Carlist War and using Perry 28mm figures and some of Marks lovely scratch-built terrain.
http://stracmark.blogspot.com/2025/03/the-battle-at-san-sebastien.html
Here is the map from Marks blog - hopefully he doesn't sue me for breach of copyright :)

In a mid-week game, the happy retirees, Mark, Barry and Rick, played a "prequel" to set up the Sunday game - Rick had the French Foreign Legion (Isabellinist) who finished in the red position above and Barry had the Carlists in the blue position. Unbeknownst to us, the final positions in the prequel dictated the choices for arrivals in the subsequent action. In the event - I (British Auxiliary Legion) had to come on at point A, the others chose as follows Andrew (Isabellinist) at B and Paul (Isabellinist) at C - Nick and Chris (Carlist) at D and John (Carlist) at E.
Vast numbers of images follow - I will add notes to many but perhaps not all - I am losing the will to live just thinking about how many there are, not to mention the almost equal number of close ups mate John sent me too!

A view from the A/E end of the table

Lovely terrain courtesy of Marks talented hands

View from the C end of the table

Positions of Rick and Barrys forces

The BAL at point A - mostly my figures but augmented but Marks gun crew, cavalry and Royal Marines

My collection is one "brigade" of the BAL and includes two Spanish infantry units.

Paul (right) and Andrew (top) move into position from their respective entry points

Barry clings to the safety of the monastery awaiting help from John, Chris and Nick.

The Carlists march on - Nick centre right, Chris top left

Above and below, Andrew's force deploys around the village of San Sebastian


First clash between FFL Lancers and Carlist cavalry - the Carlists pushed the French back


My BAL deploy warily as Johns Carlists arrive to their front


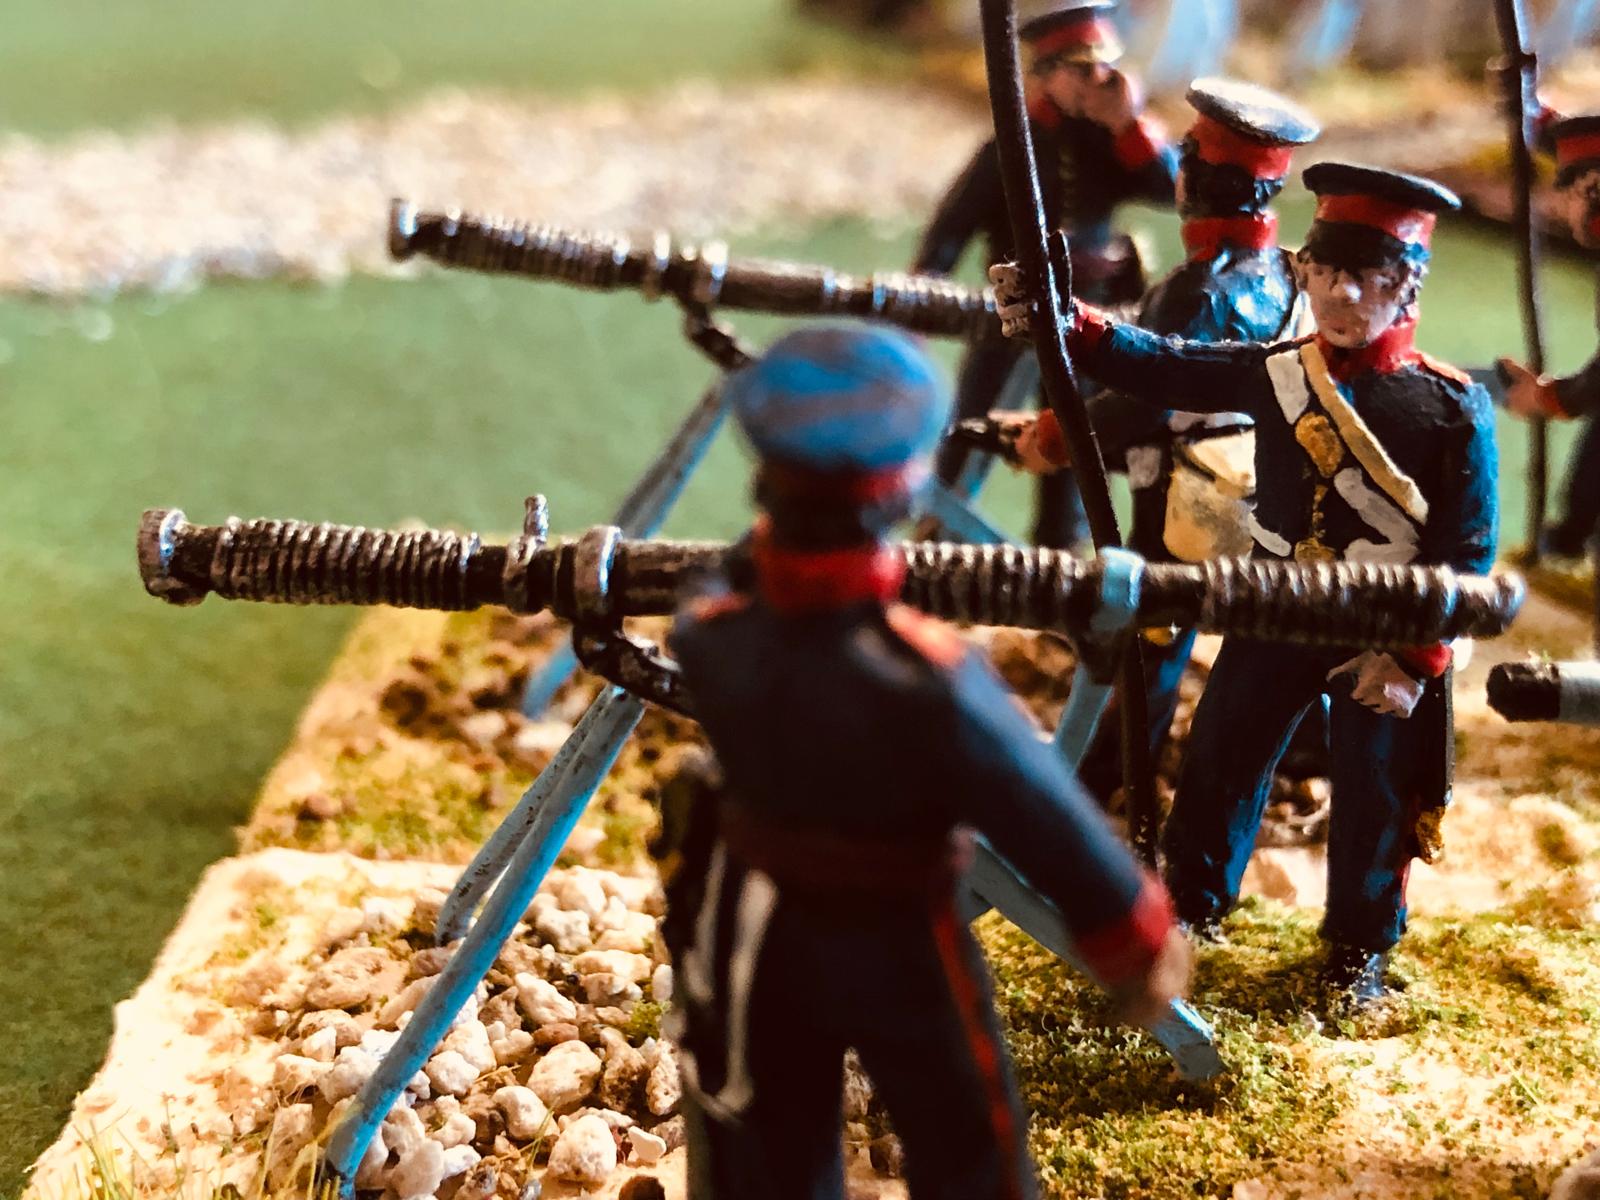
My gun and rockets get into action

To my left, the French await reinforcement - even above the din of battle, the strident complaints of the French command was clearly audible! "Où sont mes renforts?"

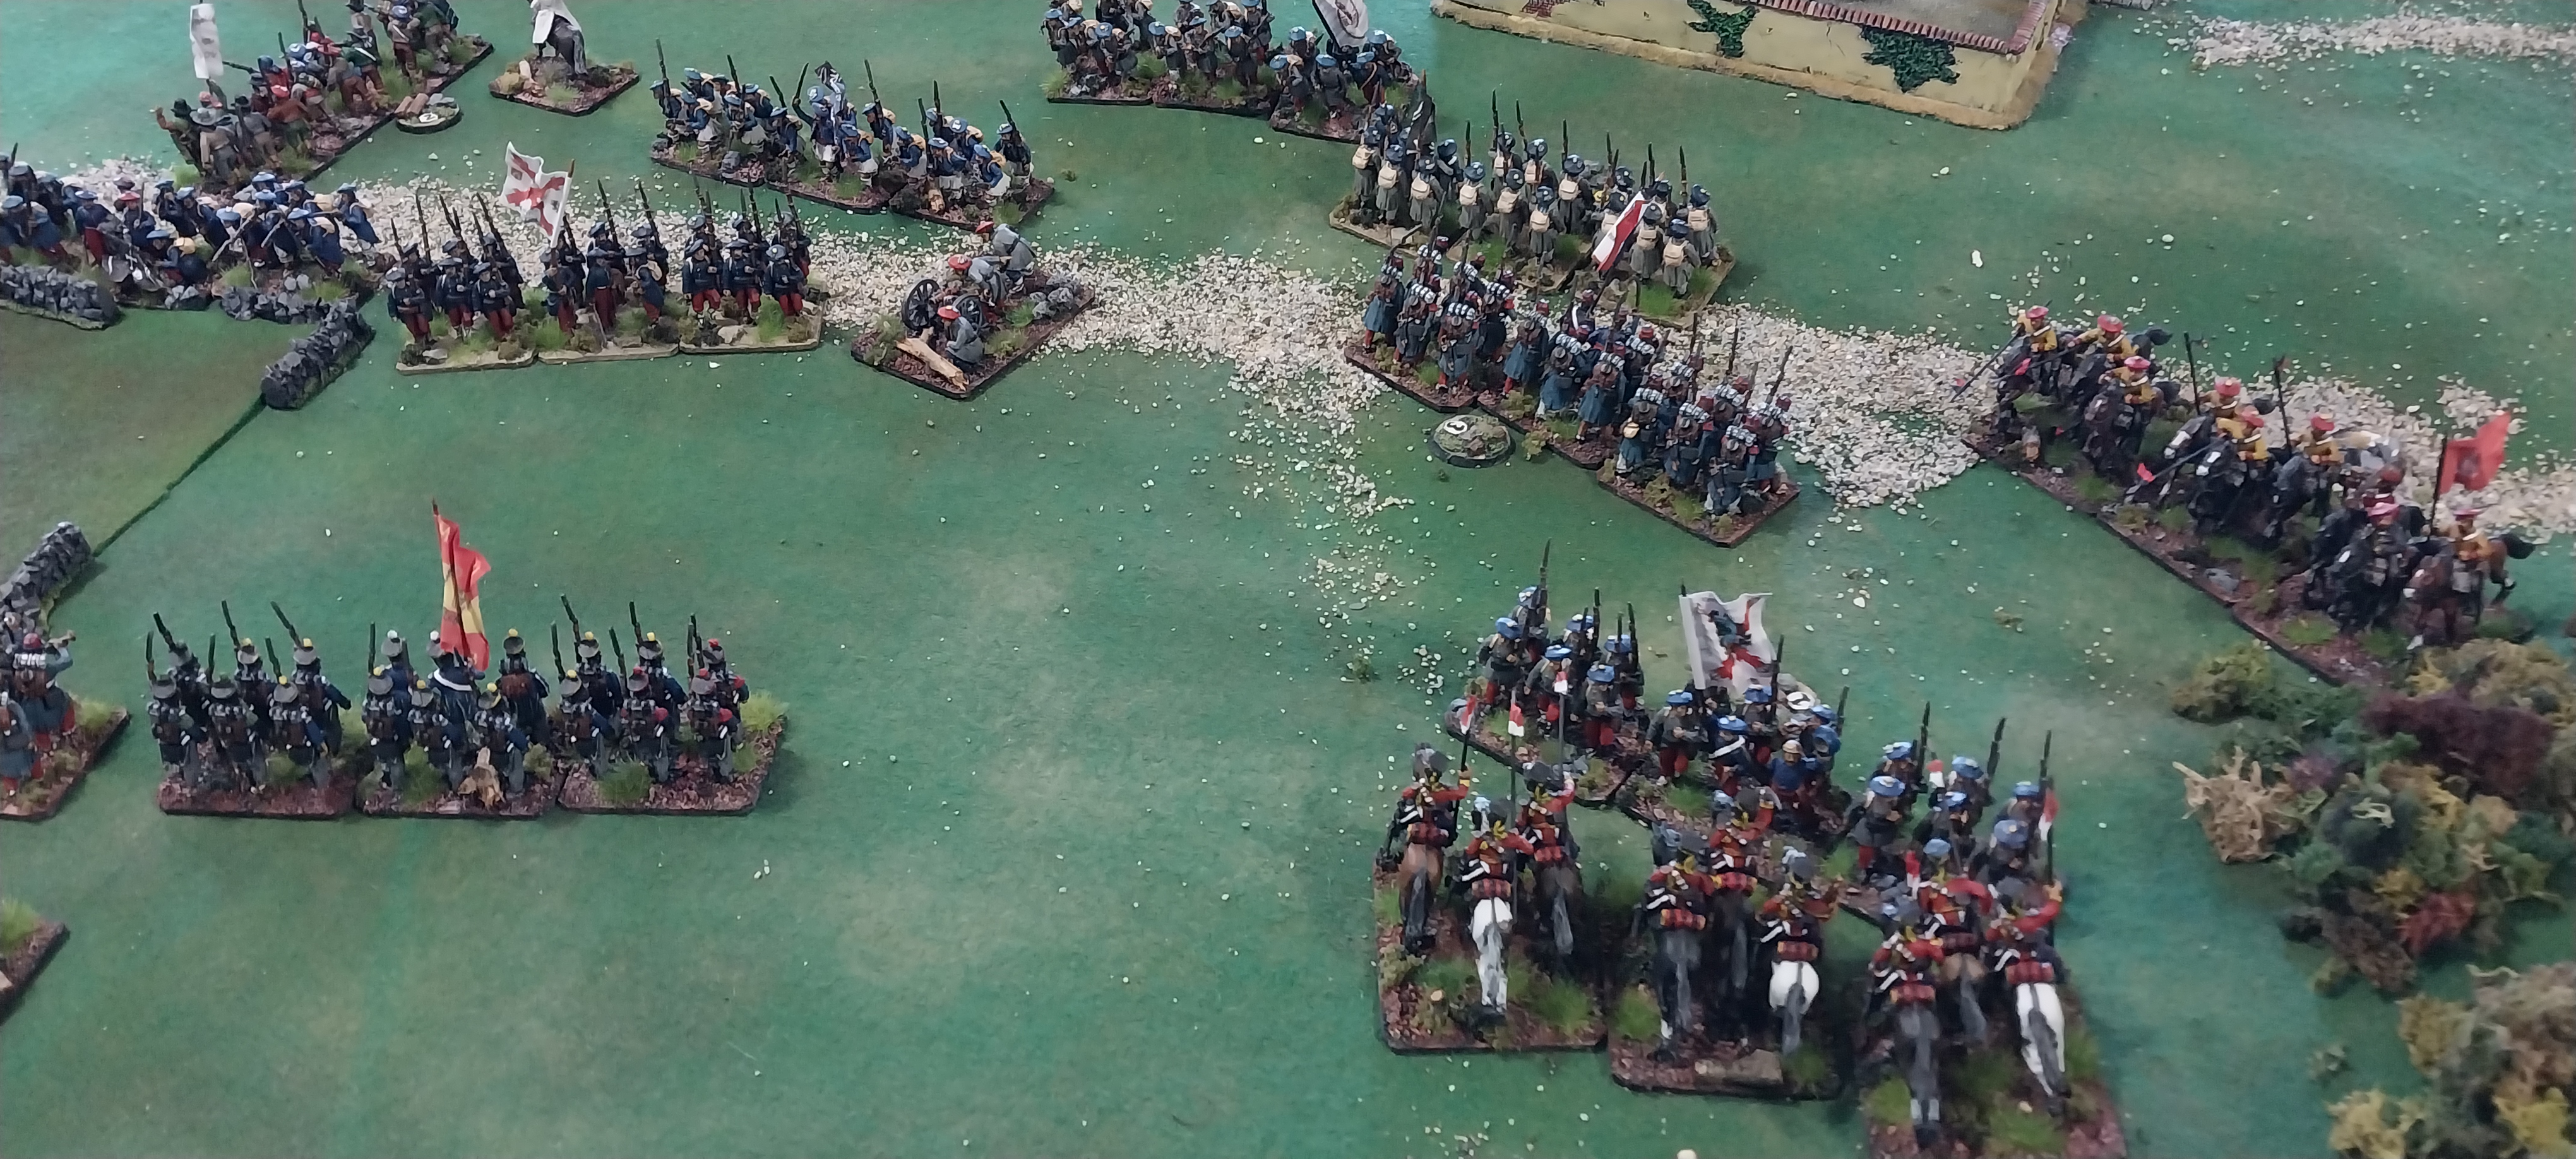
Andrews Isabellinist force advances in good order towards Chris and Nick's Carlists

After a couple of exchanges of fire, I sent in two battalions with the cold steel - the Carlist unit to the right had been revealed as being "raw" so it seemed an opportunity too good to miss!


The charge succeeded - the raw unit fled from the British bayonets, and the other unit was defeated and driven back in disorder. Unfortunately, I made an error at this stage, by breaking through onto the column of cavalry passing to the rear of the routed infantry. I had imagined I would go into this melee with a significant advantage, but I didn't - and then rolled poorly - so the victorious infantry was thrown back in disorder from their encounter with the donkey wallopers.


In the centre of the field, meanwhile, Andrew was still plugging away - apparently rolling sixes with a frequency that was sadly missing when we had our fantasy game on Thursday!

Rick and the FFL were also engaging Chris's left flank, where it had linked up with Barrys force.

And Paul was closing in on the Carlist right flank, held by Nicks troops.

The situation at my position after the dust of the melee had settled. My infantry had retired to the built up area, one unit (which unfortunately turned out to be raw) was stationed inside the building, and the Marines had formed square to protect my flank from Barrys lurking cavalry.

"Steady boys, steady!"


Fortuitously for me, John rolled a 1 for activation, as a result of which, two "shaky" units quit the field (the morale "effects" are incorporated into the activation phase of Marks rules - once units have 4 or more hits, they can potentially "pop" if the activation roll is poor)

This meant John's capacity for offensive action against me was significantly reduced - he had one gun, one cavalry unit and two infantry units left against my one cavalry, a gun, a rocket battery and four infantry units.

The French and Carlists continued to trade blows around the monastery, with the Carlists getting the better of the exchange

But elsewhere, the Isabellinists were in the ascendancy

Paul and Andrew combined to grind down Nicks command.

And in the centre, Chris had lost a significant number of units

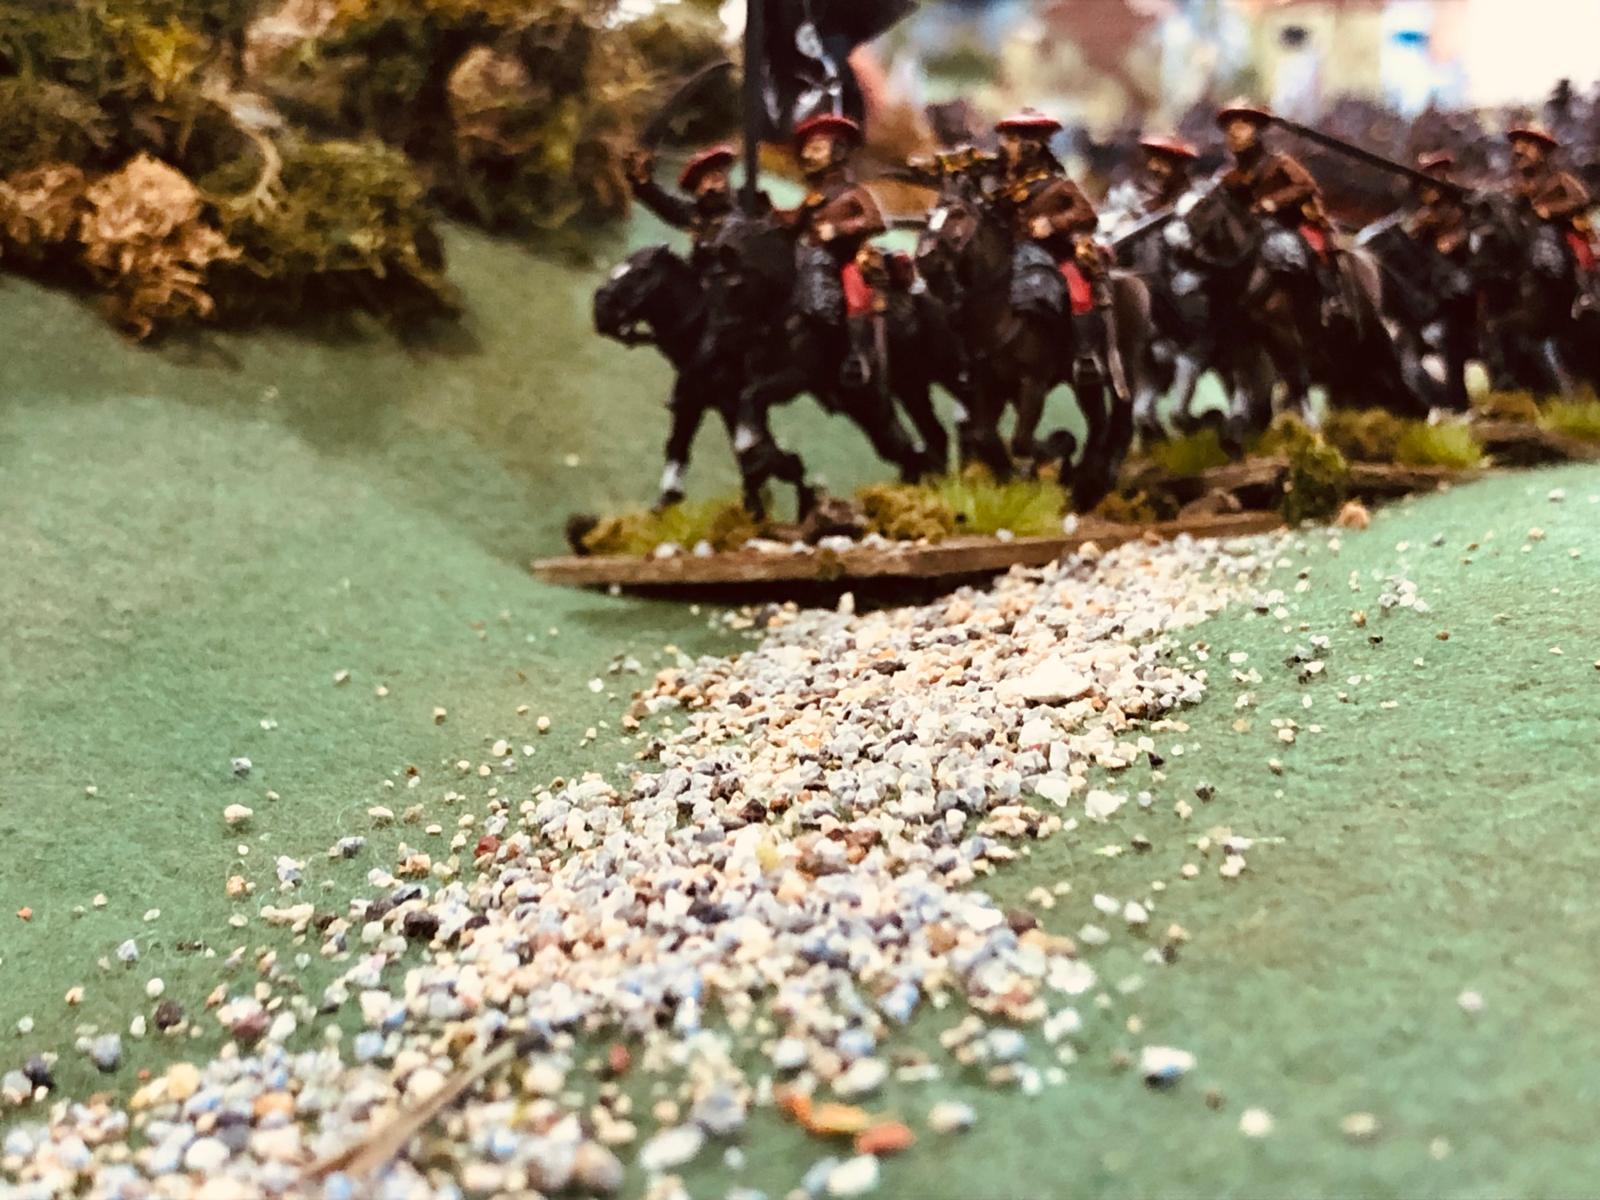
As the climax of the battle was reached, the BAL started to arrive on the French right, the lancers leading the way.

The infantry and guns were also in the process of relocating, as the few remaining Carlists headed up the road to join up with Barrys command.

And it wasn't a moment too soon, as the French came under extreme pressure from the Carlists, eager to snatch a victory before the British intervention could affect the outcome.

On the other flank, things were looking bad for the Carlists


A solid line of Isabellinist troops tramp remorselessly forwards


The French continued to battle against the increasingly desperate Carlist assaults

Rick, renowned for his ability to roll poorly (he got 4 ones at one point in this game!) insisted I record a couple of his better rolls - unfortunately, in response to the above, Chris rolled three save - but it's the thought that counts!

Next time, Rick did better!

The French succeeded in pushing back a Carlist unit then following up, catching it in the rear, and eliminating it from the game.

Then the BAL cavalry got in on the action, charging and destroying another Carlist infantry unit

I rolled seven dice against the infantry, needing 4 5 or 6 to hit....


Unfortunately, demonstrating their usual impetuosity and lack of thought/control, they then broke through onto the Carlist lancers, who roundly thrashed them, and the British cavalry quit the field in disgrace!

Paul was still making mincemeat of the Carlists on the other side of the field

And Chris's command had more or less ceased to exist


The BAL infantry and artillery, shielded by a square of Royal Marines, took up position to support the French right.

Whilst the rocket battery fired on Johns Carlists as they moved up the road to link up with Barry at the monastery


From behind Andrews lines - Chris is gone and Nick is about to be overwhelmed by Paul

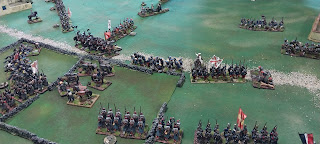
A few more pics follow of the final look of the battlefield - a significant win for the Isabellina forces.


Finally, a few eye candy shots of the new T34 and tank riders with one of Marks lovely buildings as a backdrop


Thanks for your visit, and your patience with an excessive number of images! I hope you will still mark the occasion by leaving a small comment.
Great looking game and some superb troops on display
ReplyDeleteThanks Scotty, it was a good days gaming!
DeleteCertainly looks like a great game. Lots of back and forth. Some very good shots of some very nice units. Intriguing idea , tying morale to activation. You did a good job recollecting the flow of the game.
ReplyDeleteNice work on the tank and riders. The B&W photos work well.
Thanks Joe, the details on what happened at the other end of the table are unknown to me, but our side obviously prevailed!
DeleteAwesome looking game and battle report sir!
ReplyDeleteThank you Michal
DeleteThat's a lot of game photos, Keith! You know, there is no rule that states you MUST publish them all. Looks like a good game with plenty of fabulous terrain and figures. The high and low point may have been your cavalry charge. Success can be so fleeting.
ReplyDeleteSay, when do YOU join the Retired Wargamers Club?
Haha...less is more, eh Jon?! I have tried editing some out, but I always struggle with which ones to omit...Mark does a much better job of it.
DeleteAs to retirement, officially 3.5 years, but I may end up working on a bit longer, we will have to see.
A really superb looking game the table the figures are really of the highest standard, enjoyable read too, the T34 plus tank riders is a lovely little model too, very nicely done, the tank riders really add to it.
ReplyDeleteThanks a lot Donnie, I am pleased you liked it all! 95% of the Carlist War figures were done by our friend Mark.
DeleteWhat a brilliant and diverse bunch of units. I was particularly taken with the rocket battery.
ReplyDeleteCheers JBM....rockets look cool although can be a bit tricky, depending on the rules....Marks are relatively benign...see below reply to Lawrence
DeleteThat AAR came together nicely Keith, so worth the effort. How effective was your rocket battery? The T34 looks great. Tank riders always add that little bit extra to the overall effect.
ReplyDeleteI am pleased you think so Lawrence!
DeleteIn Mark's rules, you have to reroll hits, but no risk of them flying off at some odd angle and hitting your own troops!
Lovely looking game and a win for the good guys! T34 looks ace, glad you're doing a late war army, I'm thinking of flipping and doing early war Soviets as well!
ReplyDeleteBest Iain
Thanks Iain...I originally thought of early war Soviets as it would tie in better with my Blitzkrieg Germans....but the special deals etc pulled me to extreme late war (the IS II only came into use late in 1944 I think!) Expect to see some T34/76 at some stage....🦋
DeleteOutstanding looking game with outstanding figures
ReplyDeleteThanks a lot Mark, pleased you liked it.
DeleteGreat looking game Keith. Looks like the Carlists could have used the T-34 😁
ReplyDeleteCheers Ben, unfortunately for the Carlists, the T34 was supporting Queen Isabella!
DeleteThe carlist collection/looks great as does the T34
ReplyDeleteThanks Matt 👍
DeleteCertainly an excellent game there after the earlier prequel, and lots of eye candy to enjoy for sure. I do like the RA rocket units, even if they tend not to be too effective in a game. Great to see the T-34 posed in b&w and glorious Technicolour too!
ReplyDeleteThank you Steve, it was a clever idea from Mark to set up the main game based in an earlier, smaller battle....possibly a technique he will use again?
DeleteThat's an awesome looking game Keith. The figures really look the part.
ReplyDeleteThanks Ray! As mentioned, Mark is responsible for virtually all the figures on the table. As always, he has done a great job!
DeleteAn impressive sized game. I can understand the urge to take lots of pictures. 😁
ReplyDeleteThanks Stew! We are lucky to have Barry's place to indulge in games of this scale.
DeleteGreat pics Keith. Looks like a good scenario.
ReplyDeleteThanks Chris, it worked out very well....I HAD to come on where I did, but the Carlists could choose, so I am lucky I was not fighting two commands!
DeleteSome great looking units there.
ReplyDeleteThanks Richard, Mark does sterling work on his figures (and terrain!)
DeleteMarvellous report and photos Keith. Well worth all the time and effort in post production!
ReplyDelete(Do you like that double meaning?)
Regards, James
Thanks James and very nice bons mots!
DeleteAn excellent looking game Keith…
ReplyDeleteIt’s such a colourful period with so many interesting troop types and uniforms…
Lovely “period “ looking shots of the T34
All the best. Aly
Thanks Aly ..... yes, I think those criteria are what drives Mark's interest....the other one that springs to mind is the Perry S American Wars collection!
Delete